Almond Dacquoise Cookies are the crown jewel of French pastry, offering a sophisticated alternative to the classic macaron. These delicate sandwiches feature two light-as-air, golden-brown meringue discs that shatter with a satisfying crunch before melting into a nutty, toasted almond cream center. If you have been searching for a dessert that looks like it belongs on a vintage porcelain plate in a Parisian cafe, you have found it.
The visual appeal of these Almond Dacquoise Cookies is undeniable, especially when presented on a classic blue and white floral porcelain plate. Each cookie is a masterclass in texture, combining a crisp exterior with a velvety, piped swirl of toasted almond buttercream. The final dusting of powdered sugar adds a snow-like finish that catches the soft morning light beautifully.
Mastering Almond Dacquoise Cookies requires a blend of precise technique and high-quality ingredients. While they may seem intimidating, the result is a handheld “cream cloud” that elevates any afternoon tea or dessert spread. Let’s dive into the forensic details of how to achieve this professional-level bake in your own kitchen.
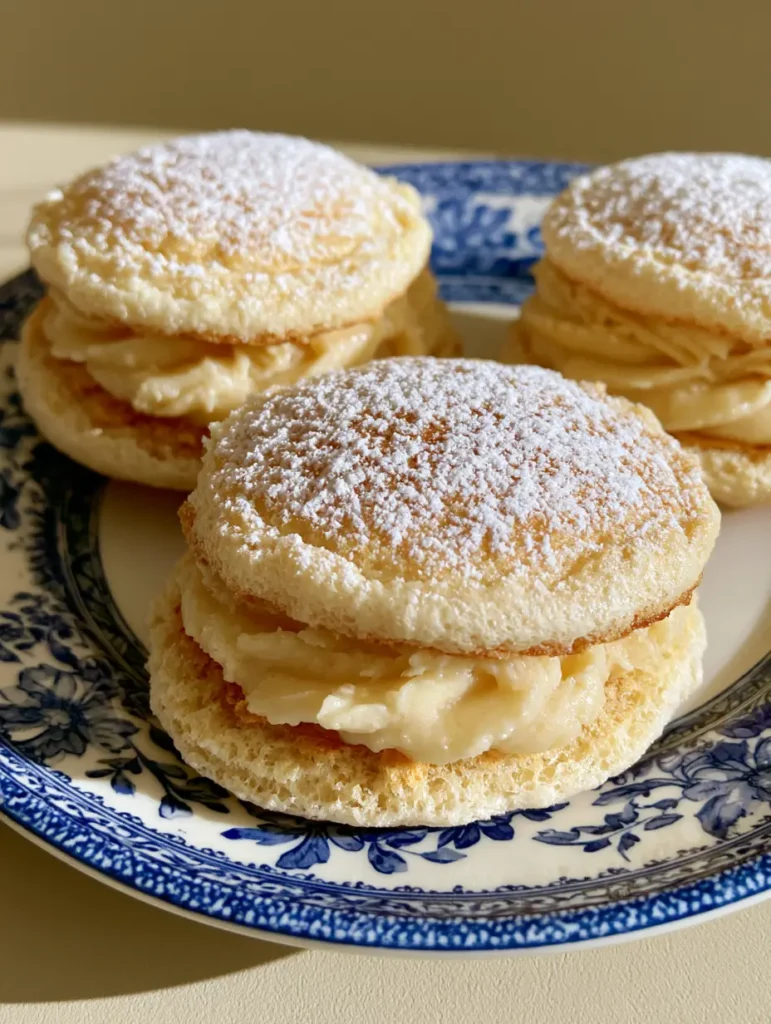
Why These Almond Dacquoise Cookies Are a Baker’s Masterpiece
- Unrivaled Texture: The meringue discs are intentionally baked to achieve a light golden-brown hue, ensuring a crisp, airy structure that contrasts the smooth filling.
- Toasted Nut Profile: Unlike standard almond cookies, we use ground almond flour and a specific toasting method to deepen the flavor of the cream filling.
- Visual Elegance: With their uniform circular shape and delicate powdered sugar sifting, these cookies are as beautiful as they are delicious.
- Gluten-Free by Nature: These cookies rely on almond flour rather than wheat, making them an excellent choice for those with gluten sensitivities without sacrificing flavor.
Essential Ingredients for the Perfect Almond Dacquoise Cookies
Finely Ground Almond Flour: Use 1.5 cups (150g) of blanched almond flour. This provides the structural nutty base and creates the “cloud” texture essential to the Almond Dacquoise Cookies experience.
Egg Whites: You will need 4 large (120ml) egg whites at room temperature. Room temperature whites whip to a higher volume and create a more stable meringue for our crispy discs.
Granulated Sugar: 1/2 cup (100g) of superfine sugar is necessary for the meringue. It dissolves quickly, ensuring the Almond Dacquoise Cookies don’t have a grainy texture after baking.
Confectioners’ Sugar: Use 1 cup (120g) for the batter and extra for the final sifting. This adds sweetness and helps create the characteristic “skin” on the meringue during baking.
Cream of Tartar: A mere 1/4 tsp (1g) acts as a stabilizer. This “invisible ingredient” ensures your egg whites don’t collapse when you fold in the heavy almond flour.
Unsalted Butter: For the filling, 1 cup (227g) of high-quality softened butter is the base. It carries the toasted almond flavor and creates that smooth, piped swirl seen in the blueprint.
Almond Extract and Salt: 1 tsp (5ml) of extract and a pinch of salt. These balance the sweetness and amplify the natural nuttiness of the dacquoise.
Equipment Needed for Professional Results
To achieve the handheld smartphone photo aesthetic of these cookies, you will need a few specific tools. A stand mixer or electric hand mixer is vital for achieving stiff peaks in your meringue. You will also need two large baking sheets lined with parchment paper or silicone mats to prevent sticking.
A piping bag fitted with a large round tip (approx. 1/2 inch) is required for the meringue discs, while a star or large round tip works perfectly for the toasted almond cream. Finally, a fine-mesh sieve is the only way to get that perfectly even, delicate sifting of powdered sugar across the tops of your Almond Dacquoise Cookies.
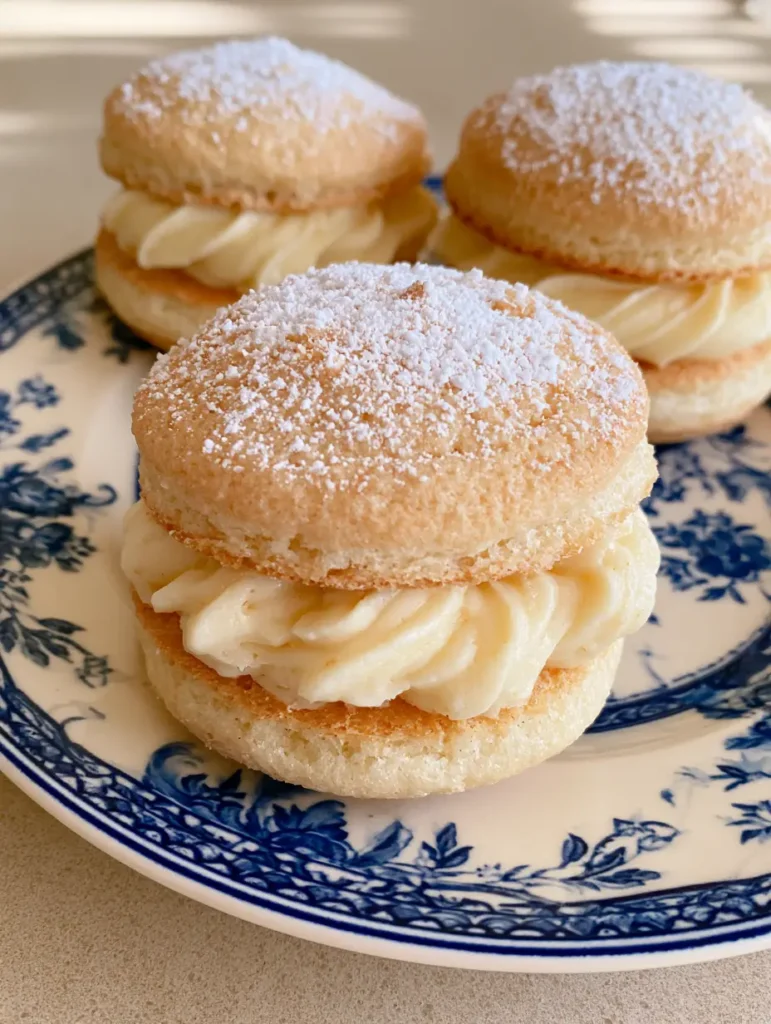
Step-by-Step Guide to Creating Meringue Clouds
Preparing the Almond Flour Base
Start by sifting your 1.5 cups (150g) of almond flour with 1 cup (120g) of confectioners’ sugar. This step is non-negotiable for Almond Dacquoise Cookies, as it removes any clumps that could deflate your meringue. Set this mixture aside while you prepare the wet base.
Achieving the Perfect Stiff Peak Meringue
In a clean glass or metal bowl, beat the 4 egg whites (120ml) and 1/4 tsp (1g) cream of tartar on medium speed until frothy. Gradually add the granulated sugar one tablespoon at a time, increasing the speed to high. Continue beating until the mixture is glossy and forms stiff, upright peaks that do not droop when the whisk is lifted.
The Delicate Folding Process
Gently fold the almond flour mixture into the meringue using a wide rubber spatula. Use a “cut and fold” motion, rotating the bowl as you go. Stop the moment no streaks of dry flour remain; over-mixing will cause the Almond Dacquoise Cookies to spread too thin and lose their airy texture.
Piping and Baking for a Golden-Brown Finish
Transfer the batter to a piping bag and pipe 2-inch (5cm) circles onto your prepared baking sheets. Bake at 300°F (150°C) for 15-18 minutes. Look for the visual cue of a light golden-brown edge and a dry, matte surface. Allow them to cool completely on the pan to ensure they crisp up fully.
Creating the Toasted Almond Cream Filling
Toasting the Flavor Profile
To achieve the “toasted almond cream” specified in the visual blueprint, take 1/4 cup (25g) of almond flour and toast it in a dry skillet over medium heat for 3-5 minutes. Stir constantly until it smells fragrant and turns a light tan color. Let this cool before adding it to your buttercream.
Whipping the Smooth Buttercream Swirl
Beat the 1 cup (227g) of softened butter with 1.5 cups (180g) of confectioners’ sugar and the cooled toasted almond flour. Add 1 tsp (5ml) of almond extract and a splash of heavy cream if needed. Whip until the filling is light, fluffy, and holds its shape perfectly for piping.
Expert Tips for Almond Dacquoise Success
- Watch the Humidity: Meringue-based cookies like these hate moisture. If it’s a very rainy day, your Almond Dacquoise Cookies may take longer to crisp up or might stay slightly tacky.
- The “Cool Down” Trick: For the ultimate crispness, turn off the oven and crack the door open, letting the cookies sit inside for an extra 10 minutes after baking.
- Consistent Sizing: Draw circles on the underside of your parchment paper using a cookie cutter as a guide. This ensures your sandwiches match up perfectly during assembly.
- Don’t Skip the Sifting: The powdered sugar finish isn’t just for looks; it provides a slight initial sweetness that balances the nutty dacquoise.
How to Store and Preserve Freshness
Almond Dacquoise Cookies are best enjoyed within 24 hours of assembly for the peak “crisp-meets-cream” experience. Store them in a single layer in an airtight container at room temperature. If you need to keep them longer, store the meringue discs and the cream separately, then assemble just before serving.
You can freeze the un-filled meringue discs for up to a month. Wrap them carefully in parchment and place them in a hard-sided container to prevent breakage. Thaw at room temperature for an hour before filling with the toasted almond cream.
What to Serve With These Creamy Delights
These elegant cookies pair wonderfully with a cup of Earl Grey tea or a light roast coffee. If you are hosting a dessert party, they look stunning alongside other textured treats. For a variety of textures, consider serving these after a meal featuring Portuguese grilled chicken (coming soon) and a fresh quinoa salad (coming soon).
If you’re looking for more cookie inspiration that offers a different kind of crunch, you might enjoy my brown butter chocolate chip cookies or these unique crunchy cornflake toffee cookies. For a fruitier finish to your tea party, these dacquoise are a lovely precursor to a no-bake banana pudding cheesecake.
Frequently Asked Questions
Yes! Because dacquoise relies on almond flour rather than wheat flour, these cookies are naturally gluten-free, provided your ingredients are processed in a GF facility.
It is not recommended. Fresh egg whites have stronger protein bonds that are essential for creating the stable, stiff-peaked meringue required for dacquoise.
The secret is toasting a small portion of the almond flour in a dry pan until it turns golden-tan before whisking it into your buttercream filling.
While both use almond flour and meringue, dacquoise cookies typically contain more almond flour and are baked longer to achieve a crispier, toastier texture compared to the delicate, chewy shell of a macaron.
This is usually caused by high humidity or under-baking. Ensure you bake until they are light golden-brown and allow them to cool in a dry environment.
Almond Dacquoise Cookies Recipe Card
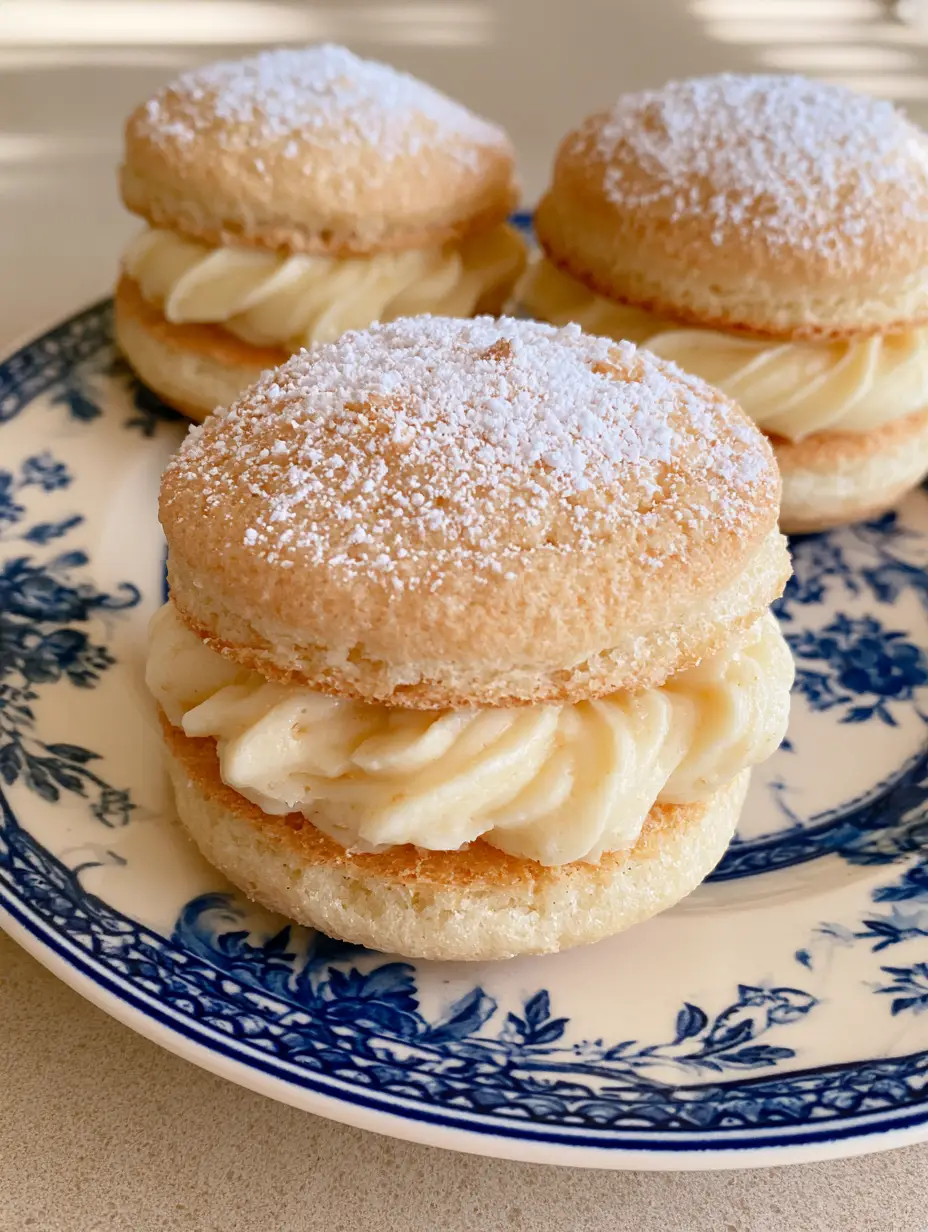
Almond Dacquoise Cookies: The Ultimate French Meringue Cream Cloud Recipe
Ingredients
Equipment
Method
- Sift the 1.5 cups (150g) almond flour and 1 cup (120g) powdered sugar together twice to ensure a completely lump-free mixture.
- Beat egg whites with cream of tartar until frothy. Gradually add granulated sugar while beating on high until stiff, glossy peaks form.
- Gently fold the dry ingredients into the meringue. Pipe 2-inch circles onto parchment-lined sheets.
- Bake at 300°F (150°C) for 15-18 minutes until light golden-brown. Let cool completely.
- Cream softened butter with powdered sugar, toasted almond flour, and extract until light and fluffy.
- Pipe a swirl of cream onto the flat side of one disc and top with a second disc. Sift powdered sugar generously over the tops.
Notes
Toast the almond flour for the filling in a skillet until it turns tan for the best flavor.
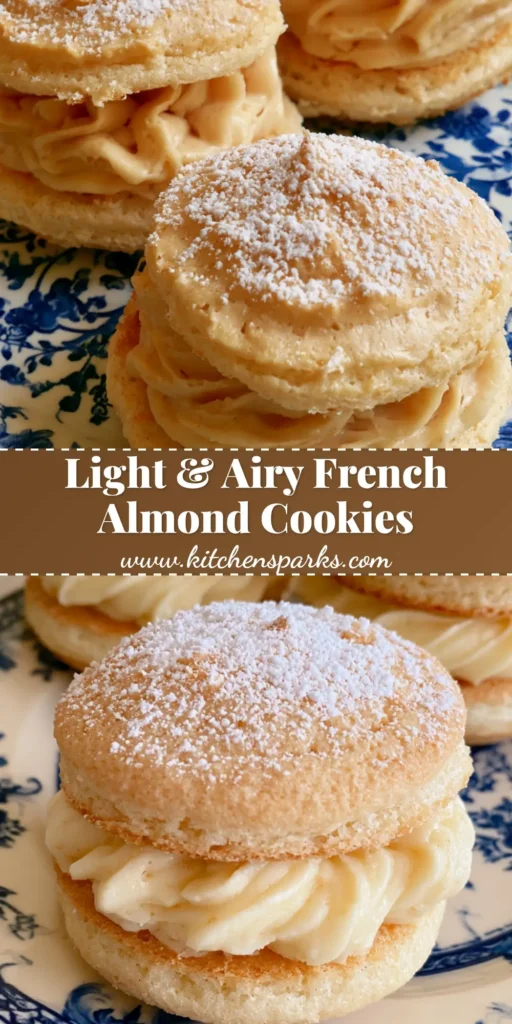
Closing & Call to Action
These Almond Dacquoise Cookies are more than just a dessert; they are a sensory experience of crisp meringue and toasted nuttiness. Whether you are serving them on a vintage blue and white porcelain plate for a special occasion or enjoying them as a morning treat in the natural light, they are sure to impress. The combination of the airy almond discs and the smooth piped cream creates a “cloud” like no other.
I would love to see your baking results! If you make these Almond Dacquoise Cookies, please leave a comment below and let me know how they turned out. Don’t forget to follow me on Pinterest and share your photos by tagging @kitchen_spark. Happy baking!


