If you are searching for the perfect intersection of tangy, salty, and savory, this Dill Pickle Parmesan Chicken is the answer. Imagine a thick, golden-brown crust that shatters with every bite, revealing juicy chicken infused with the bright, vinegary punch of dill pickles. This isn’t just another breaded chicken recipe; it is a culinary masterpiece designed for those who crave maximum texture and bold flavor.
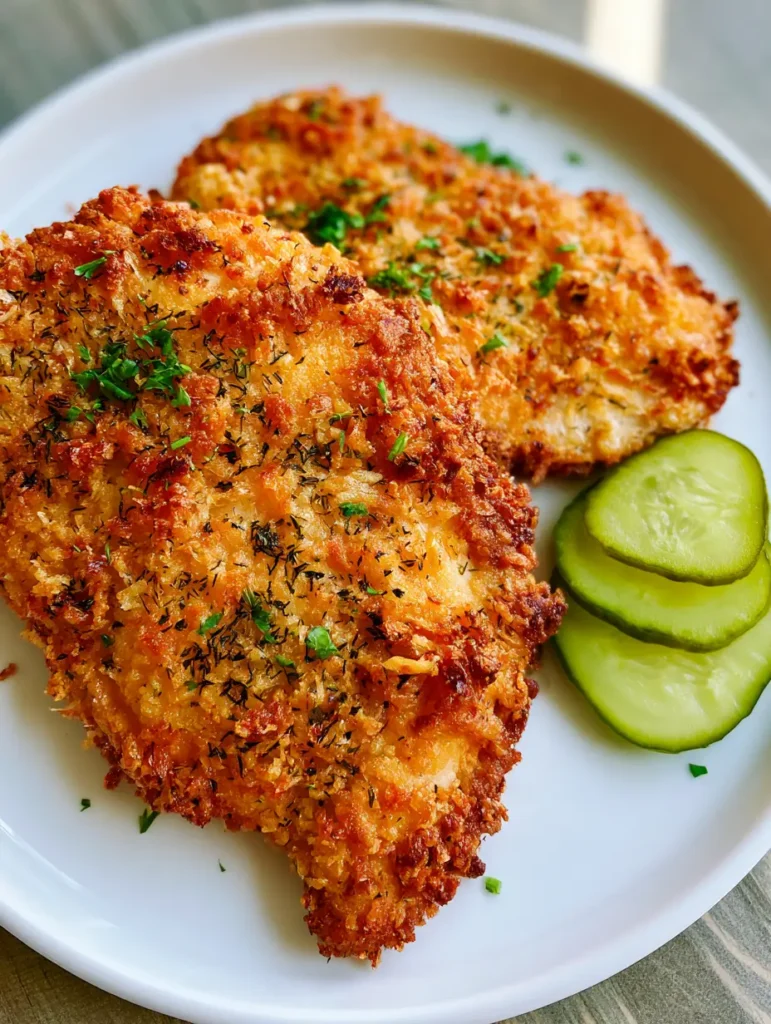
The visual appeal of this dish is undeniable, featuring a rustic, handcrafted look that mimics the best gastropub fare. With its speckles of dark green dried dill and vibrant fresh parsley, it looks as good as it tastes. Whether you are a pickle fanatic or just a lover of a perfectly fried cutlet, this recipe will quickly become a weeknight staple in your kitchen.
By using a specific combination of panko breadcrumbs and shredded parmesan cheese, we achieve a crust that stays crispy long after it leaves the pan. We have meticulously tested the ratios to ensure the dill flavor shines through without overpowering the delicate savory notes of the chicken. Get ready to elevate your dinner game with this restaurant-quality dish.
Why This Dill Pickle Parmesan Chicken Will Be Your New Favorite Meal
- Unrivaled Texture: The combination of Panko and shredded Parmesan creates a “shatter-crisp” exterior that is significantly crunchier than traditional breadcrumbs.
- Double Dill Infusion: We use both a pickle brine soak and dried dill flakes in the breading to ensure every layer is packed with flavor.
- Golden-Brown Perfection: The shredded parmesan melts and caramelizes into the breading, creating a beautiful marbled golden-brown hue.
- Balanced Finishes: Three thin, round slices of bright green dill pickles provide a cooling, vinegar-forward crunch to balance the rich, cheesy crust.
The Anatomy of a Perfect Pickle-Parmesan Crust
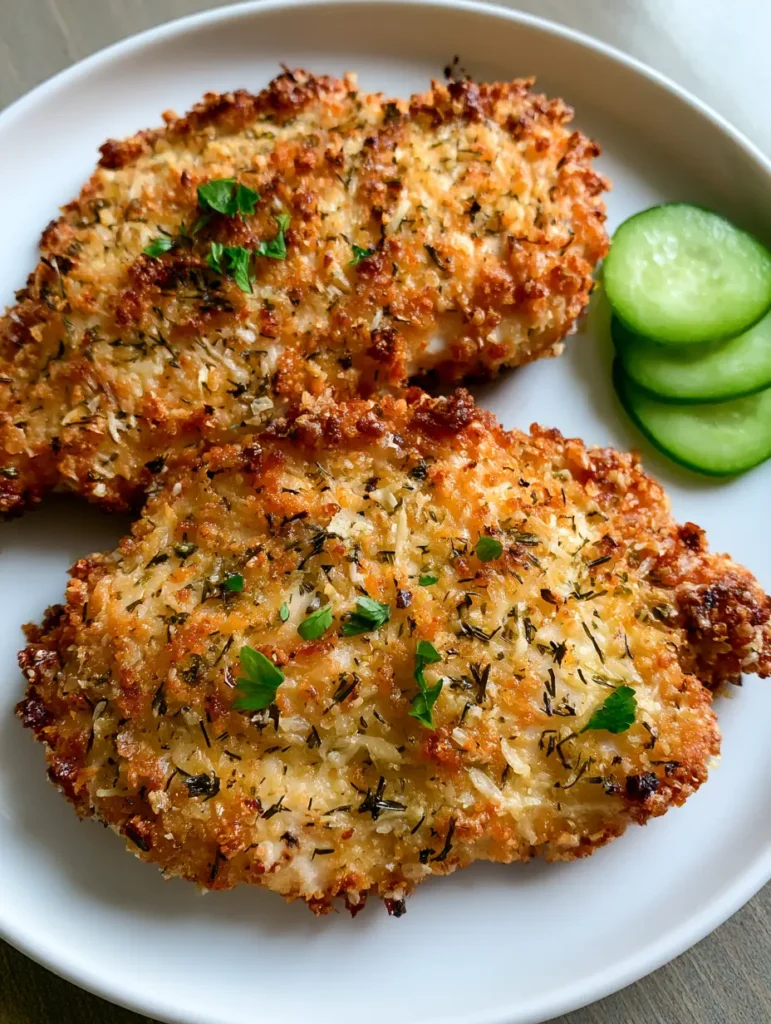
To achieve the visual and textural results seen in our photos, selecting the right ingredients is paramount. Do not substitute the shredded parmesan for the grated “green can” variety, as the moisture and shape of the shreds are what create the craggy, crunchy surface.
Chicken Breasts: 2 large (approx. 1 lb / 450g) boneless, skinless chicken breasts. We butterfly or pound these to an even 1/2-inch thickness to ensure the crust doesn’t burn before the center is cooked through.
Dill Pickle Brine: 1/2 cup (120ml). This acts as our “secret” liquid seasoning, tenderizing the meat while deeply infusing it with that signature pickle tang.
Panko Breadcrumbs: 1 cup (60g). These Japanese-style breadcrumbs are larger and airier than standard crumbs, which is essential for that thick, crunchy crust speckled with dill flakes.
Shredded Parmesan Cheese: 1/2 cup (50g). Use a high-quality shredded variety; as it melts, it acts as a “glue” for the panko while providing a salty, umami-rich finish.
Dried Dill Flakes: 1 tbsp (2g). These are mixed directly into the breading to create those distinct dark green speckles visible in the golden crust.
Fresh Parsley: 1 tbsp (4g), finely chopped. This is scattered across the top at the very end to provide a pop of fresh color and a mild, earthy contrast to the pickles.
Slicing Dill Pickles: 6 thin round slices (3 per plate). These must be bright green and crisp to provide the classic “dill pickle” aesthetic and flavor profile.
All-Purpose Flour: 1/2 cup (65g). This provides the base layer of the dredging station, ensuring the egg wash has something to grip onto.
Eggs: 2 large eggs. Lightly beaten with a splash of pickle brine, these create the necessary adhesive for the heavy panko-parmesan mixture.
Cooking Oil: 3 tbsp (45ml) of high-smoke point oil (like avocado or canola). This ensures a perfect golden sear without the fats burning.
Essential Kitchen Tools for Crispy Success
To replicate this Dill Pickle Parmesan Chicken, you will need a few standard kitchen tools. A heavy-bottomed skillet, preferably cast iron or stainless steel, is best for maintaining even heat and achieving that uniform golden-brown color.
A set of three shallow bowls is required for your dredging station. You will also want a wire cooling rack set over a baking sheet; placing the fried chicken on a rack instead of a paper towel prevents the bottom from becoming soggy, keeping the crust crunchy all the way around.
Step-by-Step Guide to the Perfect Dill-Crusted Chicken
Preparing the Brine and Chicken
Start by placing your chicken breasts between two sheets of plastic wrap. Using a meat mallet or a heavy pan, gently pound the chicken until it is an even 1/2-inch (1.25cm) thickness. This ensures even cooking and a consistent ratio of meat to crust.
Place the chicken in a shallow dish and pour the 1/2 cup (120ml) of pickle brine over it. Let it marinate for at least 30 minutes, or up to 2 hours. This step is crucial for the internal flavor and moisture of the Dill Pickle Parmesan Chicken.
Setting Up the Triple-Dredge Station
In the first shallow bowl, place the flour seasoned with a pinch of salt. In the second bowl, whisk the two eggs with a tablespoon of the pickle brine. This “wet” layer carries the acidity through the breading process.
In the third bowl, combine the panko breadcrumbs, shredded parmesan cheese, and dried dill flakes. Stir them together until the dark green dill is evenly distributed through the white panko and cheese. This mixture is the key to the visual “speckled” look of the final dish.
Executing the Perfect Breaded Crust
Remove a chicken breast from the brine and pat it slightly with a paper towel—it should be damp, not dripping. Coat it in the flour, shaking off any excess. Dip the floured chicken into the egg wash, ensuring every nook and cranny is covered.
Finally, press the chicken firmly into the panko-parmesan-dill mixture. Use your hands to pack the breading onto the meat, ensuring a thick, even coating. Repeat with the second breast and place them on a clean plate for 5 minutes to allow the breading to “set.”
Searing to Golden-Brown Perfection
Heat the oil in your skillet over medium-high heat. You will know it is ready when a stray breadcrumb sizzles immediately upon contact. Carefully lay the chicken breasts into the pan, laid away from you to avoid oil splashes.
Cook for 4-5 minutes per side. Look for the visual cue of the parmesan cheese turning a deep, toasted golden-brown and the panko becoming incredibly rigid. The internal temperature should reach 165°F (74°C).
Expert Tips for the Ultimate Chicken Crust
- Don’t Crowd the Pan: Cooking only two breasts at a time ensures the oil temperature doesn’t drop, which prevents the breading from absorbing too much grease and becoming limp.
- Use Shredded, Not Grated: As mentioned, shredded parmesan creates “pockets” of melted cheese that crisp up, whereas grated parmesan can create a sandy texture.
- The Resting Rule: Let the chicken rest on a wire rack for 3 minutes before serving. This allows the juices to redistribute and the crust to fully harden.
- Temperature Control: If the crust is browning too quickly before the chicken is done, lower the heat to medium. A slow, steady sizzle is better than a violent fry.
Maintaining Freshness: Storage and Reheating
While this Dill Pickle Parmesan Chicken is best served fresh from the pan, leftovers can be stored in an airtight container in the refrigerator for up to 3 days. To maintain the integrity of the crust, avoid the microwave.
For the best results, reheat the chicken in an oven or air fryer at 350°F (175°C) for 5-7 minutes. This will re-crisp the parmesan and panko, bringing back that “just-fried” texture. Avoid freezing once cooked, as the pickles and breading can become soft upon thawing.
What to Serve with Dill Pickle Parmesan Chicken
To complement the acidity and crunch of this dish, consider pairing it with a creamy side or a light, refreshing salad. For a hearty meal, serve it alongside a baked Tuscan chicken casserole-style pasta or creamy mashed potatoes.
If you prefer a lighter pairing, a crisp cucumber salad or a Greek-inspired vegetable medley works beautifully. For those who love bold, garlicky flavors, a side of garlic butter noodles is a fantastic way to round out the plate. Don’t forget the extra dill pickles on the side for that authentic gastropub experience!
Frequently Asked Questions
Yes! To air fry, spray the breaded chicken generously with oil and cook at 375°F (190°C) for 12-15 minutes, flipping halfway through until golden-brown.
While possible, grated parmesan (the powder kind) won’t provide the same thick, craggy texture. Shredded parmesan melts into lacy, crispy pockets that are essential for this specific visual result.
30 minutes is sufficient for flavor, but 2 hours is the sweet spot for maximum tenderness. Avoid marinating longer than 4 hours, as the acid can start to break down the meat fibers too much.
Not at all. It is tangy and salty, but not spicy. If you want heat, you can use spicy pickle brine or add a pinch of cayenne to the flour.
This usually happens if the chicken was too wet before flouring or if it wasn’t pressed firmly into the panko. Ensure you pat the chicken slightly and press the breading down hard with your palms.
The Final Result: Dill Pickle Parmesan Chicken
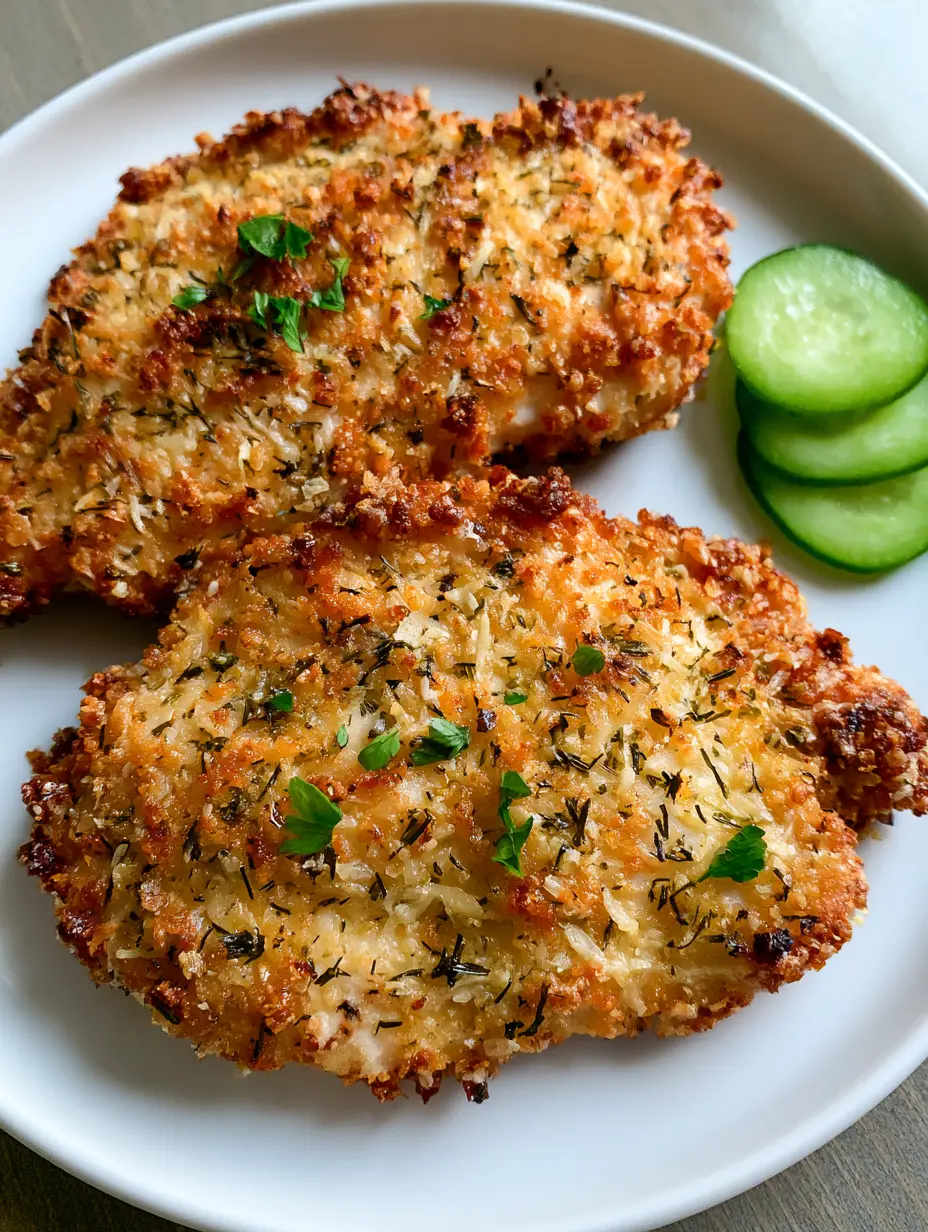
Once your chicken is perfectly cooked and rested, place it on a plain white ceramic plate to let the golden hues pop. Scatter the fresh chopped parsley over the top and garnish with exactly three thin round slices of dill pickles on the side. The contrast of the warm, crunchy chicken against the cold, crisp pickles is what makes this dish truly special.
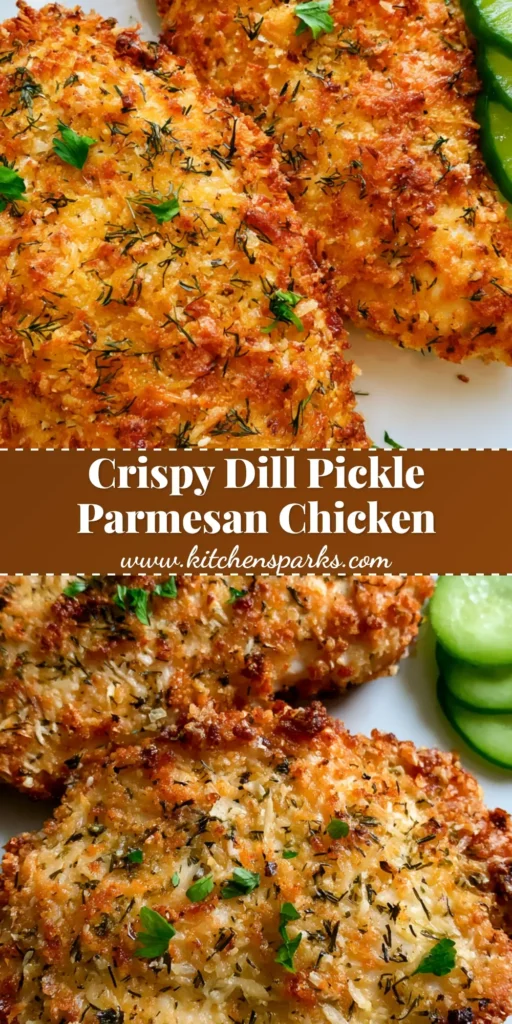
Dill Pickle Parmesan Chicken Recipe: The Ultimate Extra-Crunchy Crust
Ingredients
Equipment
Method
- Pound chicken to 1/2-inch thickness and marinate in pickle brine for 30-120 minutes.
- Coat chicken in flour, then egg wash, then press firmly into the panko-parmesan-dill mixture.
- Heat oil over medium-high heat. Fry chicken for 4-5 minutes per side until deep golden-brown and 165°F internally.
- Rest on a wire rack for 3 minutes. Garnish with parsley and 3 pickle slices per plate.
Notes
Always rest on a wire rack—never paper towels—to keep the bottom crust crunchy.
Closing & Call to Action
This Dill Pickle Parmesan Chicken is more than just a meal; it is a sensory experience that combines the best of comfort food with a modern, tangy twist. We hope this recipe brings a bit of “kitchen spark” to your dinner table! If you loved this dish, please leave a comment below and share your photos with us.
Be sure to follow us on Pinterest for more crispy, savory inspirations. Pin this recipe to your favorite “Dinner Ideas” board so you never lose track of this crunchy classic!


