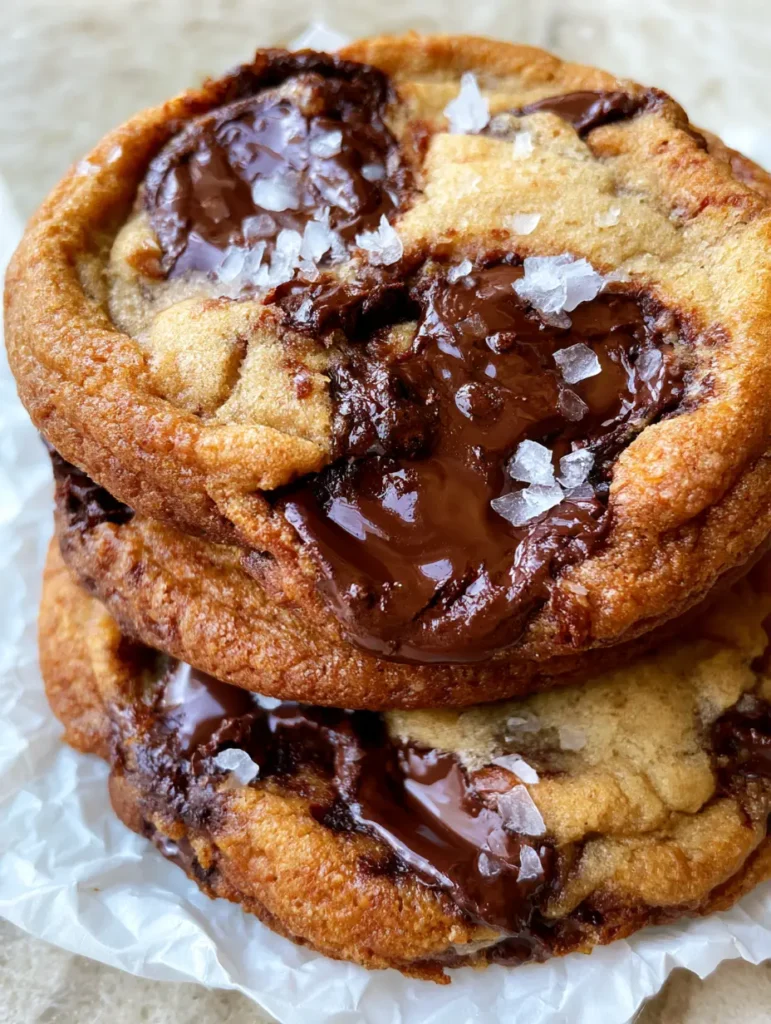
There is a specific, undeniable magic that happens when butter meets heat and transforms into liquid gold. These Brown Butter Chocolate Chip Cookies are the physical manifestation of that culinary alchemy. Imagine a cookie with deeply caramelized, golden-brown crispy edges that give way to a soft, pale-tan chewy center, all while being punctuated by irregular pools of melted semi-sweet chocolate.
When you hold one of these thick cookies, still warm on a piece of crinkled white parchment paper, the aroma of toasted hazelnuts and vanilla is intoxicating. The final touch—a light sprinkle of translucent flaky sea salt—cuts through the richness, making every bite a complex balance of sweet, salty, and nutty flavors. This isn’t just a snack; it is a masterclass in cookie textures.
Whether you are a seasoned baker or a curious novice, this guide will walk you through the forensic details of achieving that perfect handheld smartphone-photo-worthy result. We are moving beyond the standard recipe to explore the science of the Maillard reaction and the importance of fat emulsification in creating the world’s best cookie.
Why These Nutty, Salty Masterpieces Work
- The Brown Butter Base: By cooking the milk solids in the butter, we introduce a toasted, savory depth that regular softened butter simply cannot provide.
- Textural Duality: The high moisture content in the brown sugar ensures a soft, fudgy middle, while the precisely timed bake creates that iconic toasted golden-brown ring.
- Irregular Chocolate Puddles: Using hand-chopped semi-sweet chocolate chunks instead of uniform chips creates those glossy, gooey pools seen in professional food photography.
- The Saline Finish: Coarse flaky sea salt acts as a flavor enhancer, brightening the notes of the semi-sweet chocolate and the caramelized dough.
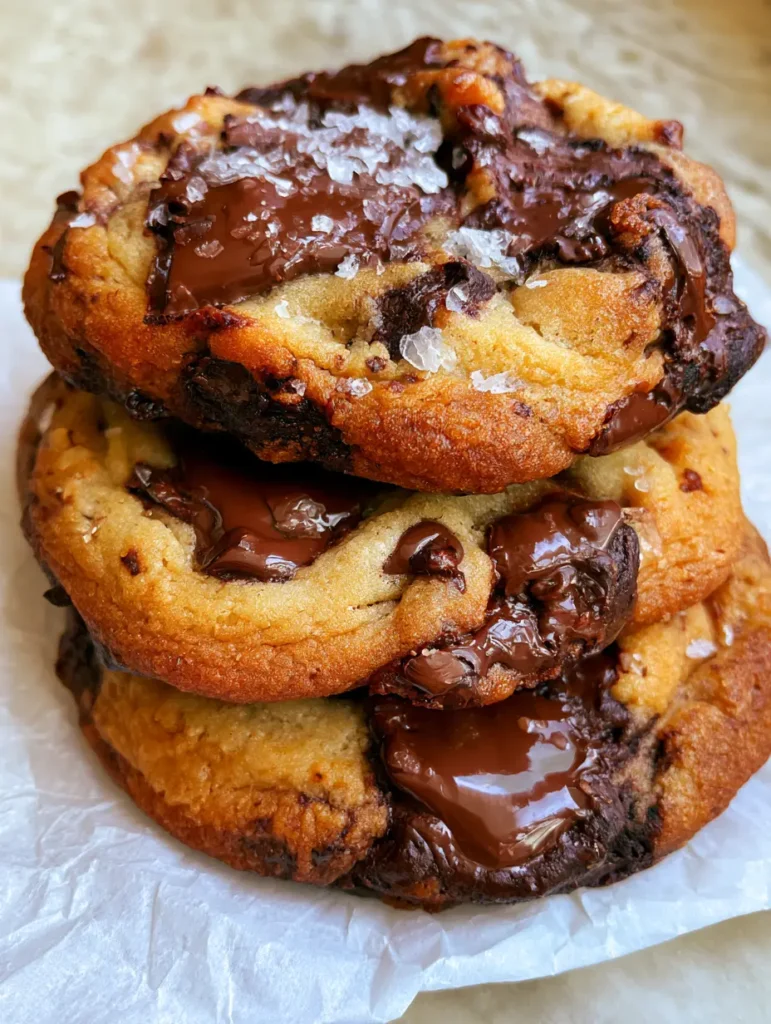
The Essential Components for Beurre Noisette Perfection
Before you preheat your oven, let’s break down the role of each ingredient in this Brown Butter Chocolate Chip Cookies recipe. Understanding the “why” behind the “what” is the key to consistent, elite-level baking.
The Fat: Unsalted Butter
You will need 1 cup (227g) of high-quality unsalted butter. We start with unsalted so we can precisely control the seasoning with the flaky salt later. During the browning process, you will lose about 15-20% of the butter’s weight as water evaporates, concentrating the flavor.
The Sugars: A Crucial Balance
We use 1 cup (200g) of dark brown sugar and 1/2 cup (100g) of granulated white sugar. The molasses in the brown sugar is responsible for the soft, pale-tan chewy center, while the white sugar aids in the crisping of the toasted edges.
The Flour: Structure and Bite
2 ¼ cups (280g) of all-purpose flour provides the necessary structure. It is the canvas upon which the butter and sugar paint their flavors, ensuring the cookies remain thick and don’t spread into thin puddles.
The Chocolate: Semi-Sweet Chunks
Forget standard chips; you need 8 oz (225g) of semi-sweet chocolate bars, roughly chopped. This creates irregular sizes—some small flecks that melt into the dough and large chunks that form those professional-looking chocolate pools.
The Leavening and Seasoning
1 tsp (5g) of baking soda is essential for the browning (alkalinity promotes the Maillard reaction). We also include 1/2 tsp (3g) of fine sea salt in the dough, plus extra flaky sea salt for the garnish to achieve that translucent, crystalline look.
Professional Tools for Bakery Results
To achieve the look of a thick, handheld cookie on a stone countertop, you need the right gear. A heavy-bottomed light-colored saucepan is non-negotiable for browning butter, as it allows you to see the color change of the milk solids before they burn.
You will also need a large cookie scoop (about 3 tablespoons in capacity) to ensure every cookie is identical in volume, which leads to even baking. Finally, crinkled white parchment paper is not just for aesthetics; it provides the perfect non-stick surface that allows the bottoms to caramelize without sticking.
The Step-by-Step Evolution of the Perfect Cookie
Step 1: Achieving the Golden Beurre Noisette
Place your butter in a saucepan over medium heat. Melt it, then continue cooking as it begins to foam and pop. This is the water escaping. Watch for the visual cue: the butter will turn a deep amber, and you will see toasted brown bits at the bottom. The smell will shift from “buttery” to “toasted hazelnut.” Immediately pour this into a heat-proof bowl, scraping all those brown bits in—that is where the flavor lives.
Step 2: The Emulsification Process
Let the butter cool for about 15 minutes. Add your brown and white sugars and whisk vigorously. You aren’t just mixing; you are trying to dissolve the sugar into the fat. Add 1 large egg and 1 egg yolk (for extra chewiness) and 1 tbsp (15ml) of pure vanilla extract. Whisk until the mixture lightens in color and becomes slightly ribbony. If you enjoy this flavor profile, you might also love the richness of a chocolate chip custard brioche for breakfast.
Step 3: Incorporating the Dry Ingredients
Sift in your flour, baking soda, and fine sea salt. Use a spatula to fold the dough until just a few streaks of flour remain. Over-mixing at this stage will develop too much gluten, turning your chewy cookie into a tough, bread-like disk. The dough should look rich and deeply tanned.
Step 4: The Chocolate Fold
Fold in your chopped semi-sweet chunks. Ensure the large pieces are distributed so that each scoop of dough has a prominent chunk visible on the surface. This is what creates those glossy pools during the bake. For a different textural experience, check out our cornflake toffee cookies which use similar folding techniques.
Step 5: The Essential Chill
Scoop the dough into large balls (about 60g each) and place them on a tray. Chill in the refrigerator for at least 2 hours, or ideally overnight. This allows the flour to fully hydrate and the fats to solidify, which prevents excessive spreading and ensures a thick, soft center.
Step 6: The Precision Bake
Preheat your oven to 350°F (175°C). Space the cookies 3 inches apart on your crinkled parchment. Bake for 10-12 minutes. Look for the visual sensory cues: the edges must be toasted golden-brown and set, but the centers should still look slightly underbaked and pale-tan. They will firm up as they cool.
Step 7: The Final Flourish
As soon as the cookies come out of the oven, take a circular bowl or glass and “scoot” it around the cookies to create a perfectly round shape. Immediately sprinkle the tops with the translucent flaky sea salt while the chocolate pools are still molten and glossy.
Expert Tips for Success
- Quality Matters: Use a chocolate bar with at least 60% cocoa for the best “pool” effect. Avoid chips with stabilizers that prevent melting.
- Room Temperature Eggs: Ensure your eggs aren’t cold, or they will cause the brown butter to seize and clump.
- The “Scoot” Method: If your cookies spread unevenly, use a round cutter or glass to gently reshape them into perfect circles immediately after removing them from the oven.
- Don’t Skip the Yolk: The extra egg yolk is the secret to the “chewy center” mentioned in our visual blueprint. It adds fat and protein without the drying effect of another egg white.
Creative Pairings and Service Suggestions
These Brown Butter Chocolate Chip Cookies are a standout dessert on their own, but they also pair beautifully with other textures. Serve them alongside a southern banana cobbler at your next gathering for a truly decadent dessert spread.
If you’re looking for a lighter contrast to follow a heavy meal, like our lemon garlic butter salmon, these cookies provide the perfect rich finish. For those who enjoy a bit of crunch, consider serving them alongside almond dacquoise cookies to showcase different baking styles.
Maintaining Freshness: Storage and Reheating
Keep your cookies in an airtight container at room temperature for up to 4 days. To recapture that “just-baked” gooey chocolate experience, microwave a cookie for 8-10 seconds before serving.
You can also freeze the pre-scooped dough balls for up to 3 months. Bake them directly from frozen, adding an extra 2 minutes to the total bake time. This ensures you are always only 15 minutes away from a fresh batch of Brown Butter Chocolate Chip Cookies.
Frequently Asked Questions
While chips work, hand-chopped semi-sweet chocolate bars create the irregular, glossy ‘pools’ of chocolate seen in professional photography because they lack the stabilizers found in commercial chips.
Yes. Chilling allows the flour to hydrate and the fats to firm up. This prevents the cookies from spreading too thin and ensures the soft, thick, chewy center described in the recipe.
Use the ‘cookie scoot’ method: immediately after removing the cookies from the oven, place a round glass or cutter over them and gently move it in a circular motion to pull in the edges.
Use a high-quality flaky sea salt like Maldon. Its translucent, coarse flakes provide a satisfying crunch and a clean burst of saltiness that balances the rich chocolate.
Browning the butter creates ‘beurre noisette,’ which adds a deep, nutty flavor and toasted aroma that standard softened butter cannot match, elevating the overall complexity of the cookie.
The Definitive Brown Butter Chocolate Chip Cookie Recipe
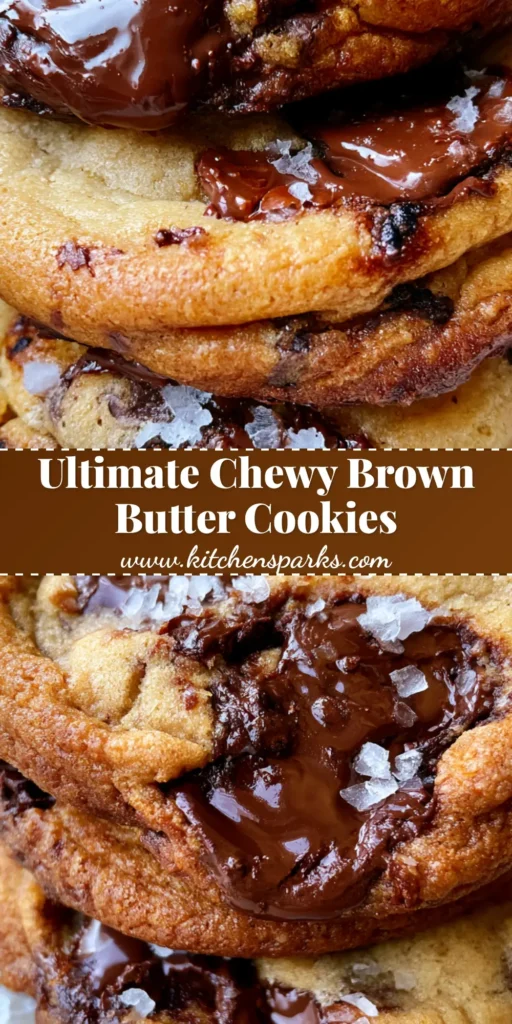
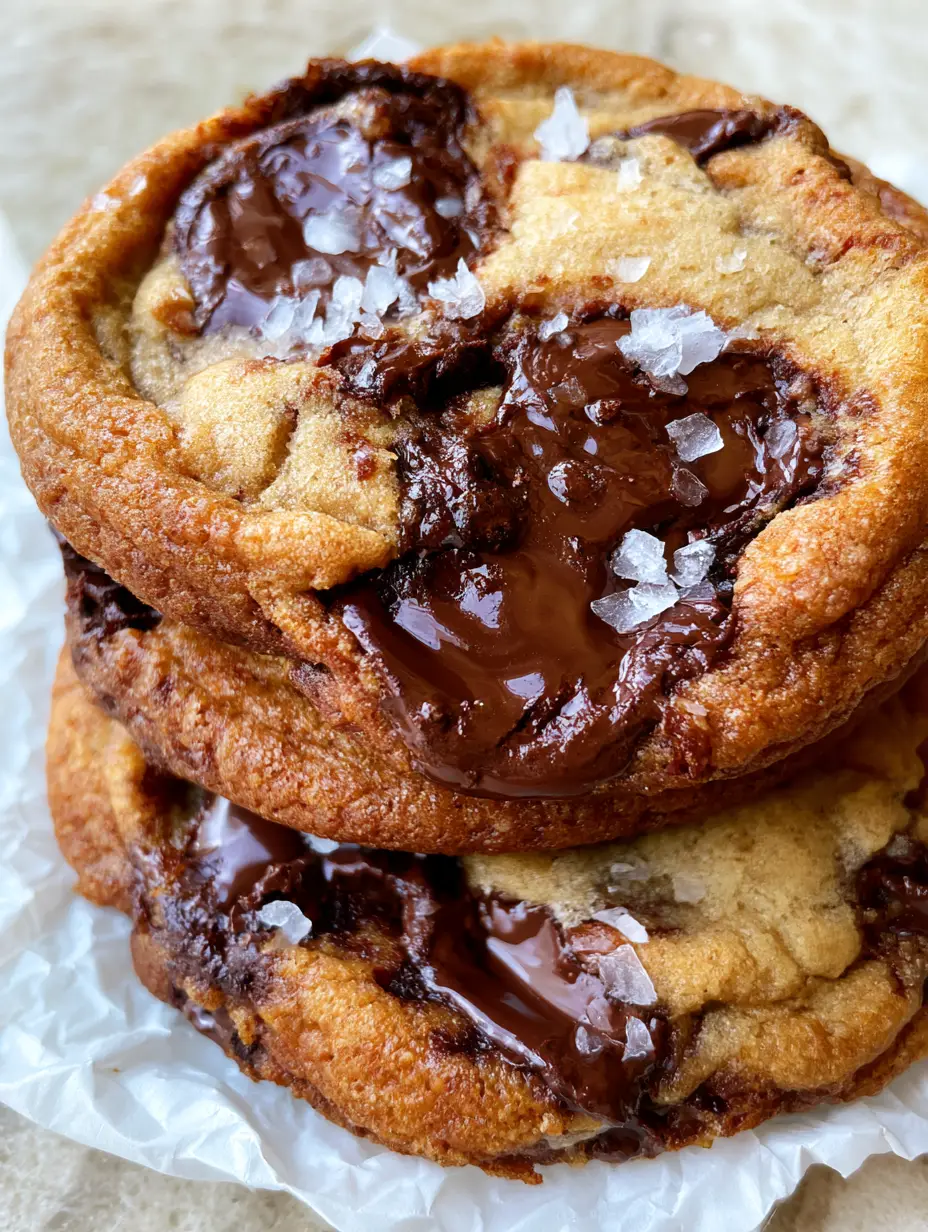
Brown Butter Chocolate Chip Cookies: The Ultimate Bakery-Style Recipe
Ingredients
Equipment
Method
- Melt butter in a light-colored pan over medium heat. Whisk as it foams and pops. Once the solids turn amber-brown and smell nutty, remove from heat and transfer to a bowl.
- Whisk brown sugar and white sugar into the warm butter. Add the egg, egg yolk, and vanilla, whisking until the mixture is glossy and smooth.
- Fold in the flour, baking soda, and fine salt until just combined. Do not overmix.
- Fold in the semi-sweet chocolate chunks. Scoop into 3-tbsp balls and refrigerate for at least 2 hours.
- Preheat oven to 350°F (175°C) and line a sheet with crinkled parchment paper.
- Bake for 10-12 minutes until edges are golden-brown but the center is still pale-tan and soft.
- Immediately sprinkle with flaky sea salt while chocolate is still glossy.
Notes
Chilling the dough is mandatory for the thick, chewy texture described.
Conclusion: The Ultimate Handheld Treat
Mastering the Brown Butter Chocolate Chip Cookies is a rite of passage for any home baker. The combination of the nutty beurre noisette, the irregular semi-sweet chocolate chunks, and the hit of flaky sea salt creates a sensory experience that standard recipes just can’t match. We hope this deep dive into cookie forensics helps you achieve that perfect thick, chewy result every time.
If you made these, we’d love to hear about it! Leave a comment below and let us know how your chocolate pools turned out. Don’t forget to follow us on Pinterest for more visual recipe blueprints and kitchen inspiration!


