There is a specific kind of magic that happens when high-heat searing meets the bright, acidic notes of Mediterranean herbs. These Chicken Gyro Bowls are the literal embodiment of that culinary synergy, offering a vibrant, deconstructed version of the classic street food staple.
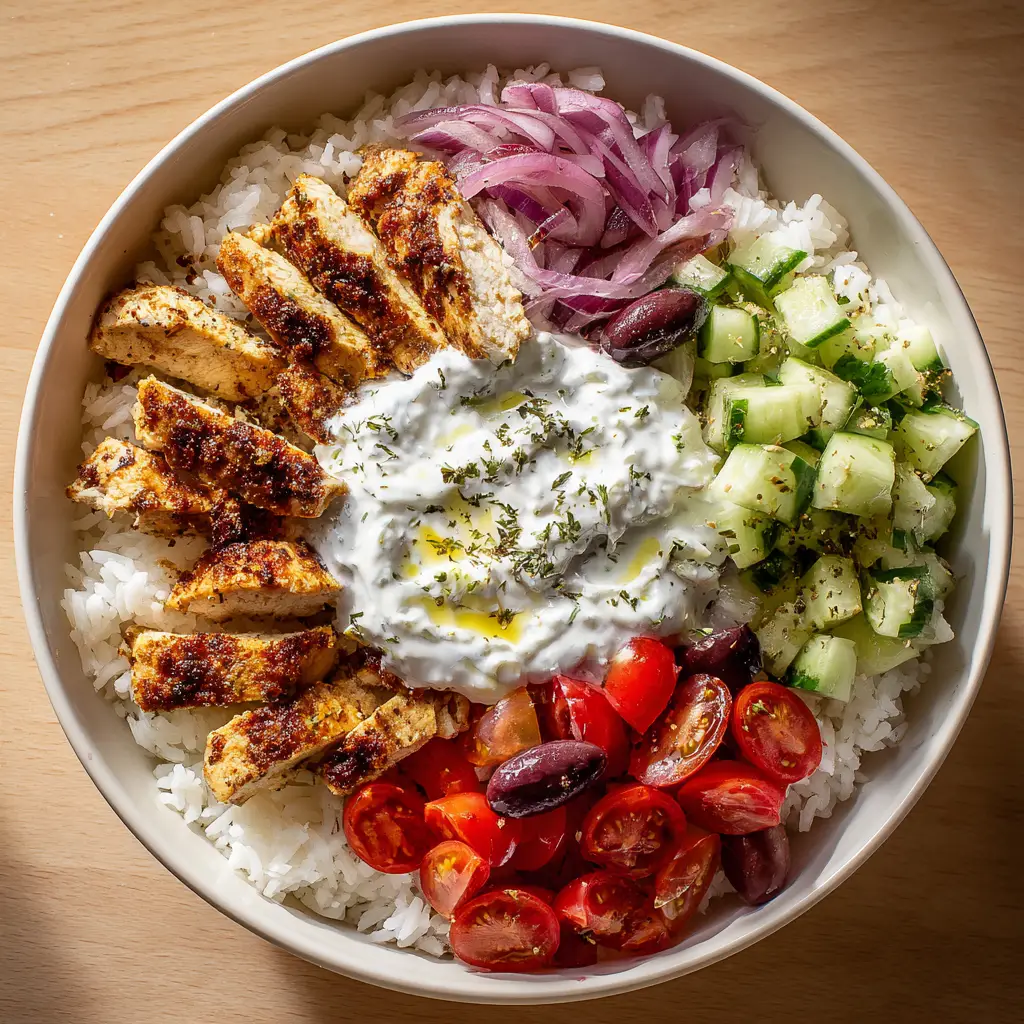
Imagine a crisp white ceramic bowl filled with a foundation of steaming, fluffy rice. Each section is a masterclass in texture: golden-brown chicken strips, crisp cucumbers, and the salty punch of kalamata olives, all brought together by a cool, thick dollop of tzatziki.
Whether you are looking for a high-protein lunch or a visually stunning dinner that looks like it stepped out of a professional food shoot, this recipe delivers. It is a meal that balances the warmth of seared poultry with the refreshing crunch of raw, garden-fresh vegetables.
The Anatomy of a Perfect Mediterranean Power Bowl
Creating a world-class bowl requires more than just throwing ingredients together; it requires an understanding of how flavors and textures interact on the palate. These Chicken Gyro Bowls are designed with a specific “vision-first” approach to ensure every bite is as balanced as the presentation.
- The Golden Sear: We use a high-smoke point olive oil and a heavy-bottomed skillet to ensure the chicken breast achieves that specific golden-brown crust seen in the prompt.
- Textural Contrast: The “snap” of raw red onions and hothouse cucumbers provides a necessary counterpoint to the soft, pillowy texture of the white rice.
- The Acid Component: Halved cherry tomatoes and a squeeze of fresh lemon juice cut through the richness of the Greek yogurt sauce.
- The Umami Bridge: Pitted kalamata olives provide a deep, briny saltiness that ties the earthy oregano and the savory chicken together.
The Flavor Foundation: Everything You Need for Greek Bowls
To achieve the result shown in our professional photography, you must use specific ingredients that provide both the structural integrity and the vibrant color profile required for this dish.
Boneless Skinless Chicken Breasts: We use 1.5 lbs (680g) of chicken, sliced into thin strips. This allows for maximum surface area, ensuring every piece gets that herb-crusted, seared finish.
Long-Grain White Rice: 1.5 cups (285g) of dry rice acts as the neutral base. Using a high-quality Basmati or Jasmine ensures the grains remain separate and fluffy rather than clumping together.
English Cucumbers: These are preferred for their thin skin and minimal seeds. Dicing 1 large (300g) cucumber provides that signature “crisp” look and refreshing water content.
Cherry Tomatoes: 1 pint (250g) of bright red tomatoes, halved. They provide a pop of color and a burst of acidity that balances the creamy elements of the bowl.
Red Onion: Sliced into paper-thin half-moons. The sharp bite of raw red onion is essential for the authentic “gyro” flavor profile.
Kalamata Olives: 1/2 cup (75g) of dark, pitted olives. Their deep purple hue is a critical visual component of the Mediterranean aesthetic.
Full-Fat Greek Yogurt: 1 cup (245g) serves as the base for the tzatziki. Using full-fat yogurt is the secret to getting that thick, dollop-able consistency seen in the center of the bowl.
Extra Virgin Olive Oil: 3 tbsp (45ml) for both the marinade and the final drizzle. A high-quality oil adds a peppery finish and a beautiful sheen to the final presentation.
Dried Oregano and Garlic: The primary aromatics. These “herb seasonings” must be visible on the chicken to match the forensic visual blueprint.
Essential Tools for the Home Chef
To replicate the seared textures and precise cuts of this dish, a few specific kitchen tools are non-negotiable. Using the right equipment ensures your “Chicken Gyro Bowls” look exactly like the smartphone photo in the prompt.
A 12-inch cast-iron skillet or heavy stainless steel pan is vital for achieving the golden-brown sear on the chicken. Non-stick pans often fail to create the “fond” (browned bits) that carry so much flavor.
You will also need a fine-mesh strainer to rinse your rice. Rinsing removes excess starch, which is the only way to ensure the grains stay fluffy and individual rather than mushy.
A sharp chef’s knife is required for the “neat sections” of vegetables. Precise dicing of the cucumbers and thin slicing of the onions makes the bowl look professional rather than haphazard.
Technique: Mastering the Perfect Golden Sear
The centerpiece of this bowl is undoubtedly the herb-seasoned chicken. Achieving that specific visual of “golden-brown seared chicken breast strips” requires attention to heat management and moisture control.
Step 1: The Flavor Infusion
In a large bowl, combine your sliced chicken strips with 1 tbsp (15ml) of olive oil, 1 tsp (5g) of dried oregano, 1/2 tsp (3g) of garlic powder, and a generous pinch of sea salt. Toss thoroughly to ensure every strip is coated; the oil acts as a heat conductor in the pan.
Step 2: Preparing the Fluffy Base
While the chicken marinates, rinse 1.5 cups (285g) of rice under cold water until the water runs clear. Combine with 3 cups (710ml) of water and a pinch of salt in a pot. Bring to a boil, then reduce to a simmer, cover, and cook for 15-18 minutes. Let it sit, covered, for 5 minutes before fluffing with a fork.
Step 3: The High-Heat Sear
Heat your skillet over medium-high heat with the remaining olive oil. Once the oil is shimmering (but not smoking), add the chicken in a single layer. Do not overcrowd the pan; work in batches if necessary.
Leave the chicken undisturbed for 3-4 minutes. You are looking for a deep, golden-brown crust to form before flipping. Once flipped, cook for another 2-3 minutes until the internal temperature reaches 165°F (74°C).
Step 4: Crafting the Creamy Tzatziki
In a small bowl, mix 1 cup (245g) of Greek yogurt with one grated and squeezed-dry mini cucumber, 1 minced garlic clove, and a squeeze of lemon. The key to the “thick white sauce” is removing all moisture from the grated cucumber before adding it to the yogurt.
Step 5: Visual Assembly
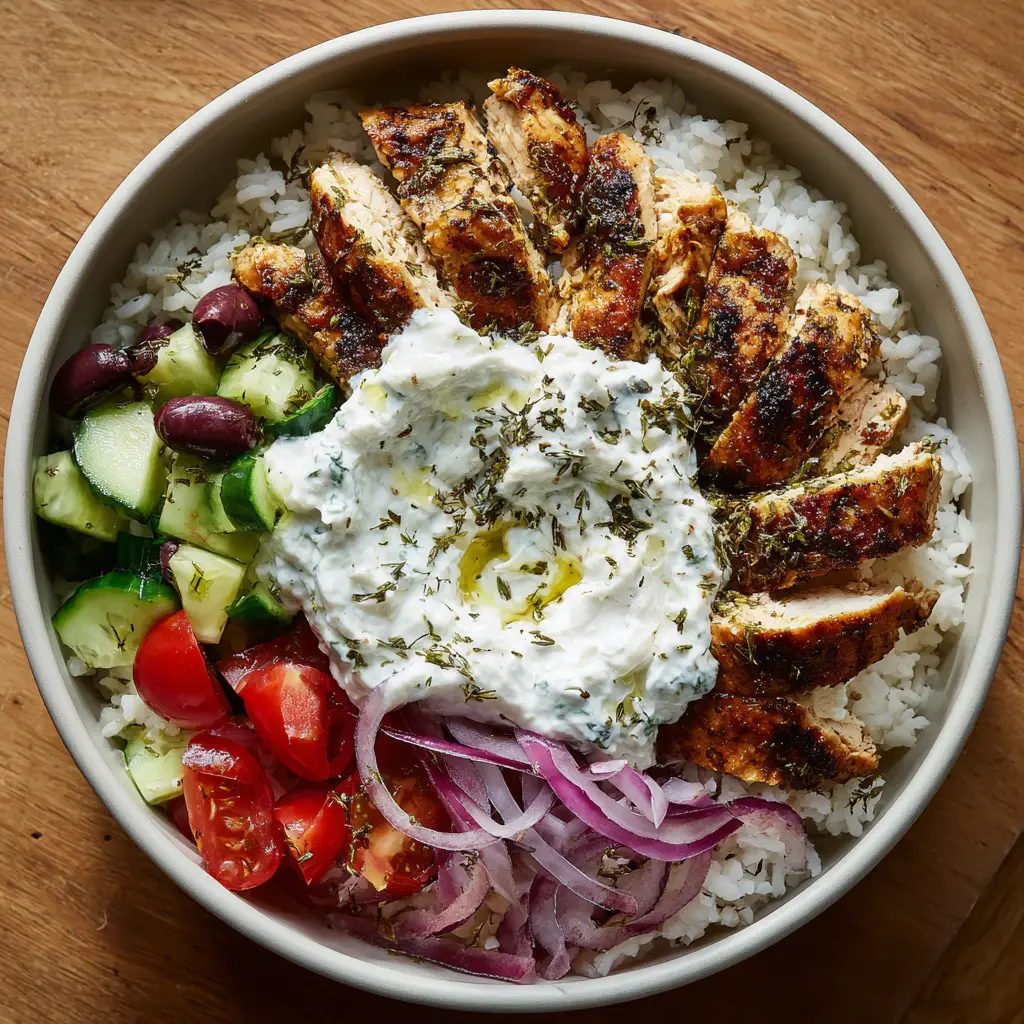
Place a generous scoop of fluffy rice at the bottom of a white ceramic bowl. Arrange the seared chicken, diced cucumbers, halved tomatoes, sliced onions, and olives in neat, distinct sections around the perimeter. Place a large dollop of tzatziki in the very center.
For the final “forensic” touch, drizzle a small amount of extra virgin olive oil over the tzatziki and sprinkle with a dash of dried oregano flakes, exactly as described in the visual blueprint.
Expert Tips for Success
- Dry the Meat: Before marinating, pat the chicken dry with paper towels. Excess moisture is the enemy of a good sear and will cause the meat to steam instead of brown.
- The Rice Resting Period: Never skip the 5-minute rest for the rice. This allows the moisture to redistribute, preventing the bottom from becoming soggy.
- Onion Mellowing: If you find raw red onions too pungent, soak the slices in ice water for 10 minutes. This retains the crunch but removes the harsh “sulfury” bite.
- Temperature Contrast: Serve the rice and chicken hot, but keep the vegetables and tzatziki chilled until the very last second. This temperature play is a hallmark of great Mediterranean cooking.
Shelf Life and Reheating Instructions
Chicken Gyro Bowls are legendary for meal prepping, but they must be stored correctly to maintain their structural integrity. Store the hot components (rice and chicken) separately from the cold components (veg and sauce).
The cooked chicken and rice will stay fresh in airtight containers for up to 4 days in the refrigerator. To reheat, sprinkle a teaspoon of water over the rice to prevent it from drying out and microwave for 90 seconds.
Do not freeze the fresh vegetables or the tzatziki, as the cellular structure of the cucumbers and tomatoes will collapse upon thawing, leading to a watery mess. The chicken and rice can be frozen for up to 3 months.
What to Serve With Mediterranean Bowls
While these bowls are a complete meal on their own, they pair beautifully with other textured salads and dips. If you want to expand your spread, consider serving this alongside a zesty Mexican street corn salad for a unique fusion of flavors.
For those who love a bit of heat, a side of jalapeno slaw adds a spicy crunch that complements the cool tzatziki. If you are hosting a larger gathering, these bowls are the perfect follow-up to an appetizer of three cheese tomato bruschetta dip.
To finish the meal on a lighter note, a bowl of better than sex fruit salad provides the perfect sweet ending to the savory, garlic-forward gyro flavors.
Frequently Asked Questions
You can dice the cucumbers and onions up to 2 days in advance. However, wait to halve the cherry tomatoes until the day of serving to prevent them from becoming mushy.
Yes, chicken thighs are a great substitute and offer more moisture. Ensure you trim the fat and cook them slightly longer than breasts to reach an internal temperature of 175°F (79°C) for the best texture.
The secret is to use full-fat Greek yogurt and to salt your grated cucumber, let it sit for 10 minutes, and then squeeze all the water out using a kitchen towel before mixing.
To make these bowls low-carb or Keto-friendly, simply replace the white rice base with cauliflower rice or a bed of fresh romaine lettuce.
Reheat the chicken in a skillet over low heat with a splash of chicken broth or water, covering the pan to trap the steam. This keeps the meat tender.
The Ultimate Chicken Gyro Bowl Recipe
Chicken Gyro Bowls with Fluffy Rice and Creamy Tzatziki
Ingredients
Equipment
Method
- Toss chicken strips with olive oil, oregano, garlic powder, and salt. Let sit for 10 minutes.
- Rinse rice until clear. Combine with water and salt, bring to a boil, then simmer covered for 15-18 minutes. Rest for 5 minutes.
- Heat skillet over medium-high heat. Add chicken in a single layer and sear until a deep golden-brown crust forms, about 4 minutes per side.
- Layer rice in bowls. Arrange chicken and vegetables in sections. Top with a dollop of tzatziki, an olive oil drizzle, and dried oregano.
Notes
Squeeze cucumber juice out completely for thick tzatziki.
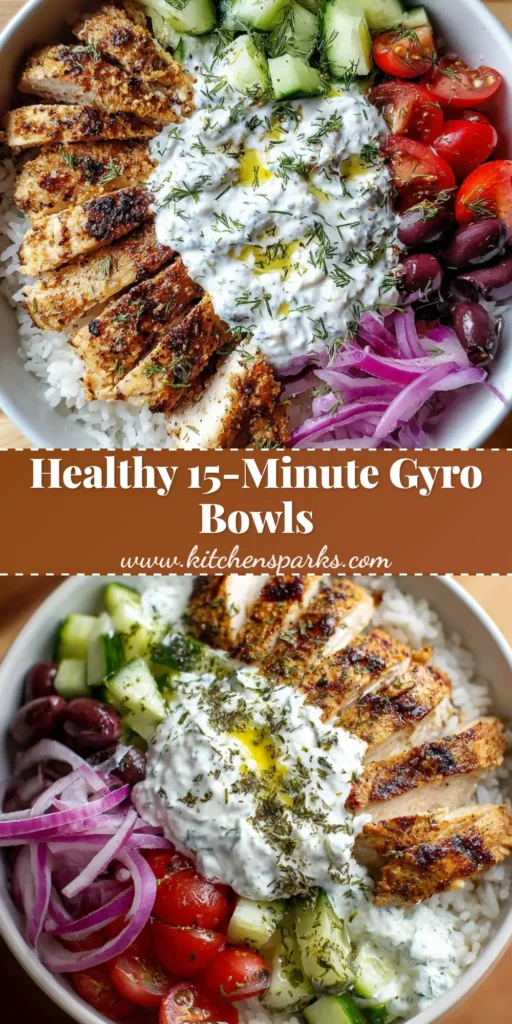
Join the Kitchen Community
These Chicken Gyro Bowls are more than just a meal; they are a vibrant celebration of fresh ingredients and proven culinary techniques. We hope this recipe brings a slice of the Mediterranean to your dining table.
If you made this dish, we would love to hear about it! Leave a comment below and let us know how your sear turned out. Don’t forget to follow us on Pinterest for more visually stunning recipe inspiration.
Sharing is caring—pin this recipe to your “Healthy Dinners” board so you always have it on hand for your next meal prep Sunday!
Happy cooking, and enjoy the crunch!