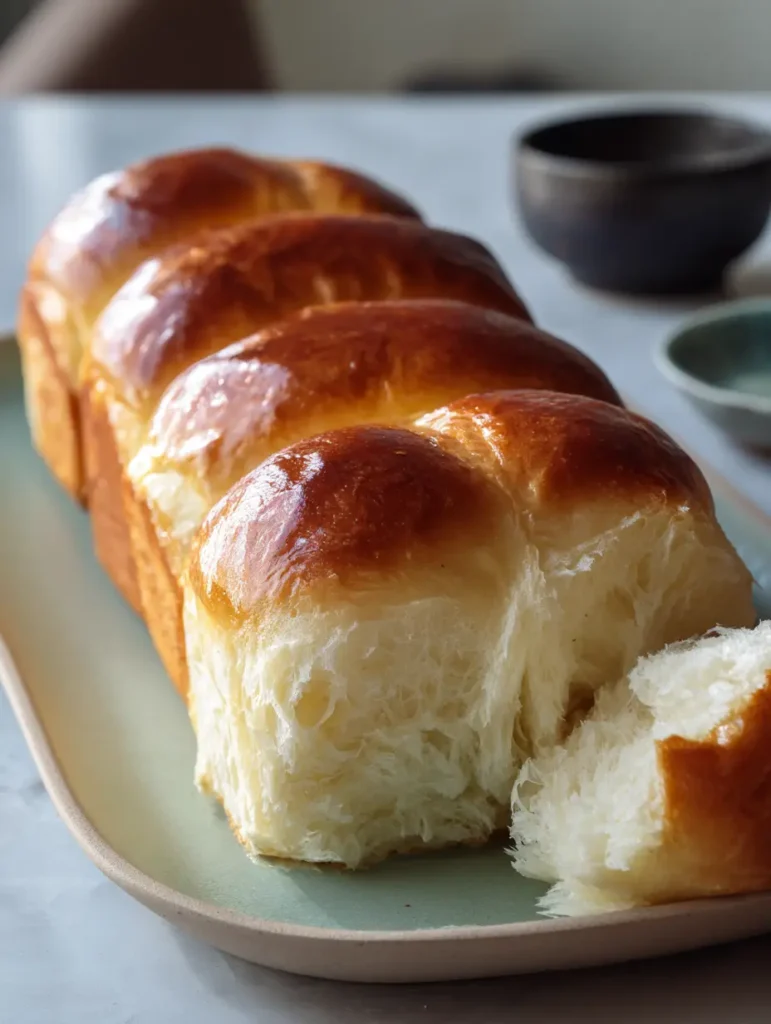
There is a specific, undeniable magic in a perfectly crafted Homemade Hot Dog Buns. Imagine a row of four golden-brown, glossy buns resting on a minimalist pale sage green platter, their surfaces shimmering under soft daylight. When you pull one apart, the crust gives way to a snowy white, airy, and highly textured interior crumb, revealing the soft, pillowy fibers that only a labor of love can produce.
Most store-bought options are often dry, crumbly, or chemically preserved. By mastering this artisanal approach, you are creating a vessel worthy of your finest grilled meats. Whether you are prepping for a summer cookout or looking to elevate a simple weeknight meal, these buns provide the structural integrity and sensory delight that transform a basic sandwich into a gourmet experience.
The visual appeal of these buns—characterized by their deep honey-colored, shiny crust and smooth, domed tops—is matched only by their incredible flavor. In this guide, we will dive deep into the culinary science of yeast fermentation and gluten development to ensure your results mirror the professional-grade imagery of a high-end bakery.
Why You Will Never Go Back to Store-Bought Buns
- Unrivaled Texture: A delicate balance of fats and proteins creates a snowy white crumb that is soft yet sturdy enough for heavy toppings.
- Visual Masterpiece: The egg-wash glaze provides a high-gloss, honey-colored finish that looks stunning on any serving platter.
- Clean Ingredients: No high-fructose corn syrup or dough conditioners—just pure, pantry-staple ingredients.
- Aromatic Excellence: The scent of freshly baked yeast dough blooming in your kitchen is an experience no plastic bag can replicate.
- Versatility: These buns are the perfect base for everything from classic franks to smash burger tacos inspired fillings.
Essential Pantry Staples for Bakery-Quality Buns
To achieve the “snowy white” interior crumb described in our visual blueprint, we must select ingredients that prioritize both strength and softness. Each component plays a forensic role in the final structure of the Homemade Hot Dog Buns.
Bread Flour: 3 ½ cups (420g). High protein content is non-negotiable for creating the “pillowy fibers” seen when the bun is torn open, providing the necessary gluten network.
Whole Milk: 1 cup (240ml). Warm milk (110°F/43°C) tenderizes the crumb and adds a richness that water simply cannot provide.
Instant Yeast: 2 ¼ tsp (7g). This leavening agent ensures a consistent rise and that characteristic “airy” texture within the domed top.
Granulated Sugar or Honey: 2 tbsp (30g). Beyond sweetness, sugar aids in the Maillard reaction, helping achieve that deep honey-colored, shiny crust.
Unsalted Butter: 4 tbsp (56g), softened. Integrating room-temperature butter creates a “brioche-lite” texture, making the interior crumb highly textured and soft.
Fine Sea Salt: 1 tsp (6g). Salt controls the yeast activity and enhances the natural buttery notes of the dough.
Large Egg (For Dough): 1 unit (50g). Adding an egg to the dough contributes to the golden color and provides structural stability.
Egg Wash (For Glaze): 1 egg beaten with 1 tbsp (15ml) water. This is the secret to the “reflective egg-wash sheen” highlighted in the visual prompt.
Must-Have Culinary Tools for Bread Success
Achieving the symmetrical, smooth, domed top requires the right equipment. To replicate the professional look of the buns on the pale sage green platter, ensure you have these tools ready.
A stand mixer with a dough hook is highly recommended to reach the level of gluten development required for those “visible soft fibers.” You will also need a digital kitchen scale for precise metric measurements, as flour density varies wildly by volume. A high-quality baking sheet lined with parchment paper prevents the bottoms from over-browning, while a pastry brush is essential for applying the glossy egg-wash glaze evenly.
The Step-by-Step Evolution of the Perfect Bun
1. Activating the Yeast and Initial Mixing
In the bowl of your stand mixer, combine the warm milk, sugar, and instant yeast. Let it sit for 5 minutes until it becomes slightly foamy; this is your first sensory cue that the yeast is alive and ready to lift your Homemade Hot Dog Buns. Add the egg and half of the bread flour, mixing on low speed until a thick paste forms.
2. The Intensive Kneading Phase
Add the remaining flour and the salt. With the dough hook running, begin adding the softened butter one tablespoon at a time. Increase the speed to medium and knead for 8-10 minutes. You are looking for the “windowpane test”—the dough should be smooth, elastic, and translucent when stretched thin without tearing. This ensures the airy, textured interior crumb seen in the visual blueprint.
3. The First Rise (Bulk Fermentation)
Place the dough in a lightly oiled bowl and cover with a damp cloth. Let it rise in a warm, draft-free spot for 60-90 minutes, or until doubled in size. The dough should look supple and full of trapped carbon dioxide, which will eventually become those “pillowy fibers.”
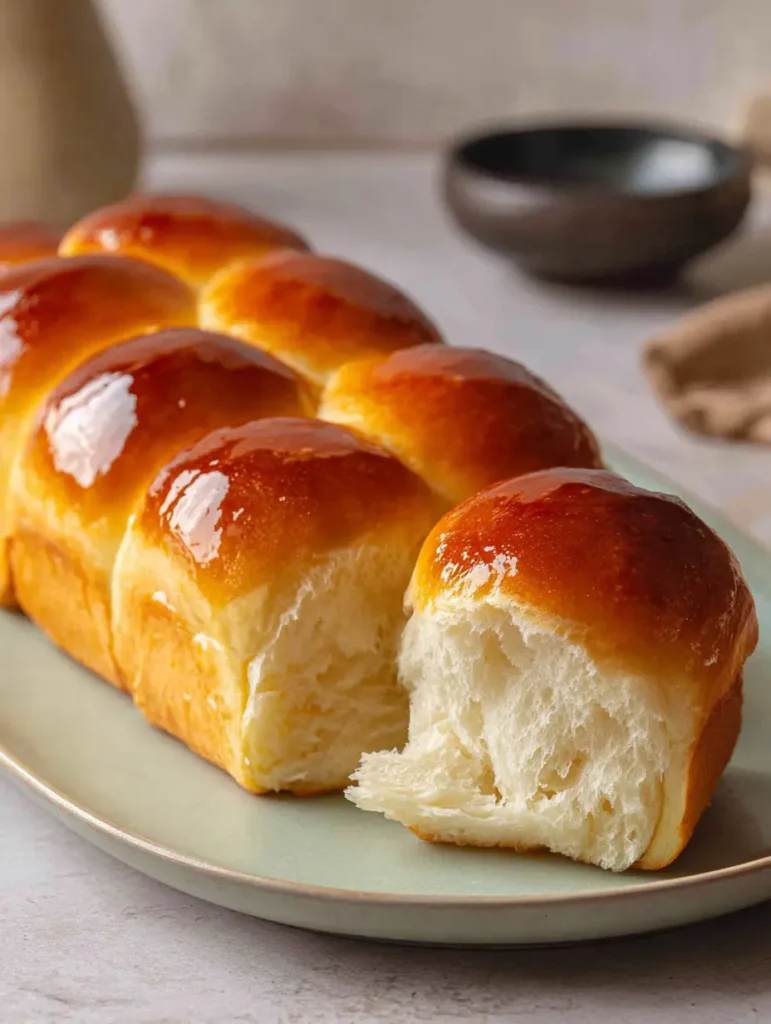
4. Shaping for the Signature Domed Look
Gently deflate the dough and turn it onto a lightly floured surface. Divide the dough into 8 equal portions (approximately 100g each). Shape each piece into a smooth cylinder about 4.5 inches (11cm) long. Place them on your prepared baking sheet, spaced about 1 inch apart so they slightly touch during the second rise—this helps them grow upward, creating that smooth, domed top.
5. The Final Proof and Glazing
Cover the shaped buns and let them rise again for 45-60 minutes. They should look swollen and “puffy.” Using a soft pastry brush, gently paint the tops with your egg wash. This step is critical for the deep honey-colored, shiny crust. Be careful not to deflate the dough during this process.
6. Precision Baking and Cooling
Bake at 375°F (190°C) for 15-18 minutes. Watch for the visual change: the crust will transform into a reflective, golden-brown finish. Remove from the oven and immediately transfer to a wire rack. For an extra boost of flavor, you can brush them with cowboy butter while still hot, though the egg wash alone provides the necessary shine.
Expert Tips for Bakery-Level Results
- Temperature Control: Ensure your milk is between 105°F and 115°F. Too hot will kill the yeast; too cold will result in a sluggish rise and a dense crumb.
- The Steam Secret: Place a shallow pan of water on the bottom rack of the oven during the first 5 minutes of baking to help the buns expand without cracking.
- Avoid Over-Flouring: If the dough feels sticky, resist the urge to dump in more flour. The “snowy white, airy” crumb depends on a high-hydration dough.
- The Shine Factor: For the most reflective sheen, strain your egg wash through a fine-mesh sieve to remove any “globs” of egg white before brushing.
Optimal Storage and Reheating Methods
These Homemade Hot Dog Buns are best enjoyed the day they are baked, especially when served on a beautiful pale sage green platter. However, they can be stored in an airtight bag at room temperature for up to 3 days. To restore that “soft, pillowy” feel, wrap a bun in a damp paper towel and microwave for 10 seconds, or toast them lightly with a spread of cowboy butter ranch dressing for a savory twist.
For long-term storage, these buns freeze beautifully. Wrap them individually in plastic wrap and place them in a freezer bag for up to 3 months. Thaw at room temperature and refresh in a 350°F (175°C) oven for 5 minutes to regain the honey-colored crust’s crispness.
What to Serve with Your Artisanal Buns
The structural integrity of these buns makes them the ultimate partner for juicy grilled meats. Try stuffing them with grilled chicken bites with garlic sauce for a Mediterranean flair, or use them as a base for premium grilled shrimp skewers.
If you’re hosting a sophisticated brunch, these buns can even be used for savory breakfast sandwiches or paired alongside one-pot black beans and rice for a hearty, complete meal. Their neutral yet buttery flavor profile ensures they complement everything from spicy sausages to delicate seafood.
Frequently Asked Questions
Yes! You can perform the first rise in the refrigerator overnight. This cold fermentation actually develops a deeper flavor in the dough.
While you can use All-Purpose flour, the buns will be less chewy and may not achieve the ‘pillowy fibers’ seen in the blueprint. Bread flour’s higher protein content is key for that airy, textured crumb.
Storing them in an airtight container or Ziploc bag once they have cooled completely is essential. For an even softer crust, brush them with melted butter while they are still warm from the oven.
Most likely your liquid was too hot (killing the yeast) or too cold (not activating it). Ensure your milk is between 105°F and 115°F. Also, check that your yeast hasn’t expired.
The shine comes specifically from the egg wash. Ensure you use a whole egg beaten with a little water or milk, and apply it thoroughly just before baking. For a deeper honey color, add a pinch of sugar to the egg wash.
The Master Recipe for Homemade Hot Dog Buns
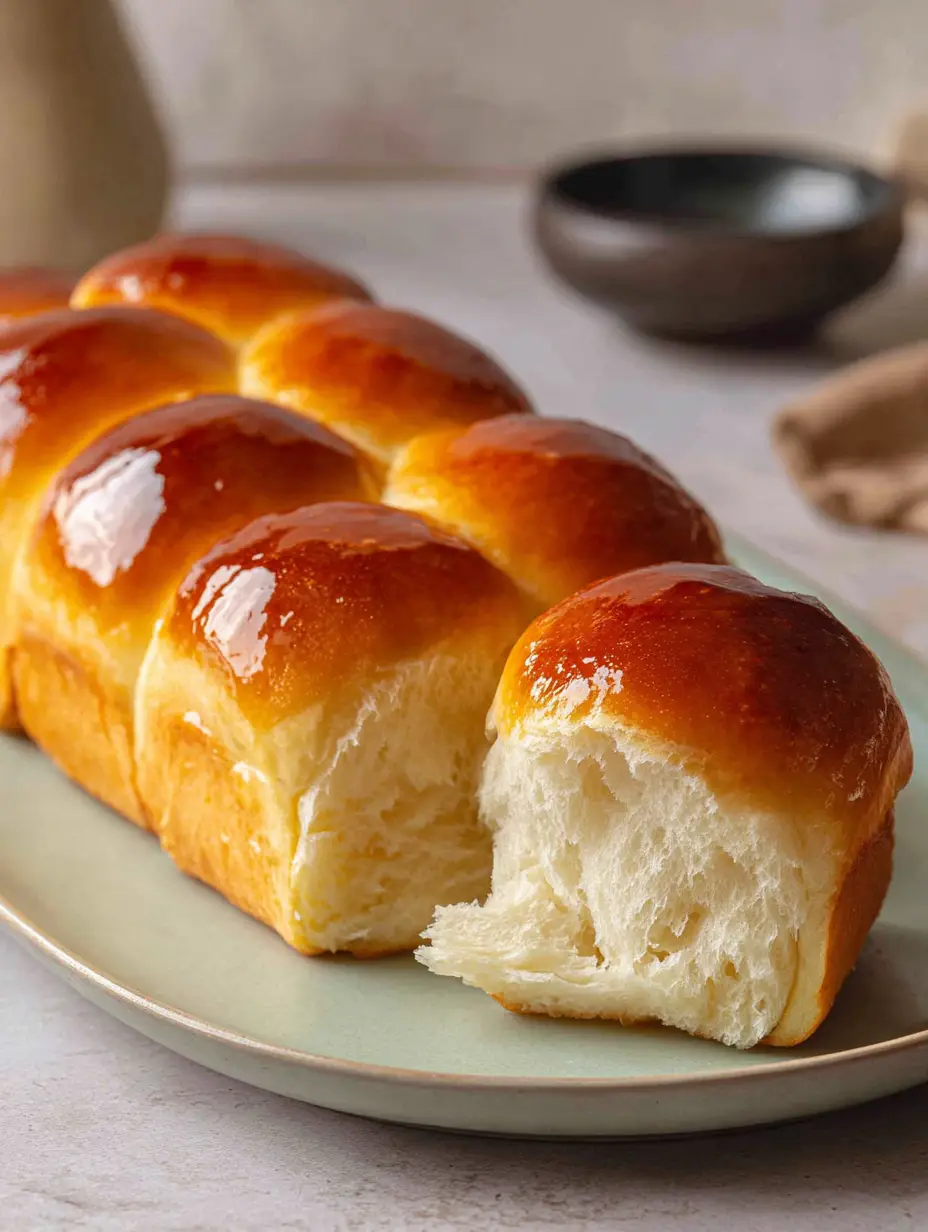
Homemade Hot Dog Buns: The Ultimate Fluffy Brioche-Style Recipe
Ingredients
Equipment
Method
- Combine warm milk, sugar, and yeast in a mixer bowl. Let stand for 5 minutes until foamy.
- Add egg, butter, and flour. Knead with dough hook for 8-10 minutes until smooth and elastic (windowpane test).
- Place dough in an oiled bowl, cover, and let rise in a warm spot for 60-90 minutes until doubled.
- Divide dough into 8 equal pieces. Roll into 4.5-inch cylinders and place on a lined baking sheet.
- Cover and let rise for another 45-60 minutes until puffy.
- Brush buns with egg wash. Bake at 375°F (190°C) for 15-18 minutes until deep golden-brown and glossy.
Notes
For a softer crust, brush with melted butter immediately after removing from the oven.

Join the Kitchen Spark Community
Mastering the Homemade Hot Dog Buns is a rite of passage for any serious home cook. We hope this guide helps you achieve that perfect honey-colored crust and snowy white interior you’ve been dreaming of. If you enjoyed this recipe, please leave a comment below and let us know how your buns turned out!
Don’t forget to sign up for our newsletter for more culinary deep-dives and forensic recipe breakdowns. Share your creations on social media and follow us on Pinterest for daily inspiration. Happy baking!