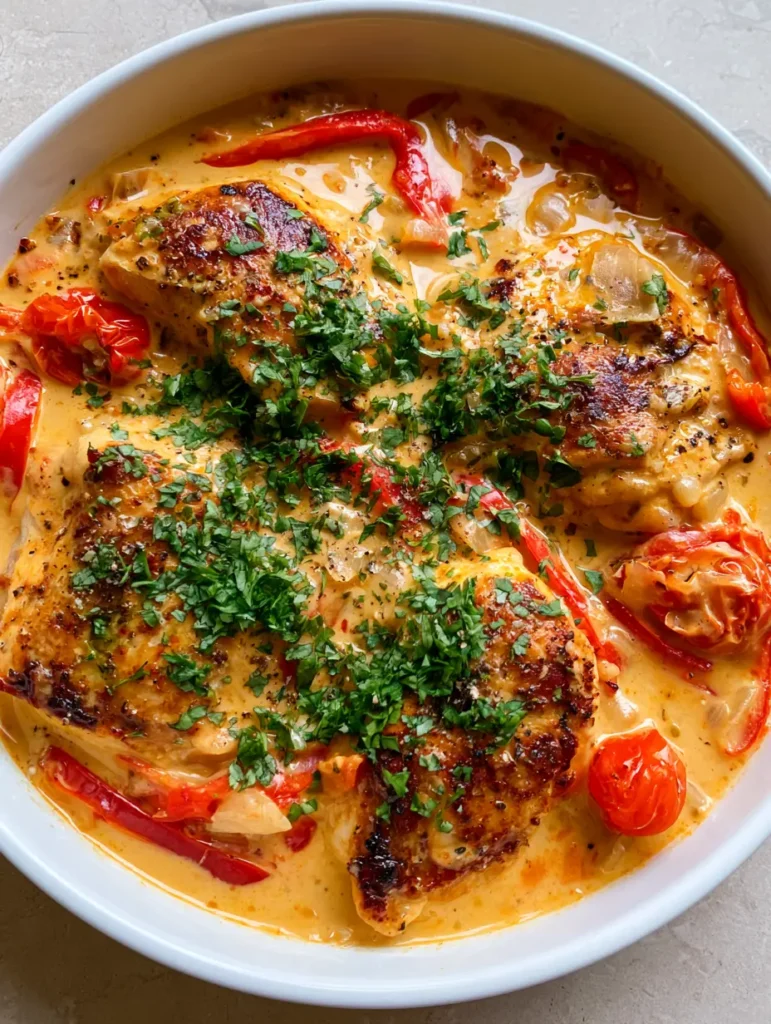
There is a specific kind of magic that happens when high-heat searing meets the velvety embrace of tropical aromatics. This Creamy Coconut Milk Chicken isn’t just a meal; it is a visual and sensory masterpiece designed to bring restaurant-quality depth to your home kitchen. Imagine succulent chicken thighs, seared until they boast a deep golden-brown crust with those irresistible charred edges, nestled in a pool of glossy, pale orange sauce.
The sauce itself is a study in texture—thick enough to coat the back of a spoon, yet vibrant with the sweetness of soft-simmered red bell peppers and the acidic pop of blistered cherry tomatoes. Every bite is punctuated by the bite of freshly cracked black pepper and the cooling brightness of hand-chopped cilantro. It is a dish that looks as stunning in a white ceramic skillet as it tastes on the palate, perfectly capturing that authentic, handheld-photo aesthetic of a meal made with love and precision.
Whether you are looking for a new weeknight staple or a centerpiece for a weekend dinner party, this recipe delivers on every promise. We are moving beyond basic simmer sauces into a world of layered flavors where the natural sugars of the onions become translucent and sweet, and the tomatoes are treated with enough heat to burst their skins, releasing their juices into the coconut milk to create that signature sunset hue.
Why You Will Fall in Love with This Silky Skillet Chicken
- The Perfect Sear: We utilize professional searing techniques to ensure the chicken maintains a golden-brown exterior that provides a textural contrast to the creamy sauce.
- Vibrant Visual Appeal: From the bright red of the bell pepper strips to the deep green of the fresh cilantro, this dish is a feast for the eyes.
- Complex Flavor Profile: By blistering the cherry tomatoes separately, we concentrate their sweetness and acidity, balancing the rich fat of the full-fat coconut milk.
- One-Pan Simplicity: Despite its gourmet appearance, this entire recipe comes together in a single shallow skillet, making cleanup as easy as the cooking process itself.
The Essential Pantry List for the Ultimate Coconut Sauce
To achieve the specific “pale orange” gloss and structural integrity described in our visual blueprint, each ingredient has been selected for its chemical contribution to the dish. We aren’t just tossing things in a pan; we are building an emulsion.
Boneless Skinless Chicken Thighs (or Breasts): 1.5 lbs (680g). Thighs are preferred for their higher fat content, which allows for a harder sear without drying out the meat, though breasts work well if monitored closely for temperature.
Full-Fat Coconut Milk: 1 can (400ml). It is essential to use full-fat canned coconut milk rather than the carton variety to achieve that thick, glossy sauce texture that clings to the chicken.
Red Bell Peppers: 2 medium (300g). These are sliced into thin strips to ensure they soften quickly into “soft-simmered” ribbons that weave through the sauce.
Cherry Tomatoes: 1 cup (150g). Halved before hitting the pan, these are high-heat blistered to release their pectin, which naturally thickens and colors the sauce that beautiful pale orange.
Yellow Onion: 1 medium (150g). Diced finely and sautéed until translucent, the onions provide the foundational sweetness and “body” to the liquid base.
Fresh Cilantro: 1/2 cup (15g). A heavy sprinkle of freshly chopped cilantro added at the very end preserves its volatile oils and bright green color against the warm sauce.
Cracked Black Pepper: 1 tsp (2g). Using “cracked” rather than “ground” pepper provides fine flakes that are visually distinct and offer a pungent heat that cuts through the coconut cream.
High-Smoke Point Oil: 2 tbsp (30ml). Avocado or grapeseed oil is necessary to achieve the “slight charring” on the chicken edges without the oil breaking down and smoking out your kitchen.
Kosher Salt: 1.5 tsp (9g). This “invisible” essential is required to draw out moisture from the onions and season the chicken layers deeply.
Professional Tools for a Flawless Sear
To replicate the visual result of a handheld smartphone photo on a stone surface, the equipment is just as important as the ingredients. A white ceramic shallow skillet is highly recommended, as the light-colored surface allows you to monitor the “fond” (the brown bits) at the bottom of the pan, ensuring you don’t burn the aromatics.
You will also need a high-quality set of tongs for flipping the chicken to maintain that golden crust, and a sharp chef’s knife to ensure the red bell peppers are sliced into uniform, elegant strips. A heavy-bottomed pan is non-negotiable for even heat distribution, which is how we achieve the simultaneous “soft-simmered” pepper texture and “thick, glossy” sauce consistency.
A Masterclass in Searing and Simmering: Step-by-Step
Phase 1: Achieving the Golden-Brown Crust
Pat your chicken dry with paper towels; moisture is the enemy of the sear. Season both sides generously with salt and a portion of the cracked black pepper. Heat your skillet over medium-high heat with the oil until it shimmers and just begins to wisps a tiny bit of smoke.
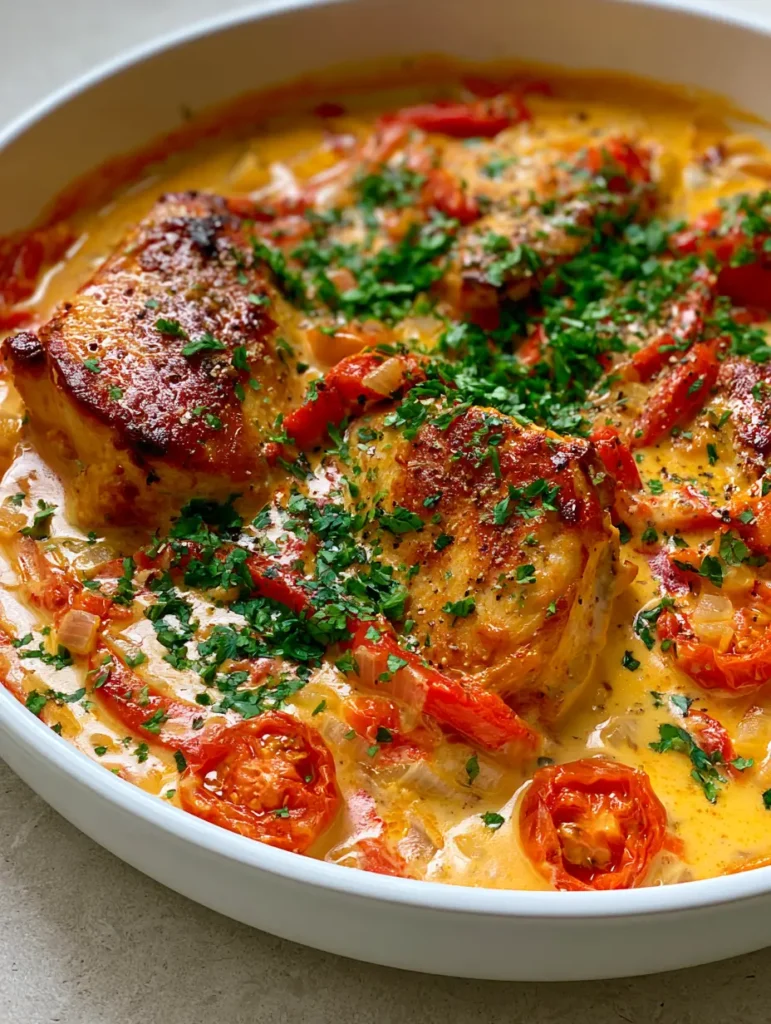
Place the chicken in the skillet, ensuring they aren’t crowded. Listen for a loud, aggressive sizzle—this is the sound of the Maillard reaction. Resist the urge to move them for at least 4-5 minutes. Flip only when the edges show a slight char and the meat releases easily from the pan, revealing a stunning golden-brown surface.
Phase 2: Developing the Aromatics and Blistering
Remove the chicken to a plate (it won’t be fully cooked yet). In the same pan, drop in your diced onions. Use the moisture from the onions to scrape up the brown bits from the chicken. Sauté until the onions are translucent and soft, about 5 minutes.
Add the red bell pepper strips and the halved cherry tomatoes, cut-side down. Increase the heat slightly. You are looking for the tomato skins to pucker and pop—this “blistering” is crucial. As the tomatoes break down, their juices will mix with the residual chicken fats, creating the base for our orange-tinted sauce.
Phase 3: The Glossy Coconut Reduction
Pour in the full-fat coconut milk. Use a wooden spoon to stir gently, incorporating the blistered tomato juices and onions into the cream. The sauce will transition from stark white to a pale, warm orange. Lower the heat to a simmer.
Nestle the chicken pieces back into the sauce, along with any accumulated juices from the plate. Let it simmer uncovered for 8-10 minutes. You will see the sauce transform from a liquid to a “thick, glossy” coating. The bell peppers should be soft and tender, yielding easily to a fork.
Phase 4: The Final Flourish
Just before serving, taste the sauce. The balance of coconut fat and tomato acidity should be harmonious. Turn off the heat. This is when we add the “heavy sprinkle” of cilantro and the remaining fine flakes of cracked black pepper. The residual heat will wake up the cilantro’s aroma without wilting it into brown mush.
Expert Tips for a Picture-Perfect Skillet
- Don’t Shake the Can: If you want an extra thick sauce, don’t shake the coconut milk can before opening. Use the thick cream at the top first for the initial simmer, then add the coconut water only if the sauce becomes too thick.
- Room Temp Chicken: Take your chicken out of the fridge 15 minutes before cooking. Cold meat hits a hot pan and drops the temperature, steaming the meat instead of searing it.
- The “Pale Orange” Secret: If your sauce isn’t turning orange enough, gently press down on a few of the blistered tomatoes with your spoon to release more of their pigment into the cream.
- Acid Balance: If the sauce feels too heavy, a tiny squeeze of lime juice (not pictured but culinary sound) can brighten the entire profile without changing the visual look.
How to Store and Reheat Your Coconut Chicken
This dish stores beautifully, as the flavors continue to marry in the fridge. Place leftovers in an airtight container for up to 3 days. When reheating, do so over low heat on the stovetop. Coconut milk can break (separate) if microwaved on high power or boiled too aggressively.
If the sauce has thickened too much in the fridge, add a tablespoon of water or broth during the reheating process to restore that glossy, handheld-photo-ready texture. We do not recommend freezing this dish, as the texture of the bell peppers and the coconut emulsion can become grainy upon thawing.
Perfect Pairings for a Complete Meal
To soak up every drop of that pale orange sauce, serving this over a bed of grains is essential. We highly recommend a side of coconut pineapple rice to lean into the tropical themes of the dish. The sweetness of the pineapple beautifully complements the charred edges of the chicken.
If you prefer a lower-carb option, this chicken is fantastic alongside a chicken zucchini bake. For those who love a fusion twist, try shredding the leftovers and tossing them into a creamy garlic chicken ramen for a decadent lunch the next day. If you enjoy this flavor profile, you might also love our creamy sun-dried tomato garlic chicken.
Frequently Asked Questions
Yes, but be careful not to overcook them. Sear the breasts for about 3-4 minutes per side, then remove. Only add them back to the sauce for the final 3-4 minutes of simmering to keep them juicy.
For this recipe, canned full-fat coconut milk is essential. Carton coconut milk is too diluted with water and will result in a thin, watery sauce rather than the thick, glossy consistency shown in the photos.
The key is high heat and patience. Use an oil with a high smoke point, pat the chicken completely dry before seasoning, and do not move the pieces for at least 4-5 minutes once they hit the pan.
This version focuses on savory and creamy notes with a mild heat from cracked black pepper. If you prefer spice, you can add red chili flakes or a tablespoon of red curry paste during the onion sauté step.
The orange tint comes from the juices of the blistered cherry tomatoes. To deepen the color, gently press down on the tomatoes with a spoon while they simmer to release more of their pigment into the cream.
The Ultimate Creamy Coconut Milk Chicken Recipe Card
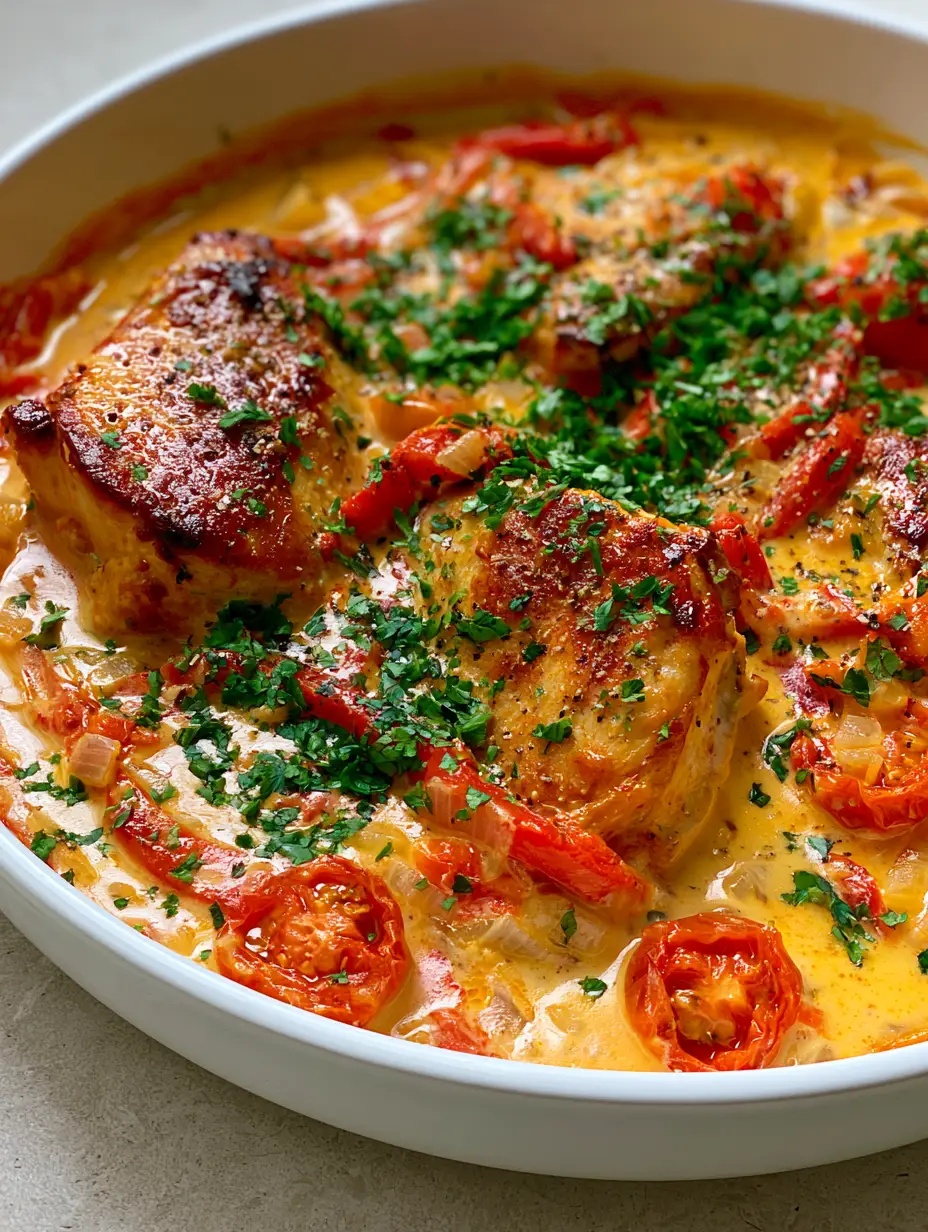
Creamy Coconut Milk Chicken with Blistered Tomatoes and Peppers
Ingredients
Equipment
Method
- Heat oil in a white ceramic skillet over medium-high heat. Season chicken with salt and half the pepper, then sear for 5 minutes per side until golden-brown with charred edges. Remove chicken from pan.
- In the same pan, sauté onions until translucent. Add bell pepper strips and halved tomatoes cut-side down. Cook until tomatoes are blistered and peppers soften.
- Stir in the coconut milk, scraping the bottom of the pan to mix in the tomato juices until the sauce is pale orange. Return chicken to the skillet.
- Simmer for 8-10 minutes until the sauce is thick and glossy. Turn off heat and top with a heavy sprinkle of cilantro and remaining cracked black pepper.
Notes
Use full-fat canned coconut milk for the specific glossy texture.
Final Thoughts on This Skillet Masterpiece
This Creamy Coconut Milk Chicken represents the intersection of visual beauty and culinary science. By following the steps to sear, blister, and simmer, you’ve created a dish that is as vibrant as it is delicious. The contrast of the charred chicken against the pale orange, glossy sauce is a testament to your skills as a home cook.
If you enjoyed this recipe, please leave a comment below and let us know how your blistered tomatoes turned out! Don’t forget to share your photos and tag us, or pin this recipe to your favorite board on Pinterest so you never lose it. Happy cooking!


