Mastering the perfect Chocolate Ganache Recipe is a rite of passage for every home baker and aspiring chocolatier. There is something profoundly satisfying about watching jagged chunks of dark chocolate transform into a pool of liquid gold under the heat of tempered cream. This isn’t just a sauce; it is a versatile culinary tool that serves as the backbone for truffles, glazes, and decadent frostings.
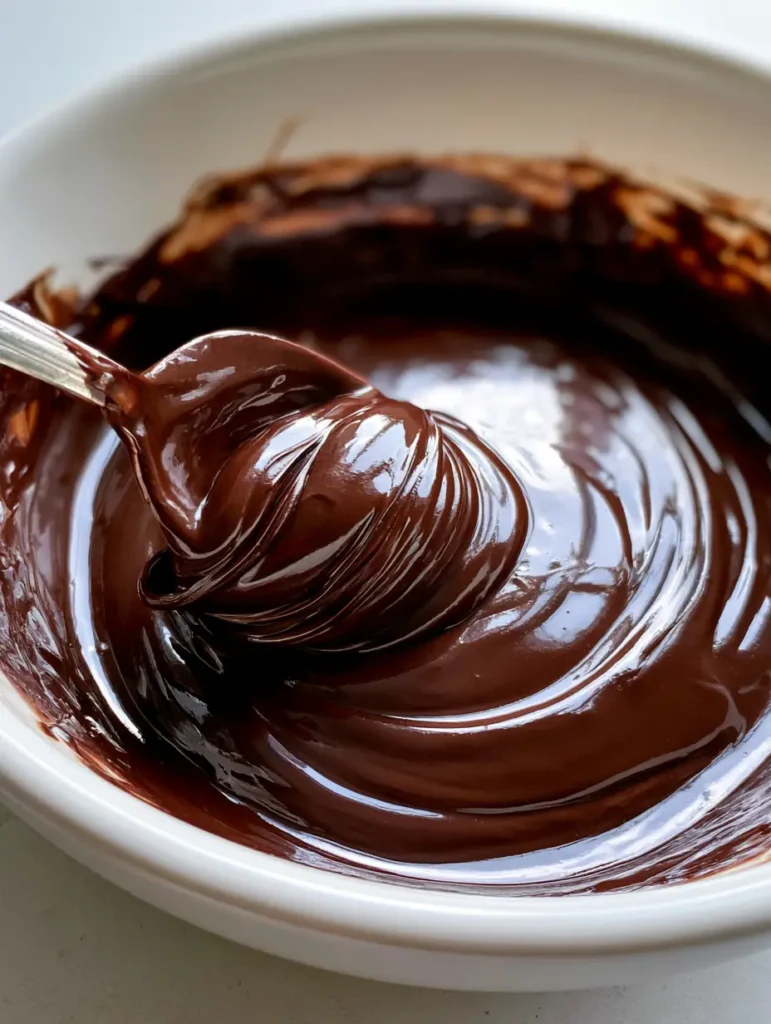
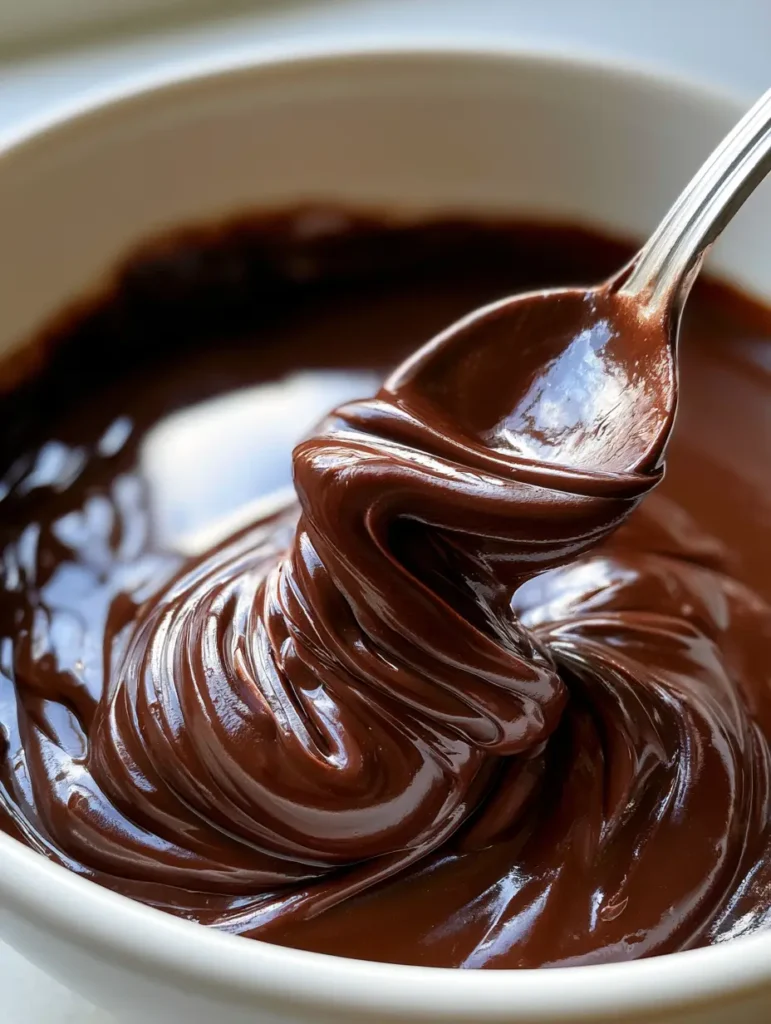
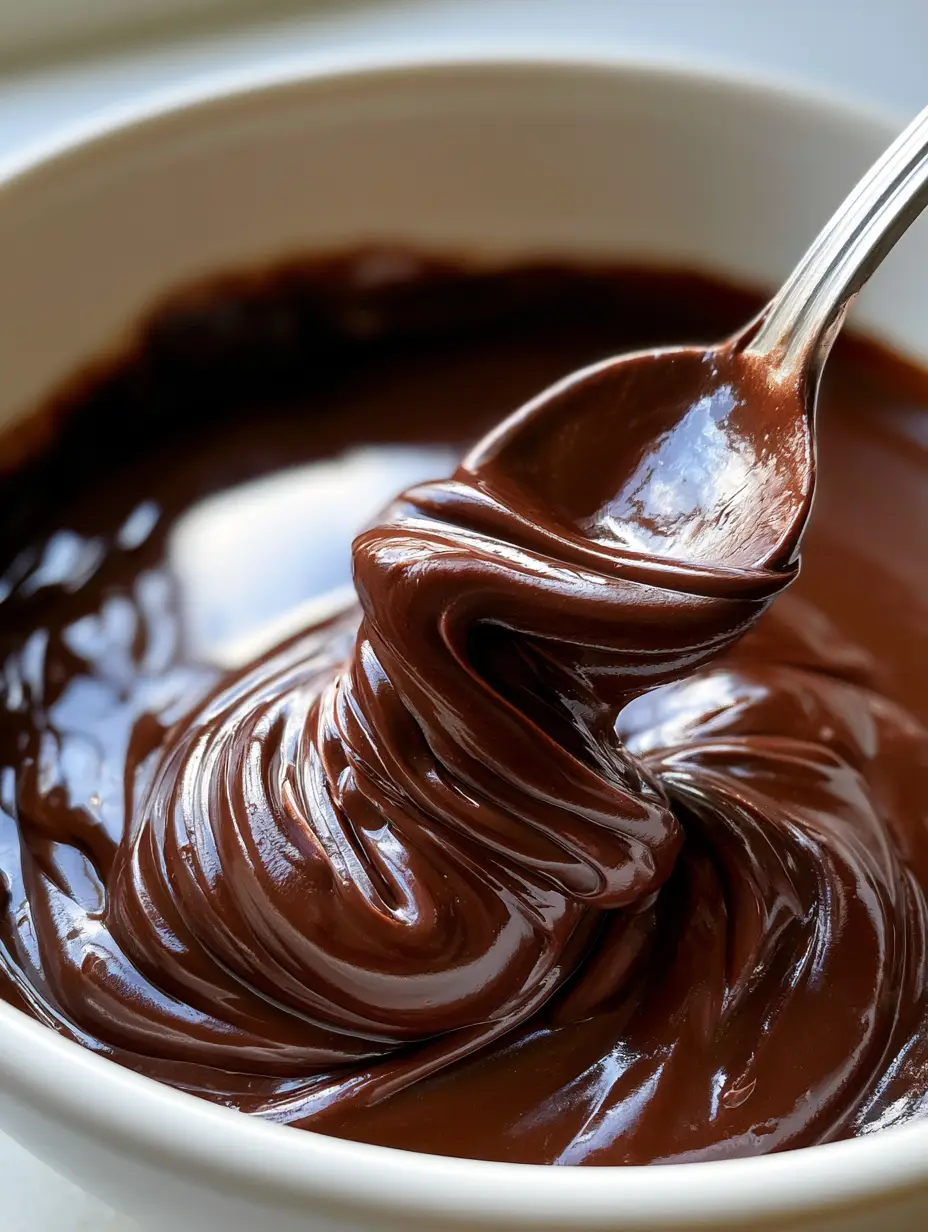
The secret to the professional result you see in high-end patisseries lies in the physics of emulsion. When you achieve that perfectly smooth, bubble-free texture, you are successfully suspending fat molecules within a sugar-water solution. The result is a deep brown, highly glossy liquid that behaves exactly like the thick, folding ribbons seen in our kitchen studio today.
Whether you are looking to drizzle this over a chocolate peanut butter dump cake or use it as a sophisticated dip, this guide will walk you through the science and technique of the world’s most elegant chocolate preparation. Let’s dive into the sensory details of creating a ganache that captures the light and holds its shape with unparalleled grace.
Why This Silky Smooth Chocolate Ganache Recipe Works Every Time
- Visual Perfection: This technique ensures a highly glossy finish with a deep, rich brown color that reflects light like a mirror.
- Structural Integrity: By using a specific 1:1 ratio, we create a “ribbon stage” viscosity where the chocolate folds back onto itself when lifted with a spoon.
- Bubble-Free Technique: Our stirring method eliminates unsightly air pockets, resulting in a velvety texture that is perfectly uniform.
- Versatile Application: This recipe is stable enough for filling a homemade toaster strudel yet fluid enough for a professional pour-over glaze.
The Anatomy of a Perfect Chocolate Emulsion: Essential Ingredients
Dark Chocolate Chunks (60% Cocoa or Higher): 8 oz (227g). Use high-quality couverture chocolate or premium baking bars; the cocoa butter content is crucial for that signature “snap” and melt-in-your-mouth feel.
Heavy Whipping Cream (36% Fat): 1 cup (240ml). The high fat content in heavy cream provides the necessary lipids to create a stable emulsion that won’t separate or become grainy.
Unsalted Butter (Foundational Ingredient): 1 tbsp (14g). While optional, adding a small amount of room-temperature butter at the end of the process enhances the gloss and adds a professional sheen to the finished product.
Fine Sea Salt: 1/8 tsp (pinch). A tiny amount of salt doesn’t make the ganache salty; instead, it acts as a flavor bridge that amplifies the fruity and earthy notes of the dark chocolate.
Pure Vanilla Extract: 1/2 tsp (2.5ml). This adds a layer of aromatic complexity that rounds out the bitterness of the dark cocoa solids.
Essential Kitchen Gear for a Bubble-Free Finish
To achieve the visual result described in our blueprint—a perfectly smooth texture in a white ceramic bowl—you need the right tools. Avoid using wooden spoons, which are porous and can trap moisture or old flavors. Instead, opt for a high-quality silicone spatula or a heavy silver spoon for the final stir.
A medium-sized glass or ceramic bowl is ideal because it retains heat evenly, allowing the chocolate to melt without the risk of hot spots. You will also need a small heavy-bottomed saucepan to bring your cream to a precise simmer. If you want the ultimate professional finish, a digital kitchen scale is your best friend to ensure the 1:1 weight ratio is exact.
Mastering the Ribbon: A Step-by-Step Culinary Breakdown
Step 1: Preparing the Chocolate Foundation
Begin by finely chopping your dark chocolate chunks. Even if you are using chocolate chips, a quick pass with a knife creates more surface area, which ensures the chocolate melts instantly when the cream hits it. Place the chopped chocolate into a clean, dry white ceramic bowl. Ensure the bowl is completely free of water, as even a single drop can cause the chocolate to seize.
Step 2: Tempering the Heavy Cream
Pour your heavy cream into a small saucepan over medium heat. Watch for the visual cue: small “fisheye” bubbles should begin to form around the edges of the pan. This indicates the cream is at a gentle simmer (approximately 190°F / 88°C). Do not let it reach a rolling boil, as scorched cream will ruin the delicate flavor profile of your Chocolate Ganache Recipe.
Step 3: The Resting Period (The Secret to Smoothness)
Pour the hot heavy cream directly over the chopped chocolate, ensuring all pieces are submerged. Now, the most difficult part: wait. Cover the bowl with a plate and let it sit undisturbed for 5 minutes. This “passive melt” allows the chocolate to soften uniformly without introducing air via premature stirring.
Step 4: The Slow Emulsion Stir
Remove the cover and insert a silver spoon into the center of the bowl. Begin stirring in very small, tight concentric circles in the middle. At first, it will look broken and messy, but suddenly, a dark, glossy core will emerge. Gradually expand your circles until the entire mixture is emulsified into a thick, velvety liquid. Look for that signature folding ribbon effect as you lift the spoon.
Step 5: The Finishing Gloss
Gently fold in the pinch of salt, vanilla, and the optional knob of butter. The butter will melt into the residual heat, creating a mirror-like reflection on the surface. If you see any tiny bubbles, gently tap the bowl on the counter to force them to the surface and pop them.
Expert Tips for Success and Troubleshooting
- Prevent Seizing: Never use a lid that collects condensation, as water droplets falling into the bowl will turn your smooth ganache into a gritty paste.
- Fixing a Broken Ganache: If the fat starts to separate (looks oily), whisk in a teaspoon of room-temperature milk very vigorously to bring the emulsion back together.
- Temperature Matters: If the ganache cools too much before it’s fully melted, set the ceramic bowl over a pot of steaming (not boiling) water for 30 seconds.
- Bubble Control: To get that perfectly smooth, unedited smartphone photo look, always stir with a spatula or spoon kept submerged in the liquid to avoid whisking in air.
Storage, Reheating, and Texture Transformations
Your finished ganache can be stored in an airtight container at room temperature for up to 2 days, or in the refrigerator for up to 2 weeks. To reheat, use a double boiler or 10-second bursts in the microwave at 50% power, stirring between each interval to maintain the gloss.
Note that as the ganache cools, it will transition from a pourable glaze to a spreadable frosting. If left in the fridge, it will become firm enough to scoop into truffles. This versatility makes it the perfect companion for a Hawaiian roll French toast breakfast or a decadent dessert topping.
What to Pair with Your Silky Chocolate Ganache
Because this Chocolate Ganache Recipe is so rich, it pairs beautifully with items that offer a bit of acidity or saltiness. It serves as an incredible dipping sauce for strawberry cheesecake wontons, where the crisp shell and creamy filling balance the deep cocoa notes.
If you have leftover ganache, consider whipping it into a light mousse to top a creamy chicken alfredo dinner (just kidding—save it for the dessert course!). For a truly gourmet experience, serve a small ramekin of warm ganache alongside garlic parmesan roasted potatoes as a bold, experimental “mole” style pairing for the adventurous palate.
Frequently Asked Questions
Yes, but high-quality baking bars or couverture chocolate are preferred because they contain more cocoa butter, leading to a glossier finish and smoother melt.
Adding a tablespoon of room-temperature unsalted butter or a teaspoon of light corn syrup at the end of the stirring process will create a professional mirror-like sheen.
Avoid using a whisk. Use a silver spoon or silicone spatula and keep the tool submerged while stirring in small concentric circles to prevent air from being incorporated.
A 1:1 ratio (equal parts by weight of chocolate and cream) is standard for a pourable glaze that sets into a soft, fudge-like consistency at room temperature.
Graininess usually occurs if the cream was too hot or if you stirred too vigorously. To fix it, whisk in a tablespoon of room-temperature milk or more cream to re-establish the emulsion.
The Ultimate Glossy Chocolate Ganache Recipe Card
Chocolate Ganache Recipe: The Ultimate Guide to a Velvety, Glossy Finish
Ingredients
Equipment
Method
- Finely chop the dark chocolate chunks and place them into a clean, dry white ceramic bowl.
- Heat the heavy cream in a saucepan over medium heat until small bubbles form at the edges (simmering, not boiling).
- Pour the hot cream over the chocolate. Cover and let sit for 5 minutes without stirring.
- Stir slowly in the center with a silver spoon until a glossy, deep brown emulsion forms. Lift the spoon to check for a thick ribbon that folds back onto itself.
- Gently fold in the salt, vanilla, and butter until the surface is highly glossy and mirror-like.
Notes
Use high-quality chocolate with at least 60% cocoa for the best setting results.
Thank you for following along with this deep dive into the science of chocolate. This Chocolate Ganache Recipe is designed to give you the confidence to create professional-grade desserts in your own kitchen. Whether you are glazing a cake or just eating it off the spoon, the glossy, velvety results speak for themselves.
We would love to see your results! Tag us on social media or leave a comment below with your favorite way to use ganache. Don’t forget to save this recipe to your favorite boards on Pinterest for your next baking project!