There is a specific, primal satisfaction that comes from biting into perfectly prepared Crispy Oven Baked Chicken Legs. The sound of the initial crunch, followed by the release of savory juices, is a culinary hallmark of a well-executed home-cooked meal. These drumsticks aren’t just food; they are a visual and textural masterpiece featuring deep golden-brown, highly textured skin with those coveted charred spots that signal intense flavor.
Achieving this level of perfection requires more than just high heat. It demands a forensic approach to seasoning and moisture control to ensure every leg emerges from the oven with glistening oils and a crust seasoned with cracked black pepper and fine dried herbs. Whether you are hosting a Sunday dinner or looking for a reliable weeknight staple, this recipe delivers a restaurant-quality result using simple, accessible techniques.
In this guide, we will break down the science of the Maillard reaction and how to manipulate your oven’s airflow to create a skin so crisp it rivals deep-fried alternatives. By following these professional steps, your Crispy Oven Baked Chicken Legs will look exactly like a gourmet food photograph—authentic, unedited, and absolutely irresistible.
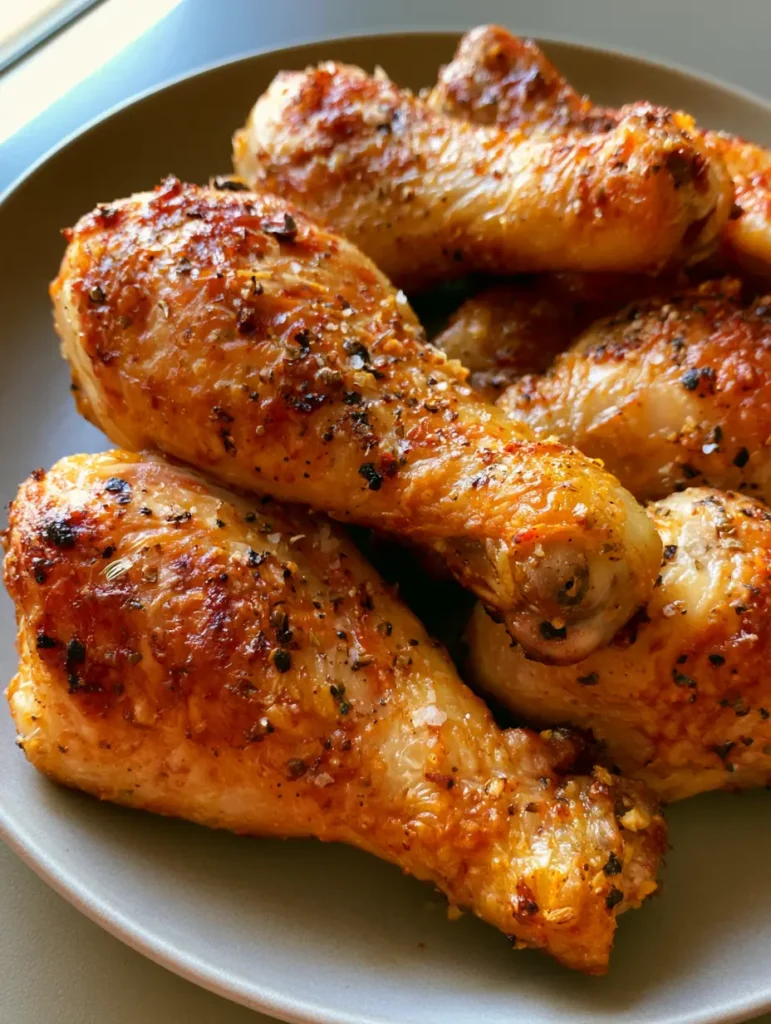
The Visual Allure of Perfectly Charred Poultry
What makes these Crispy Oven Baked Chicken Legs stand out is the meticulous balance of aesthetics and flavor. We are aiming for a specific visual profile that translates directly to a superior eating experience.
- High-Contrast Texture: The skin should exhibit a pebbled, crackly surface with visible grains of salt and flakes of herbs.
- Golden-Brown Geometry: Every inch of the drumstick must achieve a deep mahogany hue, accented by small, intentional charred spots where the heat has caramelized the natural fats.
- Juicy Interior Integrity: Despite the high-heat exterior, the meat remains plump and moist, pulling away from the bone with ease.
- Herb-Crusted Finish: The inclusion of dried herb flakes provides a rustic, earthy visual that breaks up the golden tones of the skin.
Pantry Staples for the Ultimate Texture
To achieve the visual result described in our blueprint, we need a combination of flavor-building blocks and scientific catalysts. Each ingredient plays a vital role in the final structural integrity of the chicken skin.
8 to 10 Large Chicken Drumsticks (approx. 2.5 lbs / 1.1kg): Choose plump, skin-on legs with no tears in the skin to ensure even browning and moisture retention. The skin is the canvas for our “crispy” objective, so its quality is paramount.
2 tbsp (30ml) Extra Virgin Olive Oil or Avocado Oil: This acts as the thermal conductor, helping the heat penetrate the skin while creating that “glistening oil” effect seen in professional food photography. It also helps the dry seasonings adhere to the meat.
1 tbsp (15g) Baking Powder (Aluminum-Free): This is the secret “invisible” ingredient. Baking powder raises the pH level of the chicken skin, breaking down the proteins and allowing it to crisp up more efficiently than heat alone could manage.
1 tsp (6g) Fine Sea Salt: Salt is essential for drawing out surface moisture. By removing water from the skin, we allow the fat to fry the skin from the inside out.
1 tsp (2g) Cracked Black Pepper: Large, cracked pieces of pepper provide a bold visual contrast against the golden skin and offer bursts of pungent heat. Avoid finely ground pepper for this recipe to maintain the rustic look.
1 tsp (1g) Dried Oregano and 1 tsp (1g) Dried Thyme: These dried herb flakes provide the earthy green flecks seen in the visual blueprint. They withstand the high roasting temperatures much better than fresh herbs, which would simply burn and turn bitter.
1/2 tsp (1.5g) Smoked Paprika: While not a primary flavor, paprika provides the foundational “red-gold” tint that ensures the chicken looks deeply roasted rather than just pale yellow.
Professional Tools for a Golden Finish
To replicate the authentic mobile photography aesthetic of a perfectly roasted platter, your equipment must allow for maximum air circulation. Standard baking sheets are fine, but a few professional tweaks make a world of difference.
You will need a large, rimmed baking sheet lined with aluminum foil for easy cleanup. Crucially, placing a wire cooling rack inside the baking sheet allows hot air to circulate 360 degrees around the Crispy Oven Baked Chicken Legs. This prevents the bottoms from becoming soggy and ensures that the skin “shatters” when you bite into it.
Additionally, a reliable instant-read meat thermometer is your best friend. To achieve the “plump and moist” look while ensuring safety, we need to hit an internal temperature of 175°F (80°C). While 165°F is the safe minimum, dark meat benefits from a slightly higher temperature to fully break down connective tissues.
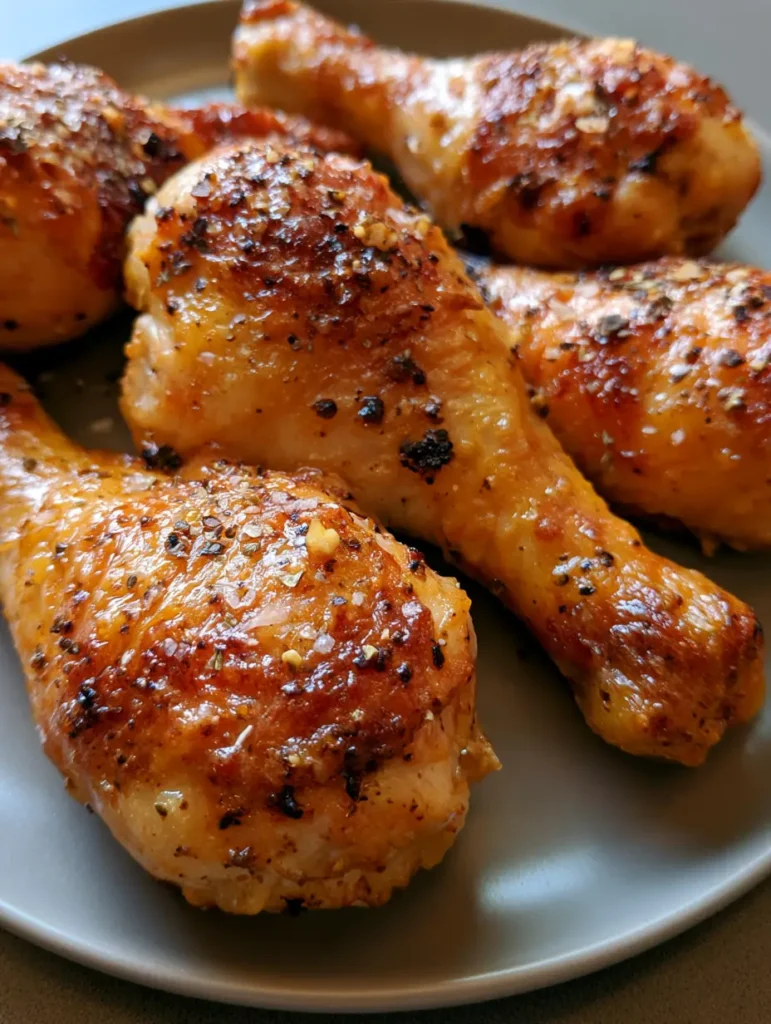
A Masterclass in High-Heat Roasting
Follow these steps closely to ensure your chicken matches the visual recipe blueprint exactly. We are focusing on moisture removal and heat application.
Phase 1: The Drying Protocol
The greatest enemy of Crispy Oven Baked Chicken Legs is moisture. Use paper towels to pat each drumstick extremely dry. If you have time, place the uncovered chicken in the refrigerator for 30 minutes to air-dry the skin even further. This step is the difference between “steamed” chicken and “roasted” chicken.
Phase 2: The Seasoning Application
In a small bowl, whisk together the baking powder, salt, cracked black pepper, dried oregano, dried thyme, and smoked paprika. Place the dried chicken in a large bowl and toss with the oil until glistening. Sprinkle the seasoning mix over the legs, tossing thoroughly so that every crevice is coated in herb flakes and pepper grains.
Phase 3: The Roasting Sequence
Preheat your oven to 425°F (220°C). Arrange the drumsticks on the prepared wire rack, ensuring they do not touch each other. Crowding the pan creates steam, which will ruin the texture. Place the tray on the middle rack of the oven.
Phase 4: Monitoring Sensory Cues
Roast for 40 to 45 minutes. Around the 30-minute mark, you will begin to hear the fat sizzling and see the skin bubbling. Look for the “charred spots” to begin forming on the highest points of the drumsticks. The oil should be glistening on the surface, and the aroma of toasted herbs should fill the kitchen.
Phase 5: The Final Rest
Once the internal temperature reaches 175°F (80°C) and the skin is a deep golden-brown, remove the tray from the oven. Let the chicken rest on the rack for 5 minutes. This allows the juices to redistribute, ensuring the meat remains “plump and moist” as described in our prompt.
Culinary Secrets for Maximum Skin Crispiness
Even with the best intentions, small variables can impact your Crispy Oven Baked Chicken Legs. Here are a few expert tips to ensure success every time:
- Check Your Baking Powder: Ensure it is aluminum-free to avoid a metallic aftertaste. Also, make sure it is fresh; old baking powder won’t react with the skin as effectively.
- High Heat is Non-Negotiable: Do not be tempted to lower the temperature. We need 425°F (220°C) to render the fat quickly enough to crisp the skin before the meat overcooks.
- The “Flip” Myth: If you are using a wire rack, you do not need to flip the chicken. The air circulation takes care of browning the underside. Flipping can sometimes tear the delicate, crisping skin.
- Room Temperature: If possible, let the chicken sit out for 15-20 minutes before seasoning. Taking the chill off the meat helps it cook more evenly from edge to bone.
Maintaining the Crunch: Storage and Safety
While Crispy Oven Baked Chicken Legs are best enjoyed immediately, you can store leftovers in an airtight container in the refrigerator for up to 4 days. However, the skin will naturally soften as it absorbs moisture from the meat.
To restore the crunch, avoid the microwave. Instead, place the leftover drumsticks back in a 400°F (200°C) oven or an air fryer for 5-7 minutes. This will re-render the fats and crisp the skin back to its original glory. For long-term storage, you can freeze the cooked legs for up to 3 months, though the texture of the skin will slightly degrade upon thawing.
Perfect Pairings for a Balanced Platter
To complement the rich, savory nature of these drumsticks, consider serving them alongside dishes that offer a bright or textural contrast. A side of crispy homemade onion rings adds a wonderful crunch that mirrors the texture of the chicken skin.
If you are looking for a more Mediterranean-inspired meal, these legs pair beautifully with a side of Mediterranean chicken meatballs for a high-protein feast. For a lighter touch, a simple green salad dressed with a Greek chicken marinade-style vinaigrette provides the necessary acidity to cut through the richness of the roasted fat.
If you have leftover chicken, consider shredding the meat to use in chicken street tacos the next day. The charred, herb-infused skin adds incredible depth to the taco filling.
Frequently Asked Questions
For this high-heat recipe, dried herbs are preferred. Fresh herbs have a high water content and tend to burn and turn bitter at 425°F, whereas dried herbs toast beautifully and provide a rustic look.
If you are using a wire rack over a baking sheet, there is no need to flip. The rack allows hot air to circulate under the chicken, crisping the bottom as efficiently as the top.
Lightly coat the wire rack with oil or non-stick spray before placing the chicken on it. Additionally, ensuring the chicken is tossed in oil before seasoning acts as a barrier.
While 165°F (74°C) is safe, drumsticks are best cooked to 175°F (80°C). This higher temperature allows the connective tissue in dark meat to fully break down, resulting in a more tender, fall-off-the-bone texture.
Baking powder raises the pH level of the skin, which helps break down peptide bonds. This allows the skin to brown faster and creates a crispier, bubbled texture compared to using flour or starch.
The Ultimate Recipe for Crispy Oven Baked Chicken Legs
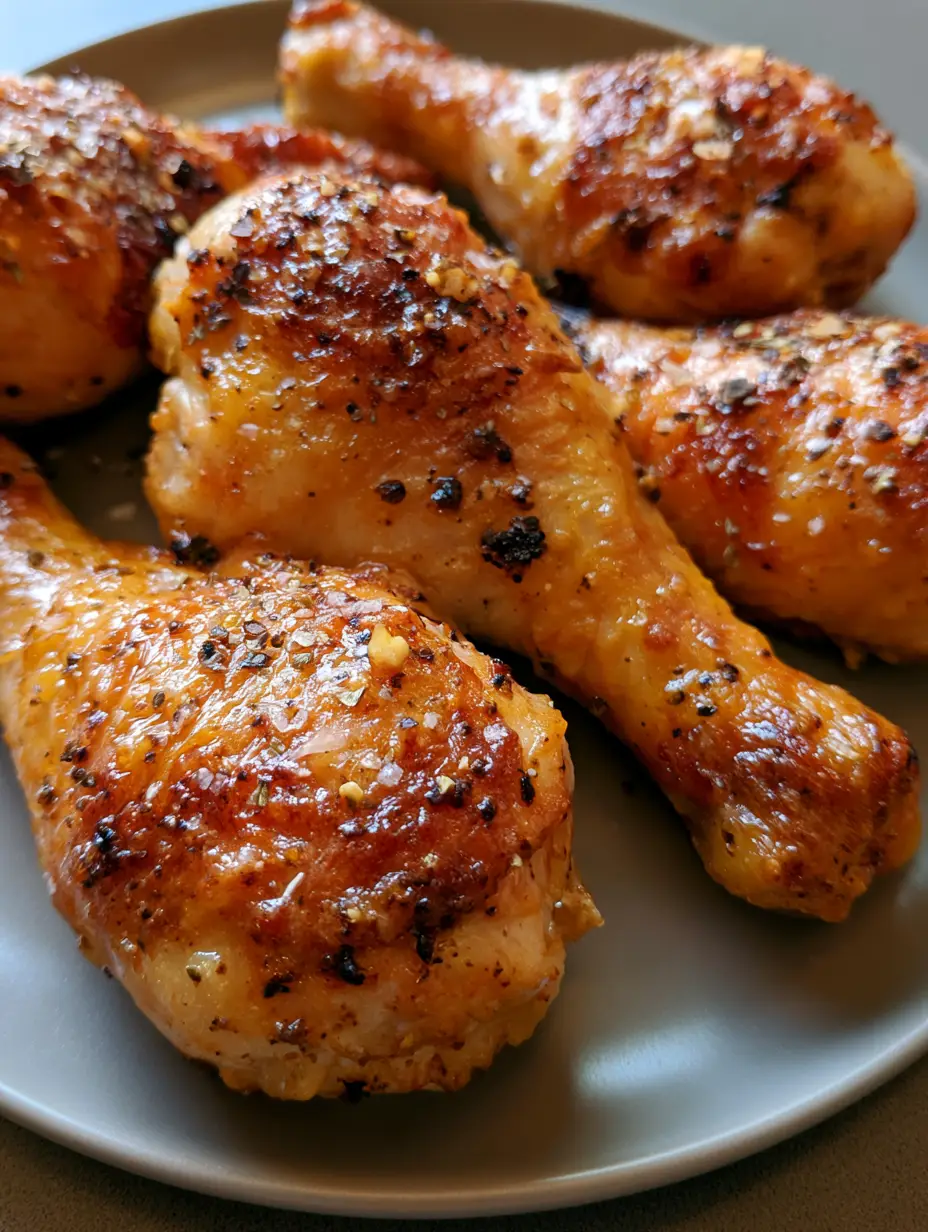
Crispy Oven Baked Chicken Legs: The Ultimate Golden-Brown Drumstick Recipe
Ingredients
Equipment
Method
- Pat the chicken drumsticks extremely dry using paper towels. Moisture is the enemy of crispiness.
- In a small bowl, whisk together the baking powder, salt, pepper, oregano, thyme, and paprika.
- Toss the drumsticks in a bowl with olive oil until every piece is glistening.
- Sprinkle the seasoning mix over the chicken and toss until evenly coated with herb flakes and spices.
- Place drumsticks on a wire rack over a baking sheet, ensuring space between each leg.
- Bake at 425°F (220°C) for 40-45 minutes until deep golden-brown with visible charred spots.
- Let rest for 5 minutes on the rack before serving to keep the meat moist.
Notes
Ensure the chicken is at room temperature for 15 minutes before baking for even cooking.

Closing & Call to Action
Mastering Crispy Oven Baked Chicken Legs is a rite of passage for every home cook. The combination of high heat, the drying power of baking powder, and a robust blend of dried herbs creates a meal that is as visually stunning as it is delicious. This recipe proves that you don’t need a deep fryer to achieve that “perfect crunch” and golden-brown finish.
Did you manage to get those perfect charred spots on your drumsticks? We’d love to hear how your dinner turned out! Leave a comment below and let us know your favorite side dish to serve with these legs. Don’t forget to share your beautiful culinary creations on Pinterest and tag us! For more kitchen inspiration, sign up for our newsletter to receive the latest recipes directly in your inbox.
***


