The Nashville Hot Chicken Sandwich is more than just a meal; it is a sensory explosion of heat, crunch, and creamy relief. Originating from the heart of Tennessee, this iconic sandwich has captured the global culinary imagination with its vibrant, deep red glossy spicy oil glaze and its signature craggy, double-breaded crust. If you have been searching for that perfect handheld masterpiece that looks exactly like a professional food photograph—complete with visible granules of cayenne and cracked black pepper—you have arrived at the right place.
Achieving the authentic look and taste of a Nashville Hot Chicken Sandwich requires a delicate balance of temperature and texture. In this guide, we will break down the science of the double-dredge, the secret to a high-gloss spicy oil, and how to assemble the sandwich so that the creamy slaw provides the perfect base for the fiery fowl. Prepare your kitchen for a transformation as we dive into the deep-frying techniques that ensure every bite is as visually stunning as it is delicious.
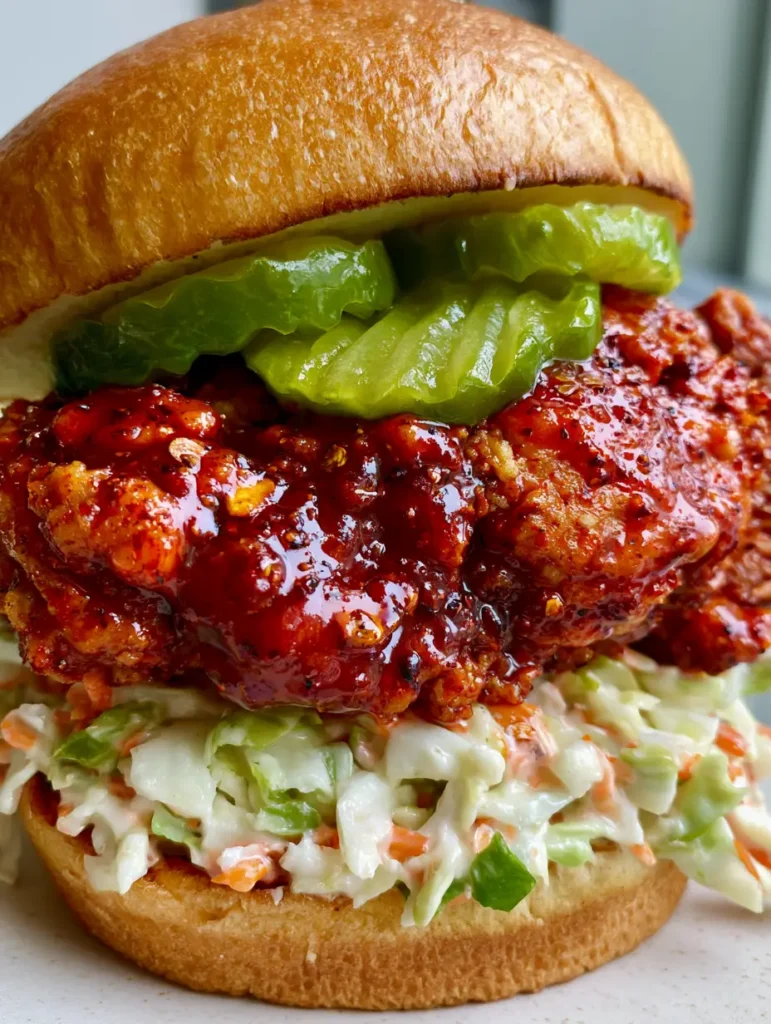
The Architecture of the Perfect Spicy Chicken Sandwich
- The Craggy Crunch: A double-breading technique ensures a thick, textured crust that stands up to the heavy application of spicy oil without becoming soggy.
- Glossy Heat: By blooming cayenne pepper and spices in hot frying oil, we create a vibrant red glaze that coats the chicken in a shimmering, spicy sheen.
- Structural Integrity: Layering the creamy slaw under the chicken protects the bottom brioche bun from the heat and oil, maintaining a toasted, golden base.
- Visual Granules: Coarsely cracked black pepper and high-quality cayenne flakes provide the distinct, rustic texture seen in the best Nashville eateries.
- Acidic Balance: Three bright green crinkle-cut dill pickles offer the essential hit of vinegar to cut through the richness of the fried chicken.
Essential Ingredients for the Ultimate Nashville Heat
Boneless Skinless Chicken Breasts: We use large breasts pounded to an even thickness to ensure uniform cooking. This provides the massive, impressive footprint required for a true “Nashville-style” presentation.
All-Purpose Flour and Cornstarch: The addition of cornstarch to the dredge is the secret to a lighter, crispier crust that shatters upon impact. Use 2 cups (250g) of flour and 1/2 cup (64g) of cornstarch for the best results.
Buttermilk and Hot Sauce Brine: Soaking the chicken in 1.5 cups (360ml) of buttermilk seasoned with hot sauce tenderizes the meat through lactic acid while providing the “glue” for the first layer of breading.
The Spicy Oil Base: You will need 1/2 cup (120ml) of the hot frying oil combined with 3 tbsp (24g) of cayenne pepper. This creates the “Nashville Hot” flavor profile that defines the dish.
Toasted Brioche Buns: These buttery buns provide a soft, rich contrast to the spicy, crunchy chicken. Always toast them in 1 tbsp (14g) of butter until the edges are golden brown.
Creamy Slaw Components: A mix of 2 cups (140g) shredded green cabbage and 1/2 cup (50g) shredded carrots, tossed in a tangy mayo-based dressing, provides the “cooling” layer.
Foundational Seasonings: Don’t forget 1 tbsp (18g) of kosher salt and 1 tbsp (6g) of cracked black pepper for the breading. This is vital for the visual granules mentioned in our blueprint.
Must-Have Tools for Professional Frying Results
To achieve the “craggy” texture of a professional Nashville Hot Chicken Sandwich, a heavy-bottomed Dutch oven or a deep cast-iron skillet is essential. These vessels maintain a consistent oil temperature, which is critical for a golden-brown finish. A kitchen thermometer is non-negotiable; you need to monitor the oil to ensure it stays between 325°F (163°C) and 350°F (177°C).
A wire cooling rack set over a baking sheet is another secret weapon. Placing fried chicken directly onto paper towels can cause steam to build up, softening the bottom crust. A wire rack allows air to circulate, keeping the double-breading crisp on all sides while you prepare the glossy red oil glaze.
Mastering the Double-Breaded Crunch: Step-by-Step
1. The Buttermilk Bath and Brining Process
In a large bowl, whisk together 1.5 cups (360ml) buttermilk, 1 large egg, and 2 tbsp (30ml) of your favorite hot sauce. Submerge the chicken breasts in this mixture and refrigerate for at least 30 minutes, or up to 4 hours. This step ensures the chicken stays juicy and flavorful deep inside the crust.
2. Creating the Craggy Texture
Combine your flour, cornstarch, salt, and black pepper in a shallow dish. For those signature “crags,” drizzle 2-3 tablespoons of the buttermilk brine into the flour and mix with a fork to create small clumps. Dredge the chicken in the flour, dip it back into the buttermilk, and dredge it in the flour a second time, pressing firmly to adhere the clumps.
3. Achieving the Golden-Brown Fry
Heat 1 quart (946ml) of neutral oil to 350°F (177°C). Carefully lower the chicken into the oil and fry for 5-7 minutes per side. Watch for the visual cue: the crust should be a deep, golden-brown and the internal temperature must reach 165°F (74°C). Transfer the chicken to the wire rack.
4. Preparing the Glossy Red Spicy Oil
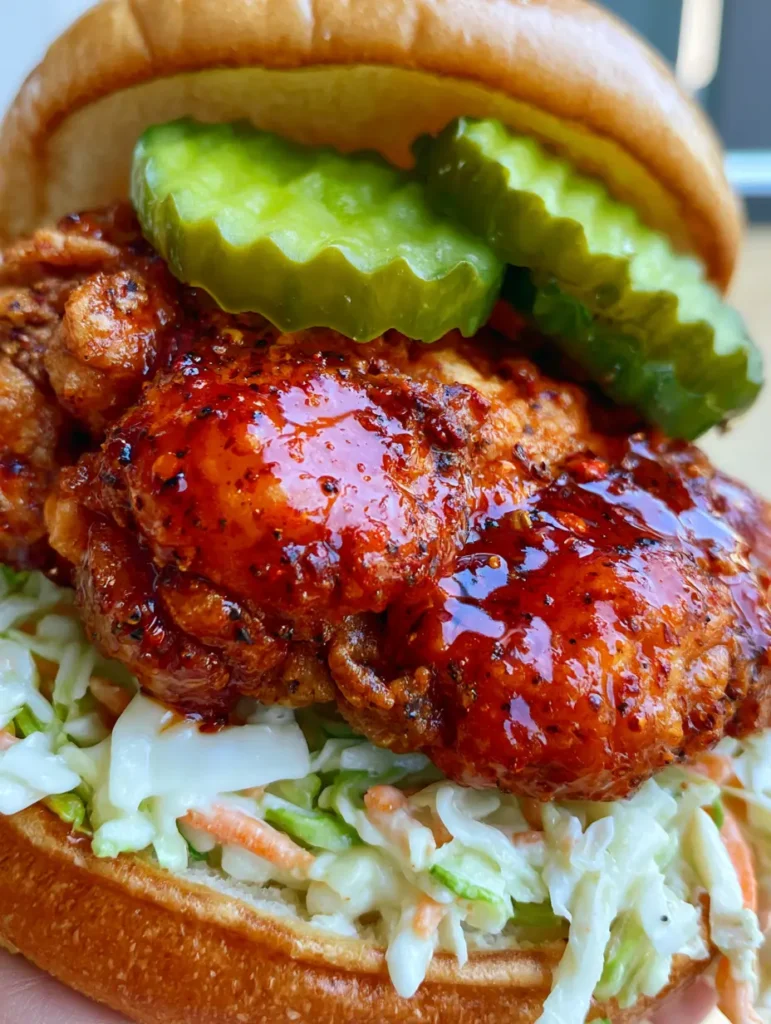
In a heat-proof bowl, whisk together 3 tbsp (24g) cayenne pepper, 1 tbsp (12g) brown sugar, 1 tsp (3g) garlic powder, and 1 tsp (2g) paprika. Carefully ladle 1/2 cup (120ml) of the hot frying oil over the spices. The oil will sizzle and bloom the spices, creating a vibrant, deep red glossy glaze with visible granules of pepper.
5. The Final Glaze and Assembly
Using a pastry brush, liberally coat the fried chicken breasts with the spicy oil until they are shimmering and red. Place a generous mound of creamy cabbage and carrot slaw on the bottom half of a toasted brioche bun. Sit the chicken on the slaw, top with three crinkle-cut dill pickles, and finish with the top bun.
Pro Secrets for Nashville-Style Perfection
- The Oil Temperature: If your oil is too cold, the breading will absorb the fat and become greasy; if it’s too hot, the outside will burn before the inside is cooked. Maintain 350°F (177°C) for the best results.
- Don’t Skimp on the Sugar: The small amount of brown sugar in the spicy oil doesn’t make the sandwich sweet; it provides a necessary balance to the intense heat of the cayenne.
- Double Dredge is Key: For the visually “craggy” look, the second dip into the flour is mandatory. It creates the nooks and crannies that hold onto the glossy oil.
- Resting Time: Let the chicken rest for 2 minutes on the wire rack before glazing. This allows the crust to “set,” ensuring it doesn’t fall off when you brush on the oil.
Storing and Reheating Your Spicy Chicken
While the Nashville Hot Chicken Sandwich is best enjoyed immediately for maximum crunch, you can store leftovers in an airtight container in the refrigerator for up to 2 days. To maintain the texture, avoid the microwave. Instead, reheat the chicken in an oven or air fryer at 375°F (190°C) for 5-8 minutes until the crust crisps back up.
The slaw should be stored separately and added fresh during assembly to prevent the bun and chicken from becoming soggy. If you enjoy experimenting with chicken textures, you might also like our Dill Pickle Parmesan Chicken for a different take on the pickle-chicken pairing.
Creative Pairings for Your Nashville Feast
A sandwich this bold deserves sides that can either stand up to the heat or provide a refreshing contrast. A side of sweet potato fries or a cooling potato salad is traditional. If you’re looking for more global chicken inspiration to round out your weekly menu, consider trying our Portuguese Grilled Chicken (coming soon) or these vibrant Chicken Street Tacos.
For those who love the combination of fruit and spice, a side of grilled pineapple pairs beautifully with Nashville heat. Alternatively, you can repurpose the spicy chicken flavors in a BBQ Chicken Flatbread for a fusion lunch the next day.
Common Questions About Nashville Hot Chicken
Yes! Chicken thighs are more forgiving and stay very juicy. Just ensure you adjust the cooking time as thighs may take a minute or two longer to reach the safe internal temperature of 165°F (74°C).
The secret is to drizzle a few tablespoons of the buttermilk brine into the flour mixture before dredging. This creates small clumps of dough that stick to the chicken, forming those ultra-crispy crags when fried.
This recipe is authentic, meaning it has a significant kick! However, you can control the heat by reducing the amount of cayenne pepper in the glaze or increasing the brown sugar for balance.
Use a neutral oil with a high smoke point for frying, such as canola, vegetable, or peanut oil. The glaze itself is made by ladling the hot frying oil directly over the spices to bloom them.
Placing the slaw on the bottom bun acts as a barrier, preventing the spicy oil from soaking directly into the brioche bun and making it soggy. It also ensures every bite starts with a cooling crunch.
The Ultimate Nashville Hot Chicken Sandwich Recipe
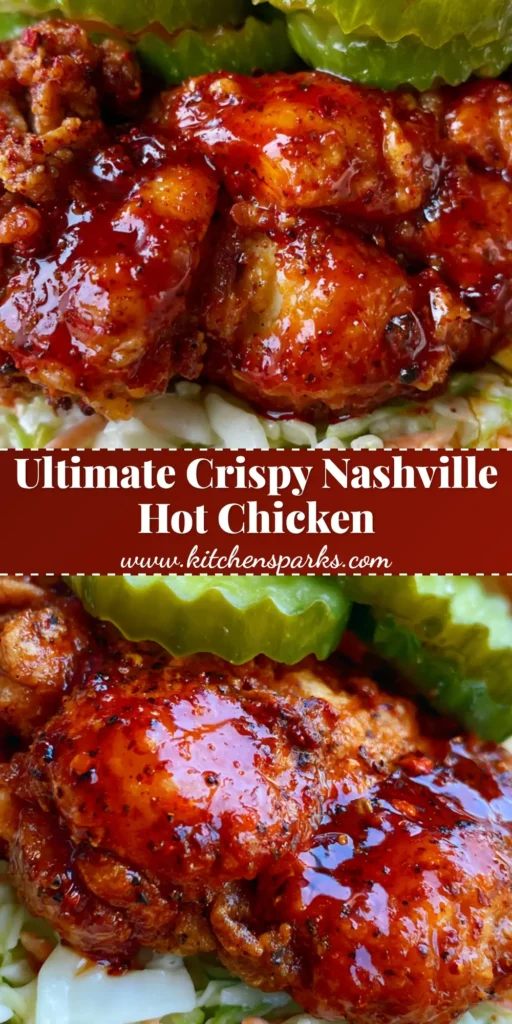
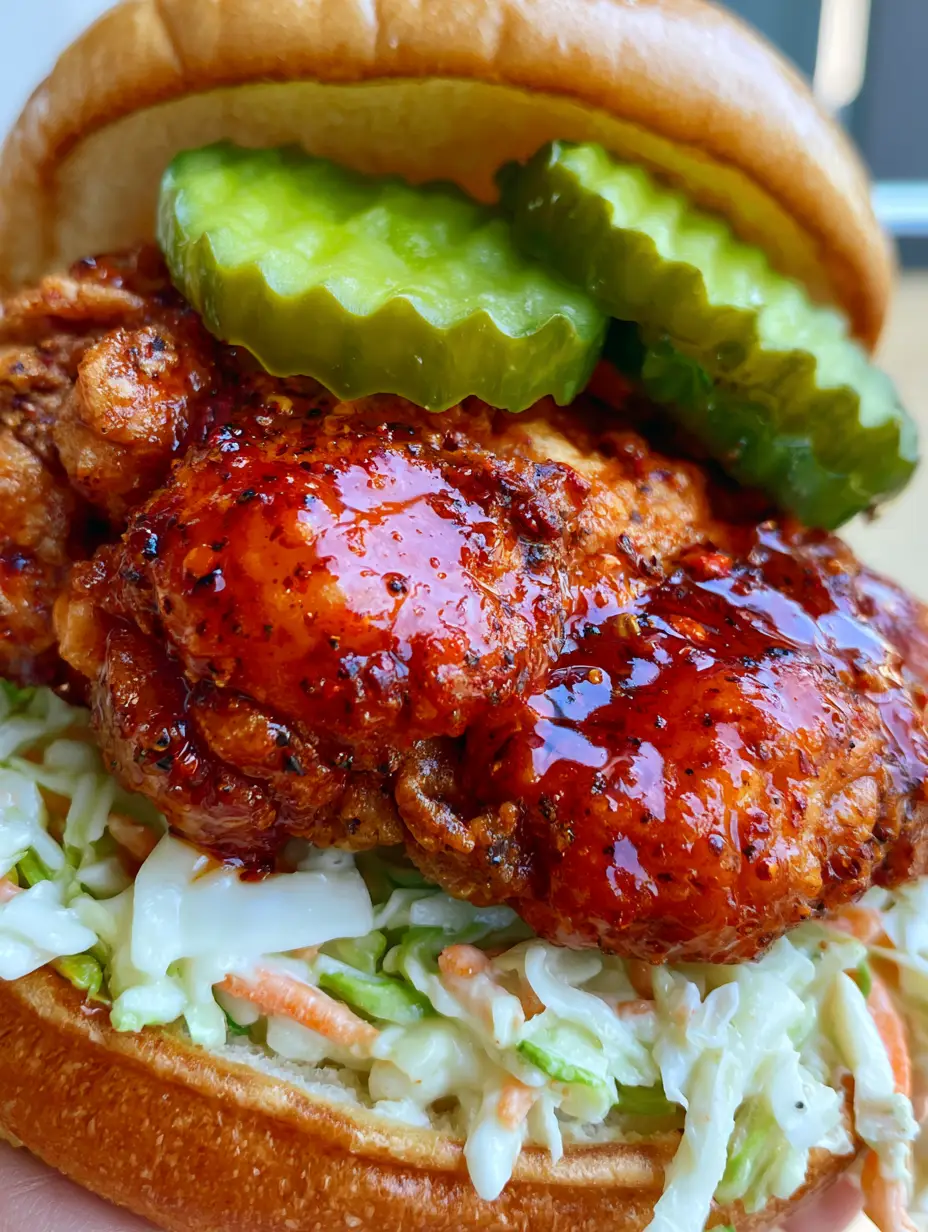
Nashville Hot Chicken Sandwich: The Ultimate Crispy and Glossy Spicy Guide
Ingredients
Equipment
Method
- Submerge chicken in buttermilk and hot sauce for at least 30 minutes in the refrigerator.
- Dredge chicken in flour/cornstarch mix, dip back into buttermilk, and dredge again for a craggy crust.
- Fry in 350°F (177°C) oil for 5-7 minutes per side until golden brown and internal temp reaches 165°F (74°C).
- Whisk cayenne, brown sugar, and garlic powder with hot frying oil to create the glossy glaze.
- Layer slaw on the toasted bottom bun, place glazed chicken on top, add three pickles, and finish with the top bun.
Notes
For extra craggy bits, drizzle a little buttermilk into your flour mixture before dredging.
Bring the Heat Home Today!
There is nothing quite like the satisfaction of biting into a Nashville Hot Chicken Sandwich that you made from scratch. From the vibrant red glow of the spicy oil to the cool crunch of the slaw, this recipe is designed to impress both your palate and your social media feed. If you enjoyed this recipe, please leave a comment below and share your spicy results with us!
Don’t forget to follow us on Pinterest for more culinary inspiration and high-RPM recipe guides. Pin this recipe to your “Indulgent Dinners” board and show us your craggy, glossy creations!


