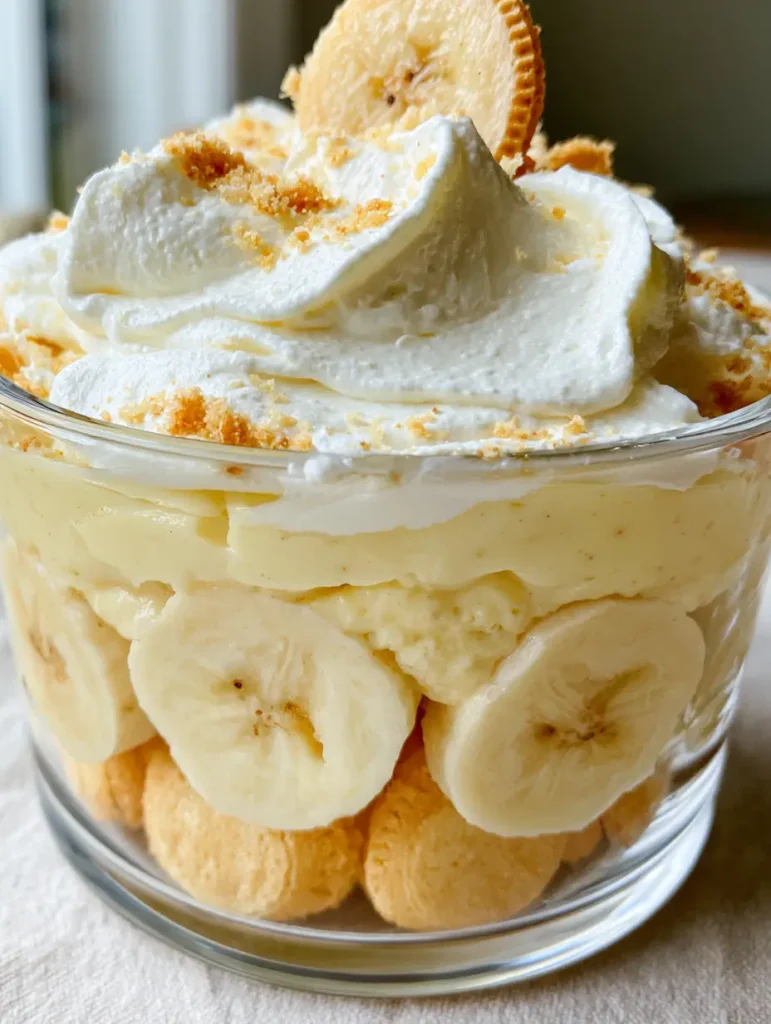
There is nothing quite as nostalgic or comforting as a No Bake Banana Pudding served in a crystal-clear glass dish, showcasing every decadent layer. This isn’t just a dessert; it is a structural masterpiece of textures, blending the crunch of golden vanilla wafers with the velvet-smooth density of homemade-style custard.
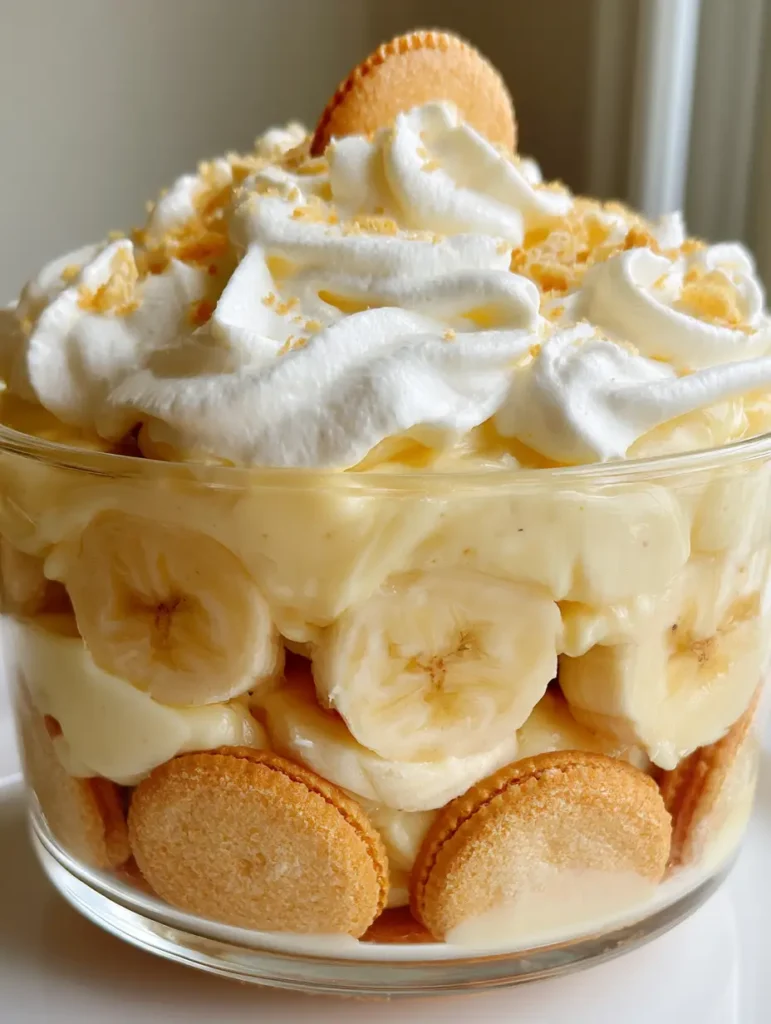
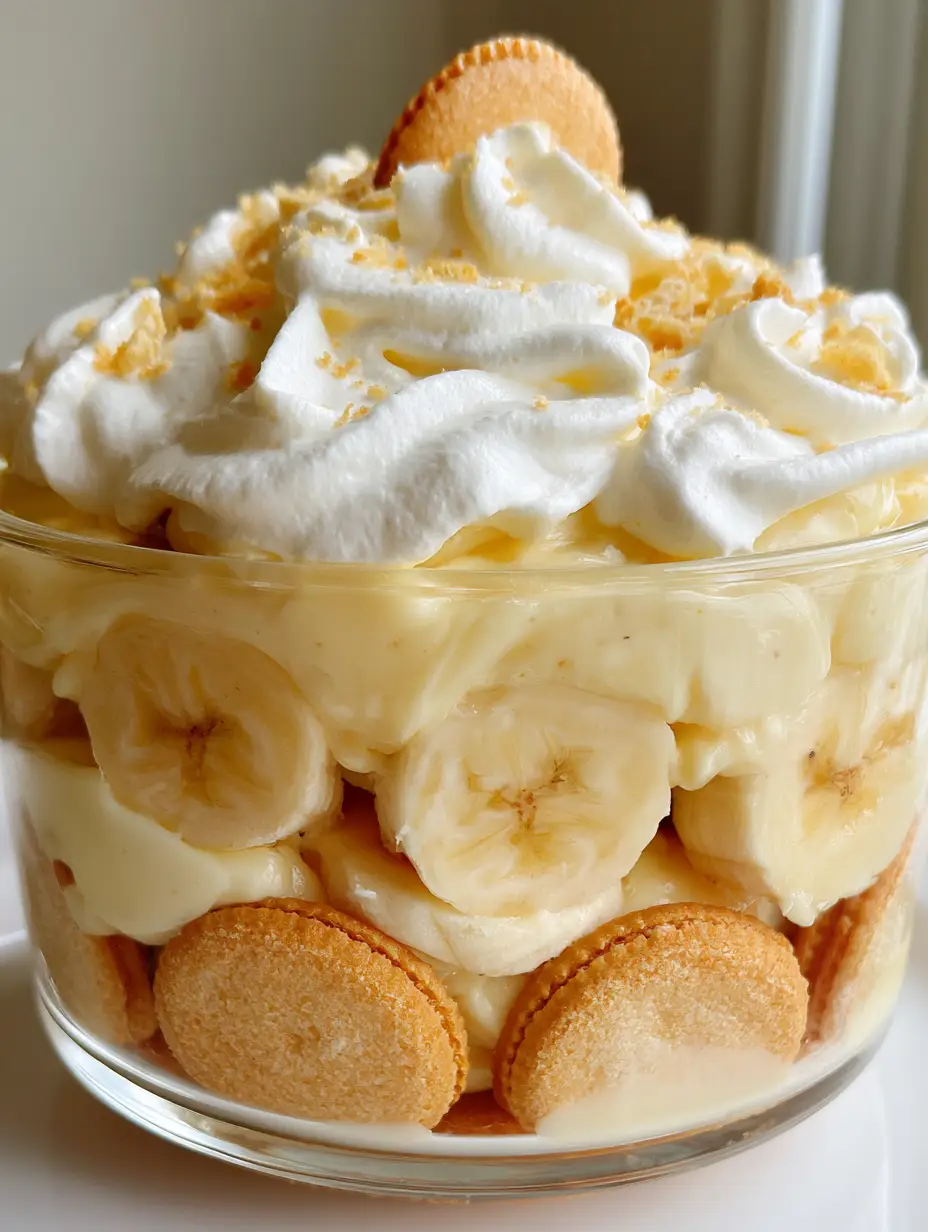
When you look at a classic No Bake Banana Pudding, you should see distinct architectural levels. You want to see those golden circular vanilla wafer cookies lining the bottom, followed by thick, pale yellow banana slices that promise a fresh, fruity bite in every spoonful.
This recipe focuses on achieving that specific visual appeal—the thick spread of white whipped cream with soft, billowy peaks and the delicate garnish of fine cookie crumbs. Whether you are hosting a summer barbecue or a cozy family dinner, this dessert provides a high-impact presentation with minimal effort.
The Irresistible Appeal of This Layered Masterpiece
- Textural Harmony: The contrast between the softened, cake-like wafers and the dense, creamy custard creates a mouthfeel that is both rich and airy.
- Visual Sophistication: By using a clear glass bowl, the vibrant yellow bananas and ivory pudding layers become the centerpiece of your dessert table.
- Effortless Preparation: This recipe requires zero oven time, making it the perfect solution for hot days when you want a gourmet result without the heat.
- Customizable Density: We use a specific ratio of heavy cream to condensed milk to ensure the custard is thick enough to hold its shape when scooped.
Essential Elements for the Ultimate Creamy Layering
To achieve the “dense layer of smooth creamy custard” described in our visual blueprint, we must select ingredients that provide both stability and flavor depth. Each component serves a scientific purpose in the structural integrity of the pudding.
Golden Vanilla Wafer Cookies: You will need 11 ounces (312g) of high-quality vanilla wafers. These act as the sponge of the dessert, absorbing just enough moisture from the pudding to soften into a texture resembling pound cake without completely disintegrating.
Thick Sliced Fresh Bananas: Use 5-6 large, ripe bananas, approximately 2 lbs (900g). Look for fruit with tiny brown speckles on the peel; this indicates the starch has converted to sugar, providing the necessary sweetness to balance the dense custard.
Cold Whole Milk: 2 cups (480ml) of full-fat milk are essential. The fat content in whole milk reacts with the pudding base to create a richer, more luxurious mouthfeel than lower-fat alternatives.
Sweetened Condensed Milk: 1 can (14 oz / 396g) provides the underlying “dense” quality. This thick, syrupy milk ensures the custard doesn’t feel watery and contributes a deep, caramelized sugar note.
Instant Vanilla Pudding Mix: 1 package (5.1 oz / 145g) of instant mix acts as our primary thickening agent. When combined with the condensed milk, it sets into a firm, sliceable custard that maintains its layers in the glass dish.
Heavy Whipping Cream: 2 cups (480ml) of cold heavy cream are whipped into “soft peaks” for the top layer. This provides the airy, cloud-like contrast to the heavy pudding underneath.
Pure Vanilla Extract: 1 tsp (5ml) of high-quality extract enhances the aromatic profile of the entire dish. It bridges the flavor gap between the wafers and the fresh fruit.
Fine Sea Salt: A tiny pinch (approx. 1/8 tsp) is the secret “invisible” ingredient. Salt cuts through the intense sweetness and clarifies the individual flavors of the banana and vanilla.
The Culinary Toolkit: Equipment for Success
To replicate the handheld smartphone photo aesthetic of a professional kitchen, you need the right tools to handle the custard and cream layers with precision.
A 3-quart (2.8L) clear glass trifle bowl or rectangular baking dish is mandatory for showcasing the layers. You will also need a large mixing bowl for the pudding base and a separate, chilled metal bowl for whipping the heavy cream.
An electric hand mixer or stand mixer is vital for achieving those “soft peaks” in the cream. A silicone spatula will allow you to fold the ingredients together without deflating the air you’ve worked so hard to incorporate.
Mastering the Art of the Perfect Pudding Layer
Phase 1: Preparing the Dense Custard Foundation
Start by whisking together the 2 cups (480ml) of cold whole milk and the 14 oz (396g) can of sweetened condensed milk in a large bowl. Ensure the mixture is completely homogeneous before adding the instant pudding mix.
Add the 5.1 oz (145g) of vanilla pudding mix and whisk vigorously for at least two minutes. You will feel the resistance increase as the mixture thickens; look for a glossy, smooth consistency that coats the back of a spoon.
Place this mixture in the refrigerator for at least 5-10 minutes. This “set time” is crucial for achieving the “dense layer” visible in the visual blueprint, preventing the bananas from sinking into a liquid base.
Phase 2: Sculpting the Creamy Top Layer
In your chilled metal bowl, pour in the 2 cups (480ml) of heavy whipping cream and the 1 tsp (5ml) of vanilla extract. Begin whipping on low speed to create small bubbles, then increase to medium-high.
Watch for the transition from liquid to foam. You are looking for the exact moment the cream forms “soft peaks”—where the cream stands up when the whisk is lifted but the tip gently curls over.
Gently fold about one-third of this whipped cream into your chilled pudding mixture. This “lightening” technique ensures the custard remains smooth and creamy rather than rubbery.
Phase 3: The Architecture of Assembly
Begin with the foundation: Place a dense layer of golden circular vanilla wafer cookies at the bottom of your clear glass dish. Ensure they are packed tightly to create a sturdy base for the weight of the fruit and pudding.
Next, add the thick slices of fresh pale yellow bananas. Slice the bananas to exactly 1/2 inch (1.2cm) thickness; this ensures they retain their texture and provide a visible yellow stripe against the ivory custard.
Pour half of the dense creamy custard over the bananas, using your spatula to smooth it into the edges of the dish. Repeat the layers: wafers, bananas, and the remaining custard.
Top the entire dish with a thick spread of the remaining white whipped cream. Use the back of a spoon to create those signature soft peaks and decorative swirls that catch the light.
Expert Tips for Visual and Flavor Success
- Preventing Oxidation: If you aren’t serving the pudding immediately, toss your banana slices in a tablespoon of lemon juice. The acidity prevents browning without altering the flavor of the No Bake Banana Pudding.
- The 4-Hour Rule: For the best texture, let the pudding chill for at least 4 hours. This gives the wafers enough time to absorb moisture and transform into a cake-like consistency.
- Cookie Crumble Technique: To get those “fine cookie crumbs” for the garnish, place three wafers in a plastic bag and crush them with a rolling pin until they resemble coarse sand.
- Banana Ripeness: Avoid using green-tipped bananas, as they are too firm and lack the aromatic sweetness required to punch through the creamy custard layers.
Storage and Preservation Guidelines
This dessert is best enjoyed within 24 to 48 hours of assembly. Store it in the refrigerator, tightly covered with plastic wrap pressed directly against the surface of the whipped cream to prevent a skin from forming.
While you can eat it on day three, the bananas may begin to release moisture, which can make the custard slightly thinner. Freezing is not recommended, as the fresh bananas will turn mushy and the custard will lose its smooth, dense texture upon thawing.
What to Serve With Your Layered Pudding
This No Bake Banana Pudding is a rich, standalone star, but it pairs beautifully with other Southern-inspired dishes. If you are hosting a full spread, consider serving it after a savory one-pan chicken and rice bake for a balanced meal.
For those who love fruit-forward spreads, this pudding sits perfectly next to a vibrant Ambrosia Fruit Salad or a chilled Mediterranean pasta salad for a summer picnic. If you have leftover bananas, you might even consider baking a Southern Banana Cobbler the following day!
For a complete dessert bar, offer a variety of textures by including a No Bake Banana Pudding Cheesecake alongside the traditional version. This allows guests to experience the banana-vanilla flavor profile in two distinct formats.
Frequently Asked Questions
While you can, heavy whipped cream is recommended to achieve the ‘soft peaks’ and stable structure needed for the visual blueprint. Real cream provides a much richer flavor and more natural texture.
Toss the thick banana slices in a small amount of lemon or pineapple juice before layering. The citric acid slows down oxidation, keeping them pale yellow and fresh-looking for up to 48 hours.
For the perfect texture where vanilla wafers become cake-like, chill the pudding for at least 4 to 6 hours. This allows the cookies to absorb moisture from the dense custard without getting soggy.
Yes, it is actually better when made a day in advance! The flavors meld together and the structure stabilizes, making it easier to scoop and serve while maintaining its beautiful layers.
This usually happens if the milk wasn’t cold enough or the instant pudding wasn’t whisked for a full 2 minutes. Ensure you use whole milk and sweetened condensed milk for the densest possible custard.
The Perfect No Bake Banana Pudding Recipe
Get ready to create the most talked-about dessert in your recipe tin. This No Bake Banana Pudding combines the simplicity of pantry staples with a high-end visual appeal that looks like it came from a professional bakery.
No Bake Banana Pudding: The Ultimate Creamy Southern Layered Dessert
Ingredients
Equipment
Method
- Whisk cold milk and sweetened condensed milk in a large bowl until smooth.
- Add instant pudding mix and whisk for 2 minutes until dense and creamy. Chill for 10 minutes.
- Beat heavy cream and vanilla until soft peaks form. Fold 1/3 into the pudding.
- Layer vanilla wafers, thick sliced bananas, and custard in a glass dish. Repeat.
- Top with remaining whipped cream, a whole wafer, and fine cookie crumbs.
Notes
Use lemon juice on bananas to prevent browning.
Closing & Call to Action
The beauty of this No Bake Banana Pudding lies in its simplicity and the joy it brings to anyone who sees those beautiful layers through the glass. It is a testament to the fact that you don’t need an oven to create a dessert that is both visually stunning and deeply satisfying.
If you enjoyed building this layered masterpiece, please leave a comment below and let us know how your soft peaks turned out! Don’t forget to sign up for our newsletter for more elite recipe blueprints, and be sure to share your creations and pin this recipe to your favorite boards on Pinterest.


