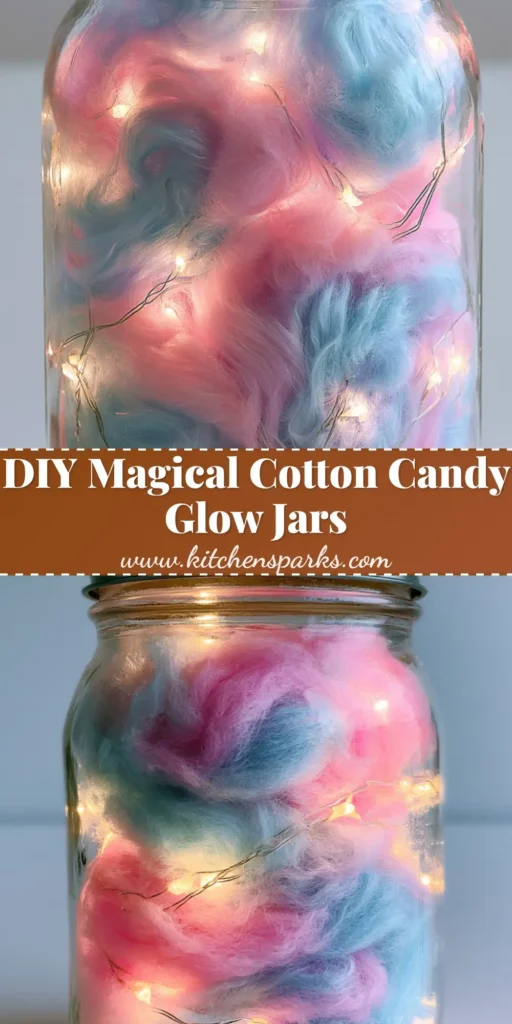
There is something inherently magical about the soft, ethereal glow of a nightlight that looks like it was plucked straight from a carnival dreamscape. The DIY Cotton Candy Glow Jars are more than just a craft; they are a visual experience that captures the wispy, sugary essence of summer nights and childhood wonder. Using simple materials like clear glass and micro-LEDs, we can recreate that iconic spun-sugar look in a permanent, glowing form.
This project is perfect for those who love a “shabby chic” or “pastel aesthetic” in their home decor. By layering delicate fibers of sky blue and soft pink batting, we create a diffusion filter for the warm-white fairy lights that results in a soft, ambient radiance. Whether you are decorating a nursery or setting the mood for a themed party, these jars are a show-stopping centerpiece.
Building your own DIY Cotton Candy Glow Jars allows for complete creative control over the color density and light intensity. In the following sections, we will dive deep into the culinary-inspired techniques of “layering” and “fluffing” to ensure your jar doesn’t just look like stuffed cotton, but truly mimics the airy architecture of real cotton candy. Let’s gather our supplies and start crafting this luminous treat.
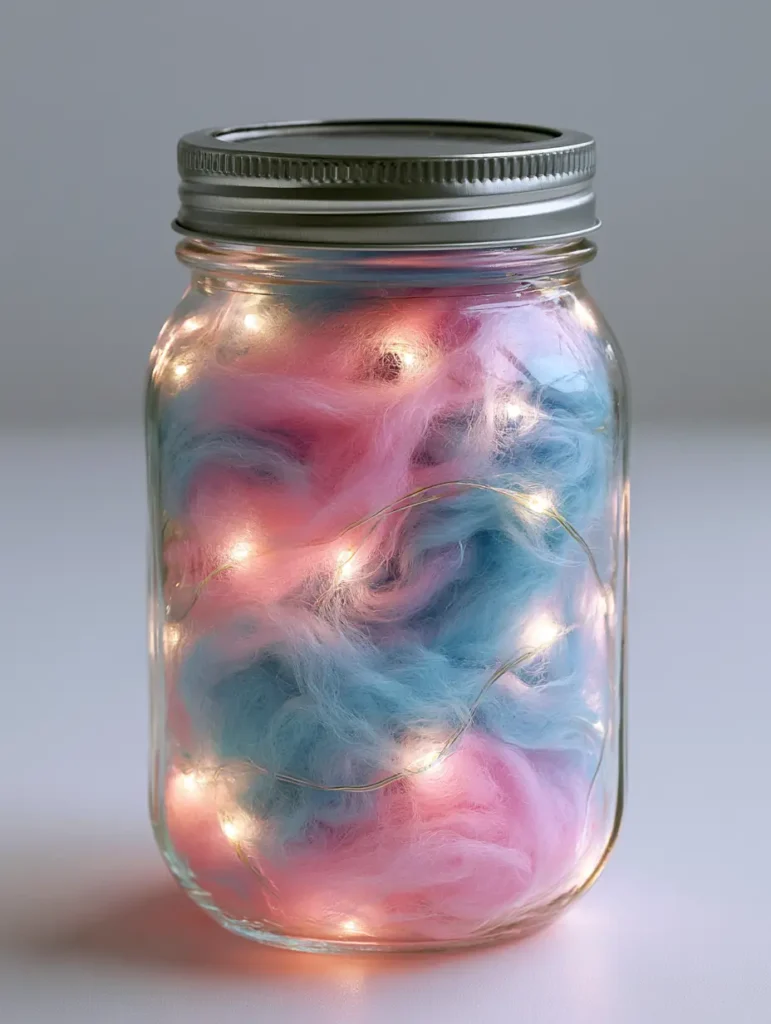
Why These Luminous Mason Jars Are the Ultimate Decor Project
- Visually Stunning Texture: The use of wispy cotton batting creates a realistic, airy texture that perfectly mimics spun sugar under soft light.
- Customizable Ambient Lighting: The warm-white micro LEDs provide a gentle, diffused glow that is far more relaxing than standard bedside lamps.
- Budget-Friendly Elegance: This high-end look is achieved using affordable, everyday items like standard silver metallic lids and glass mason jars.
- Perfect for Any Occasion: From whimsical wedding centerpieces to calming nightlights, the DIY Cotton Candy Glow Jars fit seamlessly into various settings.
Essential Components for Your Spun-Sugar Light Display
16 oz (473ml) Clear Glass Mason Jars: The foundation of our project must be crystal clear to allow the colors to pop. A standard wide-mouth jar works best for easy maneuvering of the cotton fibers and the light strand.
Silver Metallic Screw-Top Lids: These provide a classic, clean finish to the top of the jar. The metallic surface also helps reflect a small amount of light back down into the cotton for added brilliance.
Wispy Pink and Sky Blue Cotton Batting: This is the “soul” of our DIY Cotton Candy Glow Jars. You want high-loft polyester batting or dyed cotton wool that can be pulled into thin, translucent clouds.
Warm-White LED Fairy Lights: Use a 3-foot (91cm) to 6-foot (182cm) strand of micro LEDs on a thin silver wire. The warm-white color temperature (approx. 2700K) is essential for that cozy, inviting “glow” rather than a harsh blue light.
Battery-Powered Light String with Small Battery Pack: Ensure the battery pack is small enough to be tucked discreetly under the lid or hidden within the center of the cotton layers. Fresh AA or CR2032 batteries are needed for maximum brightness.
Foundational Adhesives (Optional): A small piece of double-sided tape can be used to secure the battery pack to the underside of the silver lid, keeping the assembly neat and professional.
Must-Have Tools for Precision Assembly
To achieve the professional look seen in our photos, you will need a few basic tools. A pair of long tweezers or a wooden dowel is incredibly helpful for positioning the batting and lights deep inside the jar without compressing the fibers too much. You want to maintain that “loft” to keep the DIY Cotton Candy Glow Jars looking airy.
Additionally, having a pair of sharp scissors to trim any stray fibers from the top of the jar will ensure a clean seal with the silver lid. If you are working with larger jars, a flexible “grabber” tool can help distribute the LED strand evenly from top to bottom.
Crafting the Perfect DIY Cotton Candy Glow Jars
Preparing the Glass Canvas
Begin by ensuring your 16 oz (473ml) mason jars are completely clean and free of any fingerprints or dust. Use a lint-free cloth and a bit of glass cleaner to wipe down the interior and exterior. Any smudges on the inside will be magnified once the LEDs are turned on, potentially ruining the “cloud” effect.
Insert your first set of batteries into the LED string and test the lights. It is much easier to fix a faulty strand now than after you have meticulously layered the batting. Once tested, leave the lights off for the initial assembly phase.
Mastering the “Cloud-Fluffing” Technique
Take your pink and sky blue batting and begin pulling it apart into thin, wispy sections. The secret to the DIY Cotton Candy Glow Jars is transparency; if the batting is too dense, the light won’t shine through. You want the fibers to look like pulled sugar—delicate, airy, and slightly translucent.
Create several small “puffs” of each color. Having these ready beforehand allows you to focus on the layering process without stopping to prep more material. Aim for a 50/50 mix of pink and blue to achieve that classic boardwalk aesthetic.
Layering Light and Color
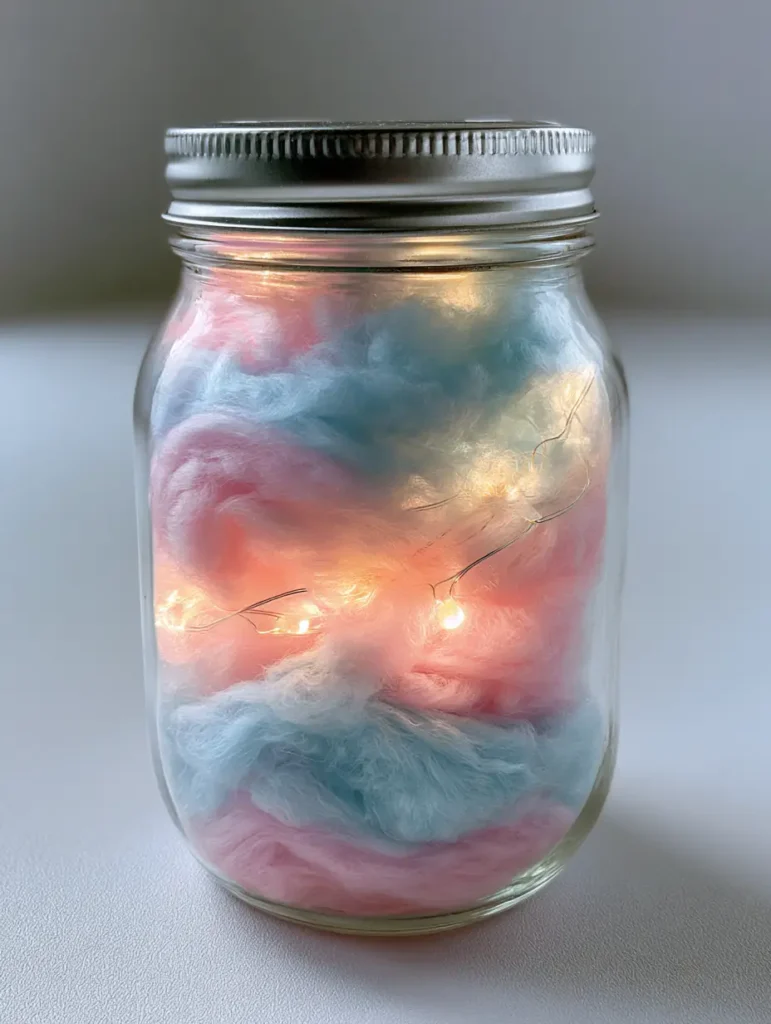
Place a thin layer of the blue batting at the very bottom of the jar. Gently feed the end of the LED fairy light string into the center of this layer. Follow this with a layer of the pink batting, weaving the wire upwards as you go. This “intertwining” of the lights and cotton is what creates the multidimensional glow.
Continue alternating colors—blue, then pink, then blue—while ensuring the LED bulbs are positioned near the glass walls of the jar. Avoid bunching all the lights in the center; you want them to peek through the wispy layers. Use your tweezers to pull some of the cotton fibers towards the glass to create those beautiful, distinct swirls of color.
The Finishing Touch: Sealing the Magic
As you reach the top of the jar, leave enough space to tuck in the battery pack. If your battery pack is flat, you can tape it to the underside of the silver metallic lid. This keeps the switch accessible but hidden from view. Gently screw the lid onto the jar, making sure no stray fibers are caught in the threads.
Turn on the switch and watch as your DIY Cotton Candy Glow Jars come to life. The warm-white lights should transform the pastel fibers into a luminous, dreamy centerpiece. Adjust the batting by gently shaking the jar if any large gaps appear, though a few “air pockets” actually enhance the realistic cotton candy look.
Expert Tips for a Professional Finish
- Light Density Matters: Don’t overstuff the jar. The more “air” inside, the better the light will diffuse. If the jar looks too solid, remove some batting and re-fluff it.
- Color Blending: For a more “galaxy” look, you can slightly overlap the pink and blue layers. The point where the colors meet will often glow with a soft lavender hue when the lights are active.
- Battery Longevity: Use high-quality batteries. Since the LEDs are encased in insulating cotton, they stay cool, but cheap batteries may dim quickly, losing that vibrant “glow.”
- Jar Sizes: While 16 oz (473ml) is standard, try using mini jars for party favors or large gallon jars for a floor-standing statement piece.
Maintaining Your Glow Jars
These jars are designed for longevity, but because they use polyester or cotton batting, they should be kept in a dry environment. Moisture can cause the fibers to clump, losing the wispy aesthetic of the DIY Cotton Candy Glow Jars. If the glass becomes dusty, a quick wipe with a dry microfiber cloth is all it takes to restore the shine.
When the lights begin to dim, simply unscrew the silver lid and replace the batteries. If you find the cotton has settled over time, use your dowel or tweezers to gently “tease” the fibers back up towards the lid to maintain the full-volume look.
What to Serve Alongside Your Whimsical Decor
If you are using these DIY Cotton Candy Glow Jars for a dessert party, pairing them with the right treats enhances the theme. Consider serving some strawberry matcha cookies for a soft pink color match. The earthy green of the matcha provides a lovely contrast to the pastel glow of the jars.
For a more decadent affair, a dubai chocolate pistachio tart adds a touch of sophisticated green that looks incredible next to sky-blue accents. If you’re hosting a tropical-themed evening, these jars look stunning alongside a platter of brown sugar pineapple wings or a moist homemade pineapple bread.
For a lighter, refreshing option, try a creamy coconut rice pudding served in smaller jars to mimic the aesthetic of your glow displays. The white pudding mirrors the airy feel of the cotton batting, creating a cohesive visual experience for your guests.
Frequently Asked Questions
Yes, as long as you use LED fairy lights. LEDs produce almost no heat, making them safe to be in contact with cotton batting or polyester fibers for extended periods.
No, real cotton candy is made of sugar and will melt or become sticky very quickly when exposed to air or humidity. Polyester batting is the best way to achieve a permanent look.
Absolutely. Since the batting and lights are not glued to the jar, you can simply remove the contents, wash the glass, and reassemble it whenever you like.
Most micro-LED strands can run for 48-72 hours continuously on fresh batteries. Using a timer-enabled strand can extend the battery life to several weeks.
Pastel shades like soft pink, sky blue, and mint green work best for a cotton candy effect. Avoid dark colors as they block too much light from the LEDs.
DIY Cotton Candy Glow Jars Master Recipe
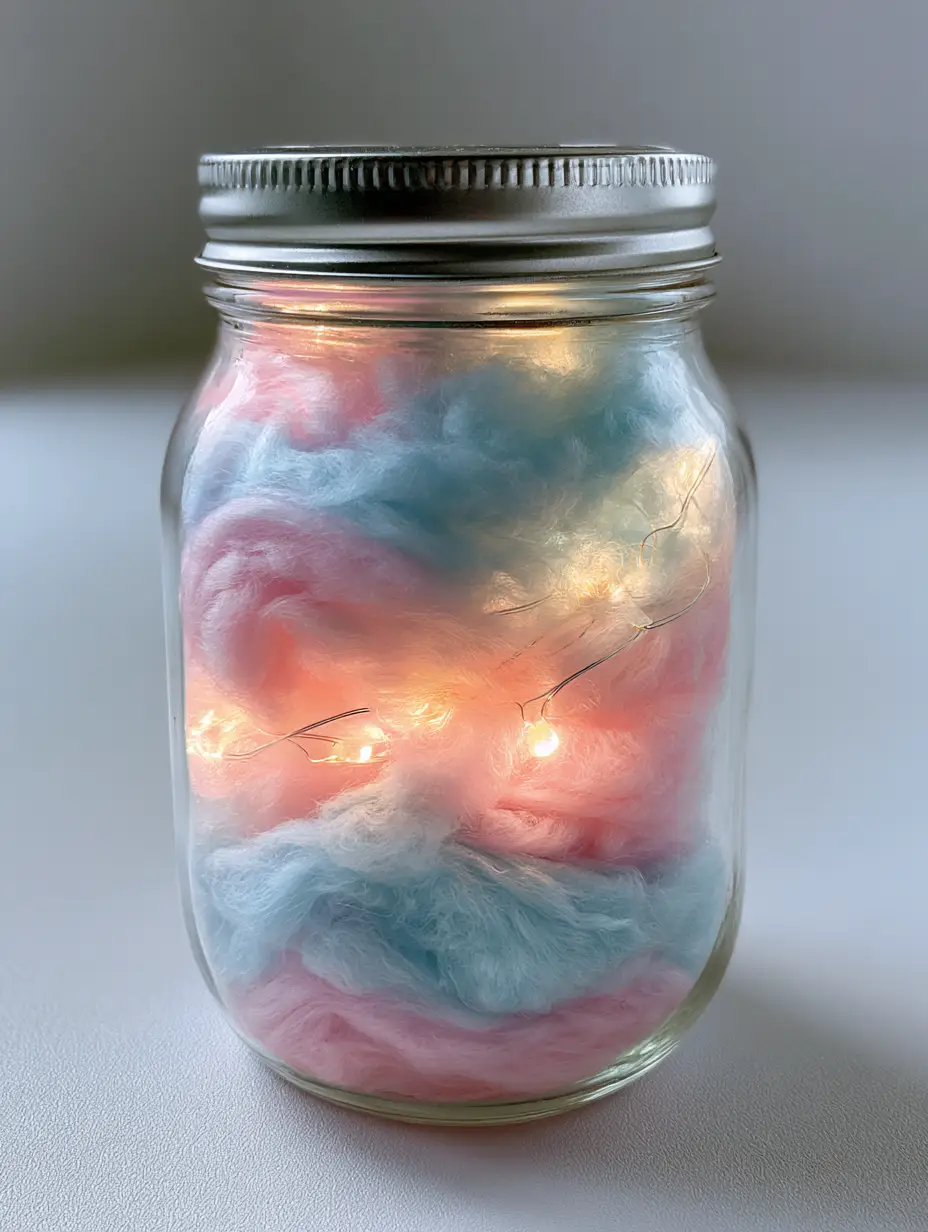
DIY Cotton Candy Glow Jars: How to Make Whimsical Mason Jar Lights
Ingredients
Equipment
Method
- Thoroughly clean the 16 oz glass mason jar to ensure it is free of dust and fingerprints, providing a clear view of the glow.
- Insert batteries into the LED strand and test the warm-white glow before beginning assembly.
- Pull the pink and blue batting into thin, wispy clouds. Ensure they are airy and semi-translucent for the best light diffusion.
- Start with a blue layer of batting at the bottom. Feed the LED strand through, then add a pink layer. Continue alternating colors while keeping LEDs near the glass walls.
- Tuck the battery pack under the silver metallic lid (use tape if needed) and screw the lid on tightly.
Notes
Always use LED lights as they do not generate heat, making them safe for use with cotton batting.
Share the Magic of DIY Cotton Candy Glow Jars
Creating these DIY Cotton Candy Glow Jars is a rewarding way to bring a touch of whimsy into your home. The combination of soft pastel colors and warm light creates an atmosphere of peace and creativity. We would love to see how your jars turned out! Did you use different colors or unique jar shapes?
If you enjoyed this tutorial, please leave a comment below and let us know your favorite way to use these glow jars. Don’t forget to share your creations on Pinterest so others can join in the crafting fun. For more whimsical DIYs and delicious recipes, sign up for our newsletter today!