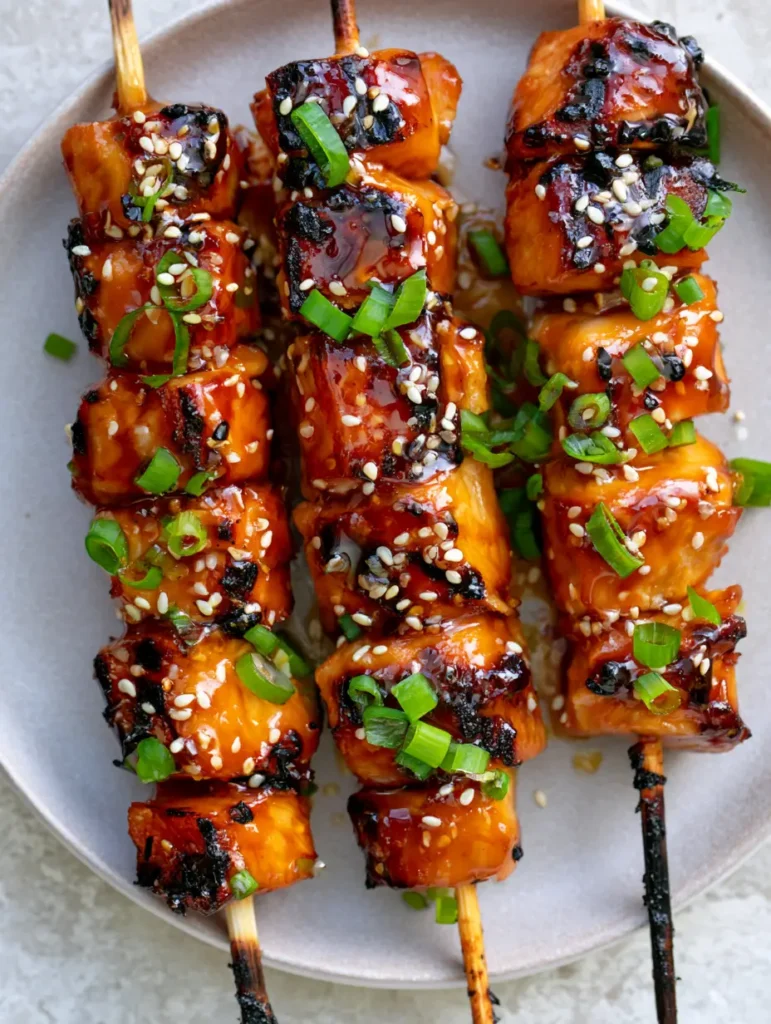
There is a specific culinary magic that happens when high-heat flames meet a sugar-rich glaze. These Honey Garlic Chicken Skewers aren’t just a quick dinner; they are a masterclass in the balance of sweet, savory, and smoke. Imagine biting into a uniform cube of tender chicken breast, its exterior boasting a deep, dark brown char, while the entire morsel is enveloped in a thick, amber-colored honey garlic glaze that glistens under the light. This recipe is designed to recreate that exact professional visual: the glossy sheen, the vibrant green of finely sliced scallions, and the crunch of toasted white sesame seeds resting on a neutral light grey ceramic plate.
Whether you are hosting a summer backyard gathering or looking for a high-protein weeknight meal that feels like a restaurant luxury, these skewers deliver. The secret lies in the viscosity of the sauce and the precision of the sear. By the time you finish this guide, you will understand the science of the Maillard reaction and how to prevent your honey from burning before your chicken is cooked through. Let’s dive into the architecture of the perfect honey-garlic bite.
Why These Sticky Honey Garlic Chicken Skewers Are a Global Favorite
- The Perfect Visual Contrast: The vibrant green of the scallions pops against the deep amber glaze and the dark char marks, making this dish a photographer’s dream.
- Multi-Textural Experience: You get the snap of the toasted sesame seeds, the tackiness of the reduced honey, and the juicy give of the seared chicken breast.
- Scientifically Balanced Flavor: We utilize the pungency of fresh garlic to cut through the floral sweetness of the honey, balanced by the salty depth of soy sauce.
- Versatility in Serving: These skewers pair beautifully with everything from light salads to a hearty bowl of sticky garlic chicken noodles.
The Anatomy of an Amber Glaze: Essential Ingredients
Boneless Skinless Chicken Breasts: We use breast meat for these skewers to achieve those perfectly uniform, bite-sized cubes seen in the blueprint. Chicken breast absorbs the marinade effectively without the excess fat that might cause flare-ups on the grill.
Raw Organic Honey: Honey is the primary sweetener and the source of that iconic glossy reflection. Its high sugar content is responsible for the rapid caramelization and the viscous, mouth-coating texture of the glaze.
Freshly Minced Garlic: We use a high volume of garlic to ensure the flavor isn’t lost during the high-heat grilling process. Fresh garlic provides a sharper, more complex profile than powdered alternatives.
Low-Sodium Soy Sauce: This provides the salt and the dark pigment necessary for that rich, amber hue. Using low-sodium allows us to control the saltiness while maximizing the umami depth.
Rice Vinegar: A touch of acidity is required to brighten the heavy sugars and fats. It cuts through the sweetness, ensuring the sauce is savory rather than cloying.
Toasted Sesame Oil: Just a teaspoon adds a foundational nuttiness and an “invisible” layer of aromatic complexity that ties the honey and garlic together.
Cornstarch Slurry: A mix of cornstarch and water is the secret to a “thick, glossy” glaze. It ensures the sauce clings to the chicken cubes rather than sliding off into the grates.
Neutral High-Smoke Point Oil: We use avocado or grapeseed oil to coat the grill. This is scientifically required to prevent the chicken from sticking and to facilitate those dark brown char marks.
Garnish (Sesame Seeds & Scallions): Toasted white sesame seeds add visual “sparkle” and texture, while finely sliced green scallions provide a fresh, peppery finish.
Foundational Tools for Restaurant-Quality Results
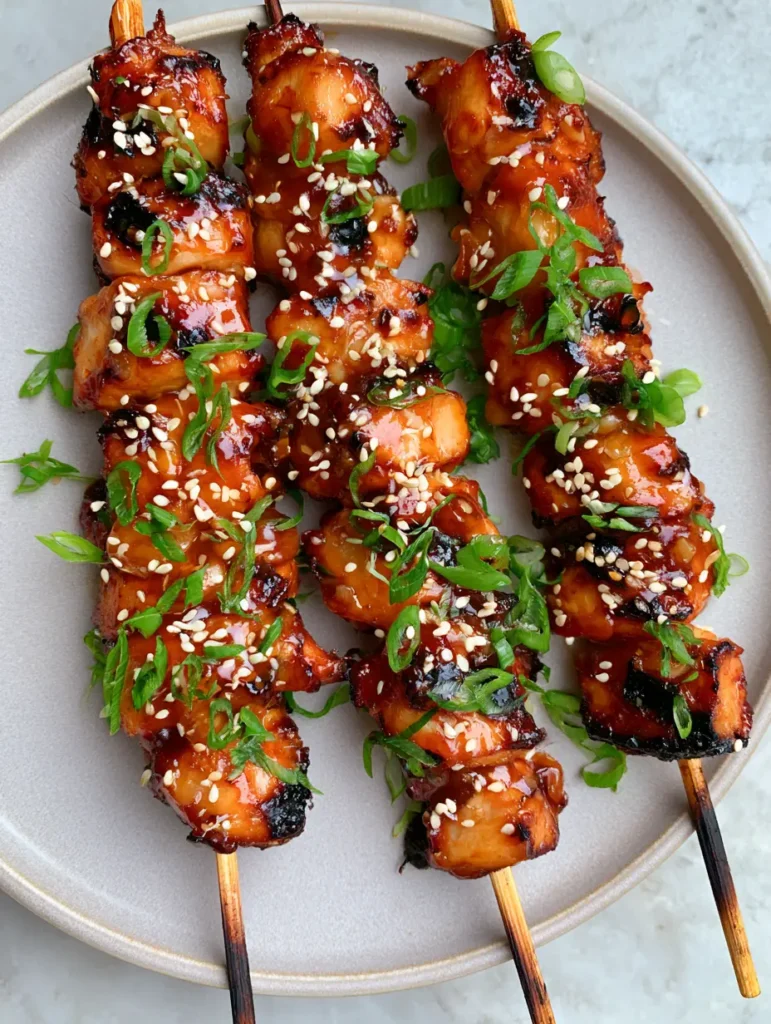
To achieve the “slightly charred wooden ends” described in our visual blueprint, you must use high-quality wooden skewers. These should be soaked in cold water for at least 30 minutes prior to threading to ensure they char without catching fire. A heavy-duty cast-iron grill pan or an outdoor charcoal grill is essential for creating the intense heat required for searing. Additionally, a silicone basting brush is vital for layering the glaze in the final minutes of cooking, building that thick, reflective coating.
The Science of Threading and Searing Chicken
Step 1: Preparing the Skewers and the Protein
Begin by soaking your wooden skewers in a shallow tray of water. This is a non-negotiable step for achieving the aesthetic of charred ends without total combustion. While the skewers soak, pat your chicken breasts dry with paper towels. Removing surface moisture is the most important step for a good sear; moisture creates steam, and steam prevents browning. Cut the chicken into uniform 1-inch (2.5cm) cubes. Consistency in size ensures that every piece on the skewer reaches the safe internal temperature of 165°F (74°C) at the exact same time.
Step 2: Engineering the Honey Garlic Glaze
In a small saucepan over medium heat, combine 1/2 cup (120ml) of honey, 1/4 cup (60ml) of soy sauce, 4 cloves of minced garlic, and 1 tbsp (15ml) of rice vinegar. Bring the mixture to a gentle simmer. In a small bowl, whisk 1 tsp (5g) of cornstarch with 1 tbsp (15ml) of cold water to create a slurry. Whisk this into the simmering sauce. Watch as the sauce transforms from a thin liquid into a viscous, amber-colored glaze. Remove from heat and set aside a third of the sauce for final glazing to avoid cross-contamination with raw chicken.
Step 3: Marinating and Threading
Toss the chicken cubes in the remaining two-thirds of the glaze and 1 tbsp (15ml) of neutral oil. Let this sit for at least 20 minutes. Thread about 5-6 cubes onto each soaked wooden skewer. Leave a small gap between the cubes; if they are packed too tightly, the sides won’t char, and you’ll lose that “dark brown char mark” look. Ensure the wooden ends are exposed by about 2 inches on each side.
Step 4: The High-Heat Sear
Preheat your grill or grill pan to medium-high heat. Lightly oil the grates. Place the skewers down and leave them undisturbed for 3-4 minutes. You are looking for the “sizzle” sound—this is the sound of the Maillard reaction in action. Flip the skewers when the chicken releases easily from the grates and displays those beautiful, dark grill lines. Repeat on all sides until the chicken is nearly cooked through.
Step 5: The Final Glossy Finish
During the last 2 minutes of cooking, use your silicone brush to generously apply the reserved clean glaze. The heat will cause the sugars in the honey to bubble and thicken further, creating that “thick, glossy” coating. Once the chicken reaches 165°F (74°C), remove them from the heat. Immediately sprinkle with a heavy scattering of white sesame seeds and the finely sliced green scallions. The residual heat will slightly soften the scallions, releasing their aroma without losing their vibrant color.
Expert Tips for Success
- Manage Your Sugars: Honey burns at a lower temperature than meat. If your grill is too hot, the glaze will turn black and bitter before the chicken is done. Maintain a steady medium-high heat.
- The “Clean” Glaze Rule: Never use the sauce that touched raw chicken for the final “glam” shot. Always set aside a portion of the boiled sauce for that final, food-safe glossy finish.
- Room Temperature Protein: Take your chicken out of the fridge 15 minutes before grilling. Cold chicken causes the grill temperature to drop, leading to grey, steamed meat instead of charred cubes.
- The “Finger Test” for Thickness: Your glaze is ready when it coats the back of a spoon and you can draw a clear line through it with your finger. This viscosity ensures it stays on the chicken and doesn’t end up in the bottom of the grill.
How to Store and Revive Your Leftovers
These Honey Garlic Chicken Skewers are best served fresh, but they do store remarkably well. Place leftover skewers in an airtight container for up to 3 days in the refrigerator. To reheat, we recommend using an air fryer at 350°F (175°C) for 3-5 minutes. This will revive the “sticky” exterior without making the chicken rubbery. If using a microwave, cover with a damp paper towel to retain moisture, though you may lose some of that signature char texture.
What to Serve with Honey Garlic Chicken
To turn these skewers into a full feast, consider the textures of your side dishes. A cooling cucumber salad provides a crisp contrast to the sticky glaze. For a more filling meal, serve the skewers over a bed of jasmine rice or alongside some garlic roasted vegetables for a healthy, fiber-rich addition. If you’re feeling adventurous, these skewers make an excellent topping for creamy garlic chicken ramen, where the honey glaze seeps into the savory broth for a complex flavor profile. They also pair surprisingly well with a side of pineapple jerk chicken (coming soon) if you are hosting a larger tropical-themed BBQ.
Common Grilling Questions
Yes! Bake at 400°F (200°C) for 15-20 minutes, then broil on high for 2-3 minutes to achieve the charred look and thicken the glaze.
Yes, chicken thighs are more forgiving and remain juicy at higher temperatures, though they may take 2-3 minutes longer to cook through than breast meat.
Absolutely. Soaking them for at least 30 minutes ensures they char beautifully at the ends without burning through or snapping during grilling.
The secret is the cornstarch slurry and a final ‘clean’ coat of glaze applied just before the chicken comes off the heat.
Keep the grill at medium-high heat and wait until the last 2-3 minutes of cooking to apply the final thick layer of glaze.
The Perfect Honey Garlic Chicken Skewer Recipe
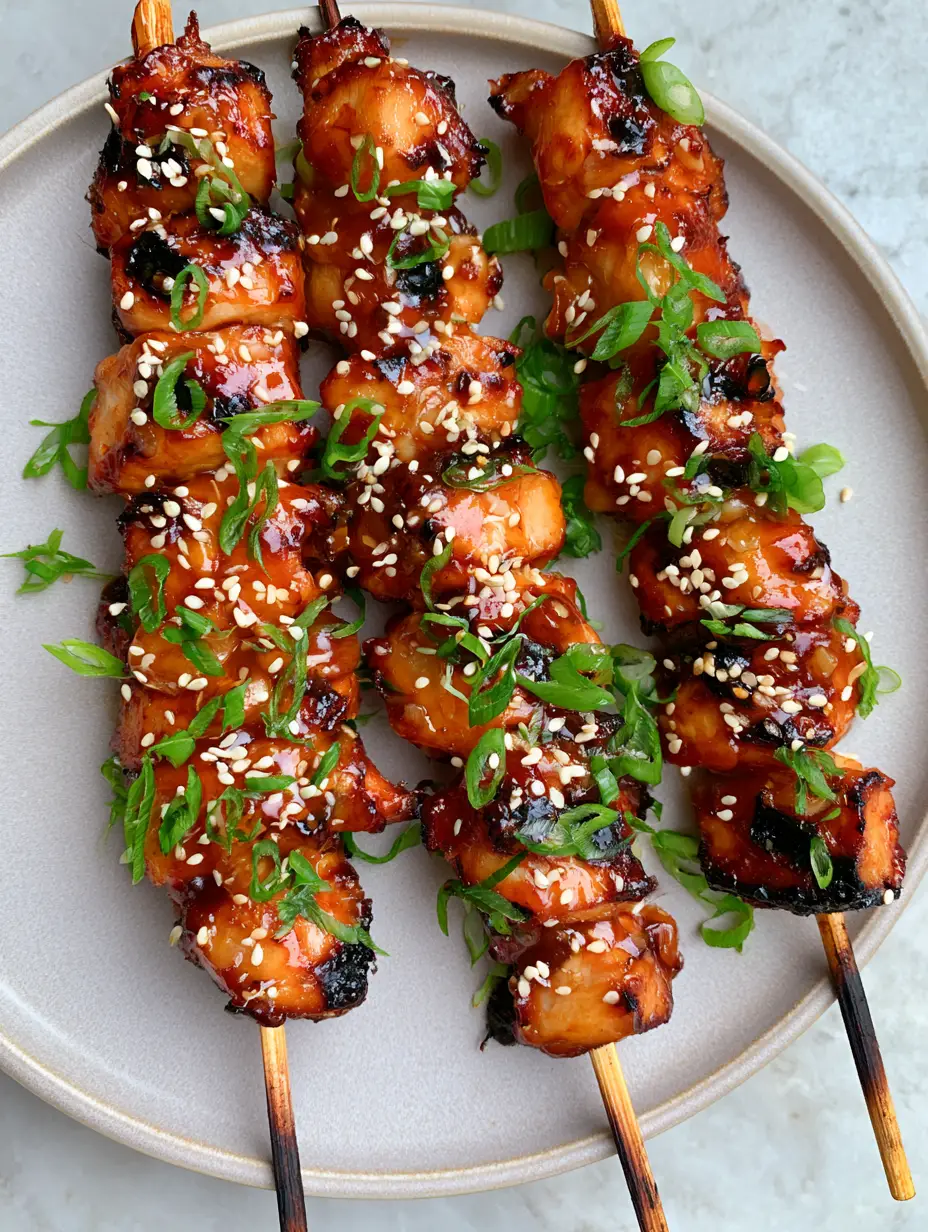
Honey Garlic Chicken Skewers: The Ultimate Sticky and Charred Grilling Recipe
Ingredients
Equipment
Method
- Soak wooden skewers in water for at least 30 minutes to prevent burning.
- Combine honey, soy sauce, garlic, and vinegar in a pan. Whisk in cornstarch slurry and simmer until thick and glossy. Set aside 1/3 of the sauce.
- Thread chicken cubes onto skewers. Grill over medium-high heat for 3-4 minutes per side until char marks appear.
- Brush with the reserved clean glaze in the final 2 minutes. Garnish with sesame seeds and scallions.
Notes
Use a high smoke-point oil to prevent sticking.
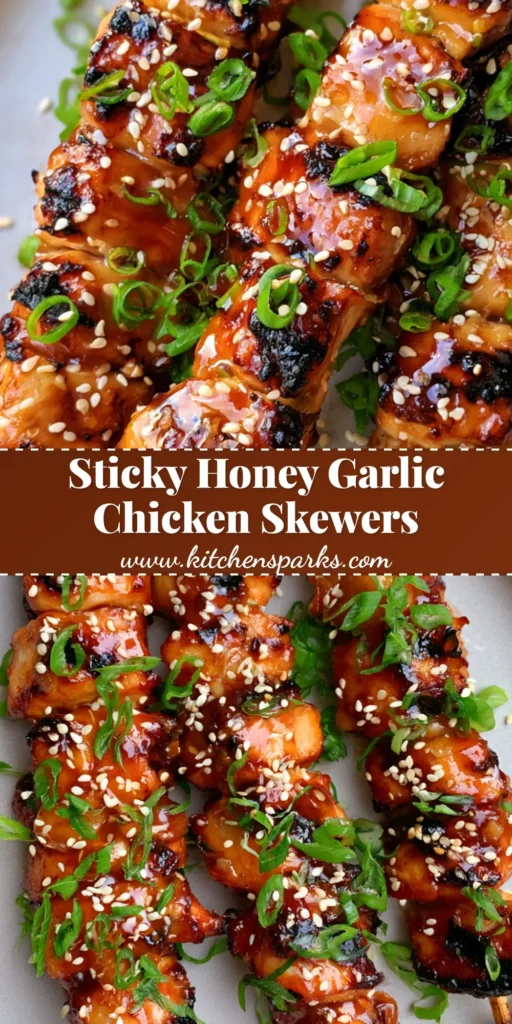
Closing & Call to Action
Mastering the Honey Garlic Chicken Skewer is about more than just following a recipe; it’s about understanding the interplay of heat and sugar. Once you see that amber glaze bubble and smell the toasted garlic, you’ll know you’ve created something special. If you enjoyed this recipe, please leave a comment below and tell us how yours turned out! Don’t forget to follow us and save this recipe to your boards on Pinterest for your next weekend BBQ!


