When you crave the deep, savory-sweet satisfaction of premium takeout but want the freshness of a home-cooked meal, these Sticky Garlic Chicken Noodles are the answer. This recipe is engineered to deliver a high-gloss finish and a complex flavor profile that belies its simple 20-minute preparation time. By focusing on high-heat techniques and a balanced mahogany glaze, we transform humble spaghetti into a restaurant-quality masterpiece.
The visual appeal of this dish is undeniable: long, translucent strands of pasta drenched in a dark, shimmering sauce, punctuated by chicken chunks boasting perfectly charred edges. This isn’t just a meal; it is a sensory experience of textures ranging from the snap of the noodles to the crunch of toasted sesame seeds. Whether you are a busy professional or a dedicated home cook, mastering these Sticky Garlic Chicken Noodles will elevate your weeknight dinner rotation forever.
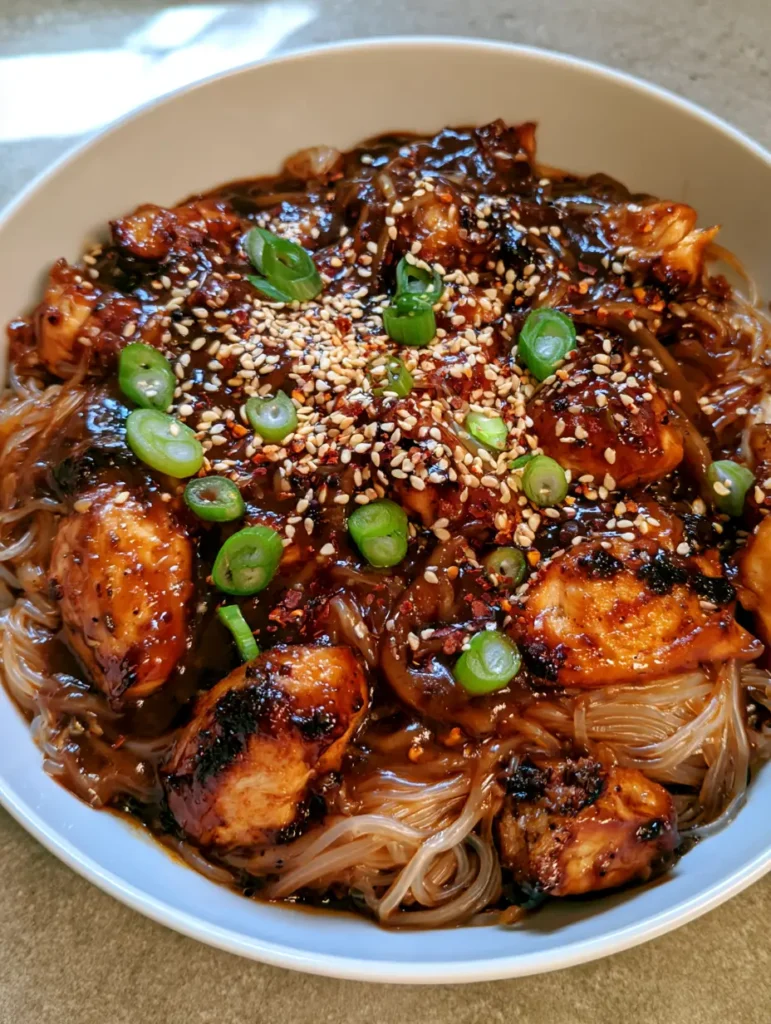
The Irresistible Allure of Sticky Garlic Chicken Noodles
- Glossy Mahogany Glaze: A thick, translucent sauce that clings to every noodle without pooling at the bottom of the bowl.
- Expertly Seared Chicken: Chunks of breast meat with dark brown, slightly charred edges for a smoky depth of flavor.
- Perfectly Al Dente Spaghetti: Using classic spaghetti noodles provides a sturdy, familiar foundation that absorbs the garlic-honey infusion.
- Vibrant Garnish Contrast: A generous scattering of ivory sesame seeds and bright green spring onions for visual pop and textural variety.
- Balanced Heat: Fine specks of red pepper flakes distributed across the surface provide a gentle, warming finish.
The Science of the Mahogany Glaze: Essential Ingredients
To achieve the dark mahogany sheen described in our visual blueprint, we must select ingredients that offer both color and viscosity. Each component in this Sticky Garlic Chicken Noodles recipe serves a specific chemical purpose in the final emulsion.
Spaghetti Noodles (12 oz / 340g): While often associated with Italian cuisine, the high starch content of spaghetti makes it the perfect vehicle for a thick Asian-inspired glaze. The long, smooth surface allows the sauce to coat evenly while maintaining a pleasant chew.
Chicken Breast (1.5 lbs / 680g): Lean chicken breast is the ideal protein for high-heat searing. When cut into uniform chunks, it develops a Maillard reaction—that dark brown crust—very quickly without drying out the center.
Fresh Garlic (6 cloves): This is the backbone of the dish. We use a high volume of garlic to ensure the flavor permeates the oil and the sauce, providing that signature aromatic punch.
Honey (1/3 cup / 80ml): Honey is the primary sweetening agent and the secret to the “sticky” texture. Its natural sugars caramelize rapidly in the pan, contributing to the dark mahogany color.
Soy Sauce (1/4 cup / 60ml): This provides the essential salt and the deep pigment. For a darker result, you can substitute 1 tablespoon of this for dark soy sauce.
Neutral Oil (2 tbsp / 30ml): A high-smoke point oil like canola or grapeseed is required to sear the chicken at high temperatures without burning the fats.
Toasted Sesame Oil (1 tsp / 5ml): Added at the end, this foundational oil provides a toasted, nutty aroma that rounds out the sharp garlic and sweet honey.
Cornstarch (1 tsp / 5g): Mixed with a tablespoon of water, this slurry ensures the sauce transitions from a liquid to a thick, translucent glaze that “grips” the noodles.
Red Chili Flakes (1 tsp / 2g): These provide the “tiny specks” seen in the visual prompt, adding a controlled heat that cuts through the richness of the honey.
Scallions and Sesame Seeds: These are non-negotiable for the final presentation. The bright green circles and ivory seeds provide the necessary visual contrast against the dark sauce.
Culinary Gear for High-Heat Searing
To replicate the professional results of these Sticky Garlic Chicken Noodles, you need tools that can handle and distribute heat effectively. A heavy-bottomed skillet or a cast-iron pan is preferred over thin non-stick pans to achieve those dark, charred chicken edges.
You will also need a large pot for boiling the spaghetti and a sturdy set of tongs. Tongs are essential for “tossing” the noodles in the glaze, ensuring every strand is thoroughly drenched in the dark mahogany sauce without breaking the pasta.
Step-By-Step: Mastering the Sear and the Glaze
1. Preparing the Noodle Foundation
Bring a large pot of salted water to a rolling boil. Add 12 oz (340g) of spaghetti and cook for 1-2 minutes less than the package instructions. We want the noodles “al dente” because they will continue to cook and absorb moisture once they hit the sauce in the skillet.
2. Achieving the Perfect Chicken Sear
Pat the chicken chunks dry with paper towels—moisture is the enemy of a good sear. Heat 2 tbsp (30ml) of neutral oil in your skillet over medium-high heat until it shimmers. Add the chicken in a single layer, leaving space between chunks. Do not stir for at least 3 minutes; this allows the dark brown, charred edges to form. Flip and cook until the chicken is opaque throughout.
3. Infusing the Aromatics
Reduce the heat to medium and add the 6 minced garlic cloves and 1 tsp (2g) of red pepper flakes. Sauté for only 30-45 seconds. You want to smell the garlic immediately, but do not let it turn brown or bitter, as this will ruin the delicate balance of the Sticky Garlic Chicken Noodles.
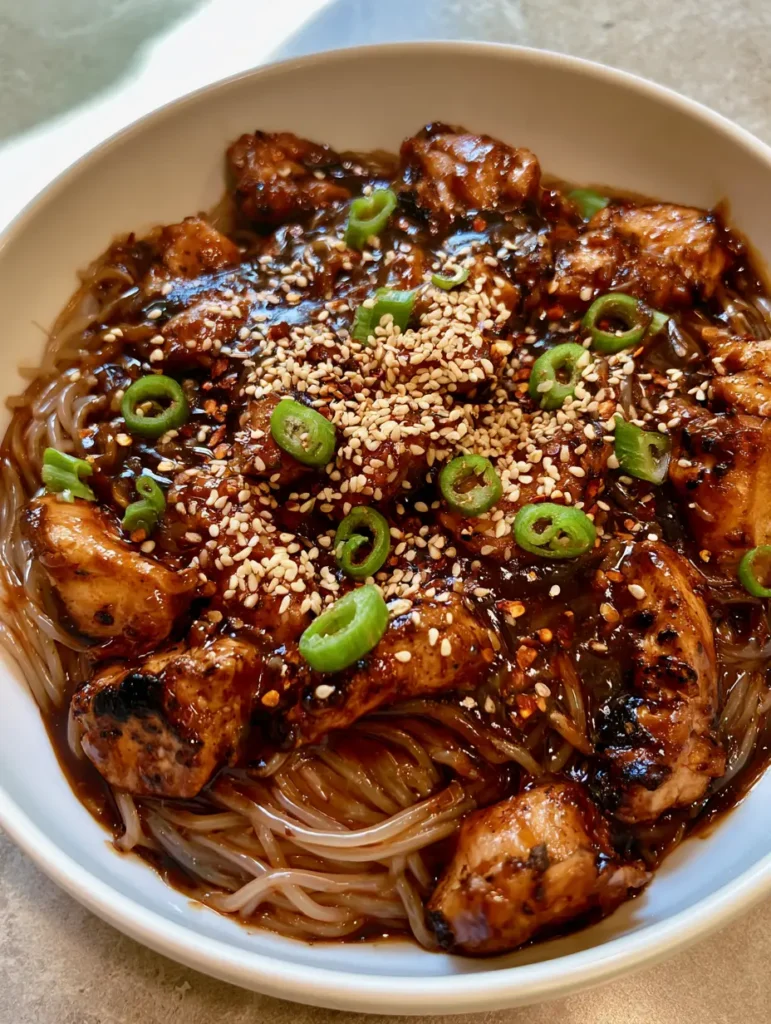
4. The Mahogany Emulsion
Whisk together the honey, soy sauce, and sesame oil. Pour the mixture into the skillet with the chicken. As the honey begins to bubble, add the cornstarch slurry. Stir constantly as the sauce transforms from a thin liquid into a thick, glossy, mahogany-colored glaze that coats the back of a spoon.
5. The Final Toss
Transfer the cooked spaghetti directly from the water into the skillet. The small amount of starchy pasta water clinging to the noodles will help the sauce emulsify even further. Use tongs to toss the noodles vigorously until they are translucent and thoroughly drenched in the dark sauce.
Expert Tips for Stir-Fry Success
- The “Dry” Rule: Always dry your protein. If the chicken is wet, it will steam rather than sear, and you will miss out on those beautiful dark brown edges.
- Don’t Overcrowd: If your pan is too small, sear the chicken in two batches. Overcrowding drops the pan temperature and prevents caramelization.
- Emulsification is Key: If the sauce looks too thick or “gloppy,” add a splash of pasta water. The starch and heat will thin it back into a glossy, pourable state.
- Noodle Choice: If you don’t have spaghetti, this technique works beautifully as a creamy garlic chicken ramen variation by swapping the pasta and adding a touch of heavy cream to the glaze.
Storage, Reheating, and Freezing
Sticky Garlic Chicken Noodles are best enjoyed immediately while the glaze is at its most translucent. However, leftovers can be stored in an airtight container in the refrigerator for up to 3 days.
When reheating, the sauce will likely have thickened significantly. Add 1-2 tablespoons (15-30ml) of water or chicken broth before microwaving or reheating in a pan. This moisture will “reactivate” the honey and cornstarch, restoring the glossy sheen. Freezing is not recommended as the spaghetti texture tends to become mushy upon thawing.
What to Serve With This Dish
Because these noodles are incredibly rich and savory, they pair well with light, crisp side dishes. A plate of garlic roasted vegetables provides a nice textural contrast to the soft noodles.
If you love the flavor profile but want to try a different format, consider making honey garlic chicken skewers for your next gathering. For those who prefer a more traditional sauce, our chicken in garlic sauce recipe offers a similar aromatic experience with a more liquid consistency.
Frequently Asked Questions
Absolutely. Simply replace the soy sauce with tamari or coconut aminos and ensure your spaghetti is a gluten-free variety (like brown rice pasta).
Yes! Chicken thighs have a higher fat content and will remain even juicier. Ensure you still sear them over high heat to achieve the dark brown, charred edges characteristic of this dish.
The gloss comes from the combination of honey and a cornstarch slurry. Ensure you toss the noodles while the sauce is bubbling hot to create that signature shimmering coat.
While fresh aromatics are always preferred, you can use 1/4 tsp of ground ginger as a substitute. However, the fresh garlic is non-negotiable for the proper flavor profile.
You can use linguine, fettuccine, or even ramen noodles. The key is to cook them al dente so they don’t fall apart when tossed in the thick glaze.
The Ultimate Sticky Garlic Chicken Noodles Recipe Card
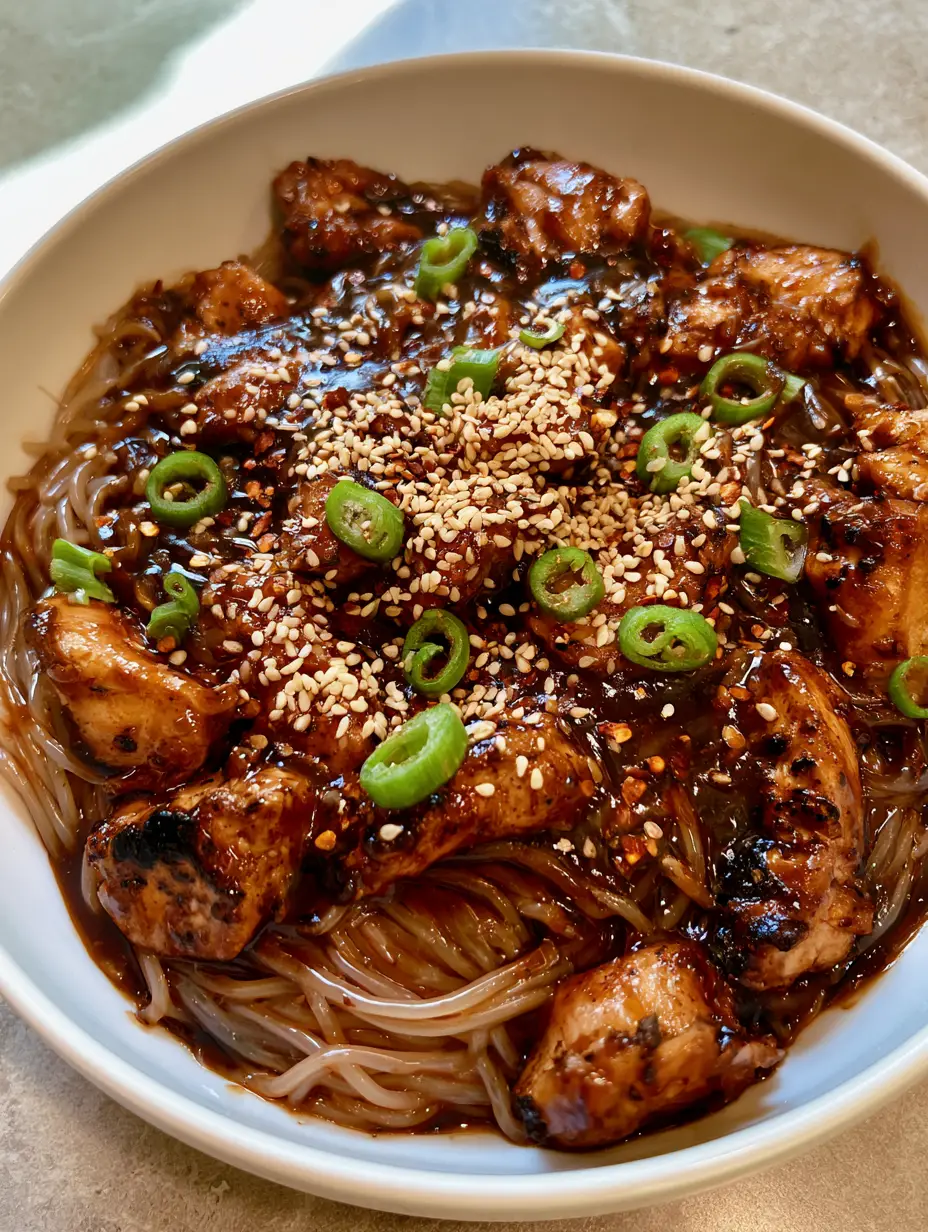
Sticky Garlic Chicken Noodles: The Ultimate 20-Minute Glossy Stir-Fry
Ingredients
Equipment
Method
- Boil spaghetti in salted water until al dente. Drain, reserving a splash of pasta water.
- Heat oil in a skillet over medium-high heat. Add chicken chunks and cook undisturbed for 3-4 minutes until dark brown charred edges form. Flip and finish cooking.
- Lower heat to medium. Add minced garlic and red pepper flakes, stirring for 30 seconds until fragrant.
- Stir in honey, soy sauce, and sesame oil. Add cornstarch slurry and whisk until the sauce becomes a thick, glossy mahogany glaze.
- Add noodles to the pan. Use tongs to coat every strand in the sticky sauce. Garnish with scallions and sesame seeds.
Notes
If sauce is too thick, loosen it with a tablespoon of reserved pasta water.
Closing & Call to Action
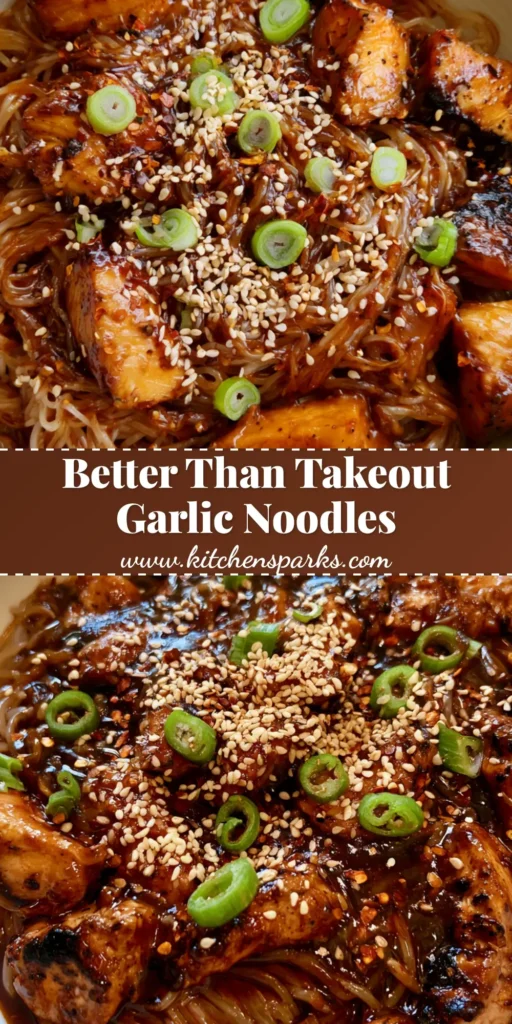
These Sticky Garlic Chicken Noodles prove that you don’t need a pantry full of exotic ingredients to create a world-class meal. By focusing on the texture of the sear and the gloss of the glaze, you bring professional culinary technique into your everyday kitchen. The result is a bowl of noodles that looks exactly like a gourmet photograph and tastes even better.
Did you achieve that perfect mahogany sheen? We want to see your results! Leave a comment below with your experience or any substitutions you tried. If you loved this recipe, please share it with your friends and follow us on Pinterest for more visually stunning recipe inspiration!


