When it comes to mastering the art of the perfect sear, few celebrity chefs command the skillet quite like Bobby Flay. These Bobby Flay Chicken Thighs are a masterclass in texture, flavor, and culinary precision, designed to deliver a restaurant-quality experience in your own kitchen.
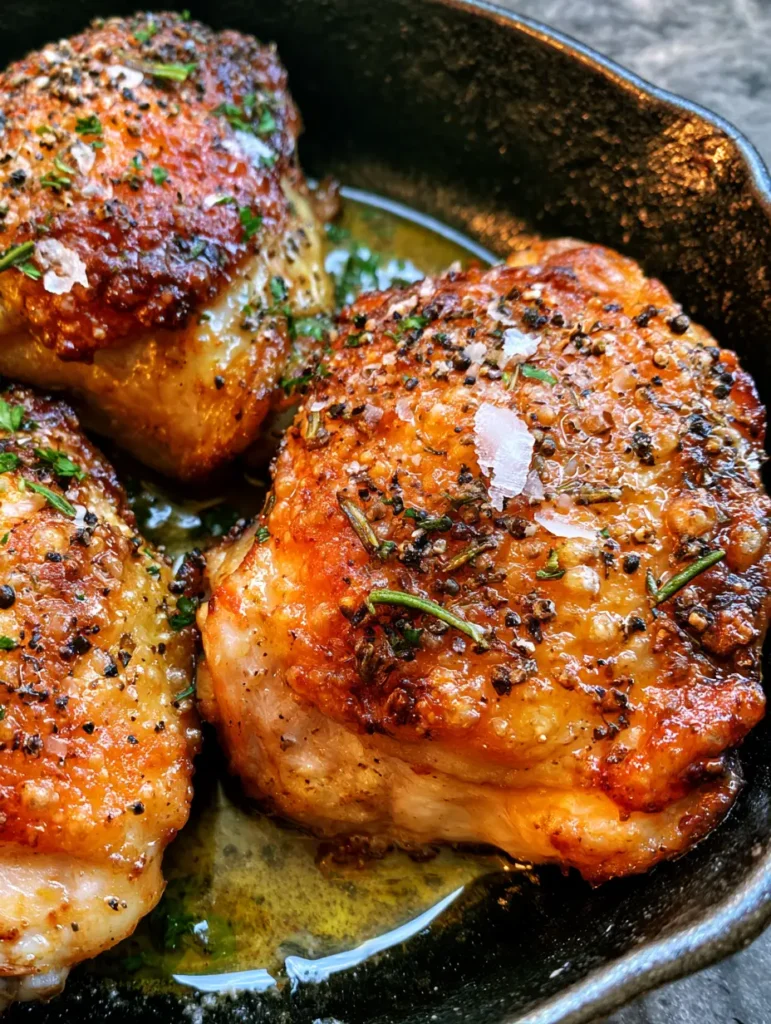
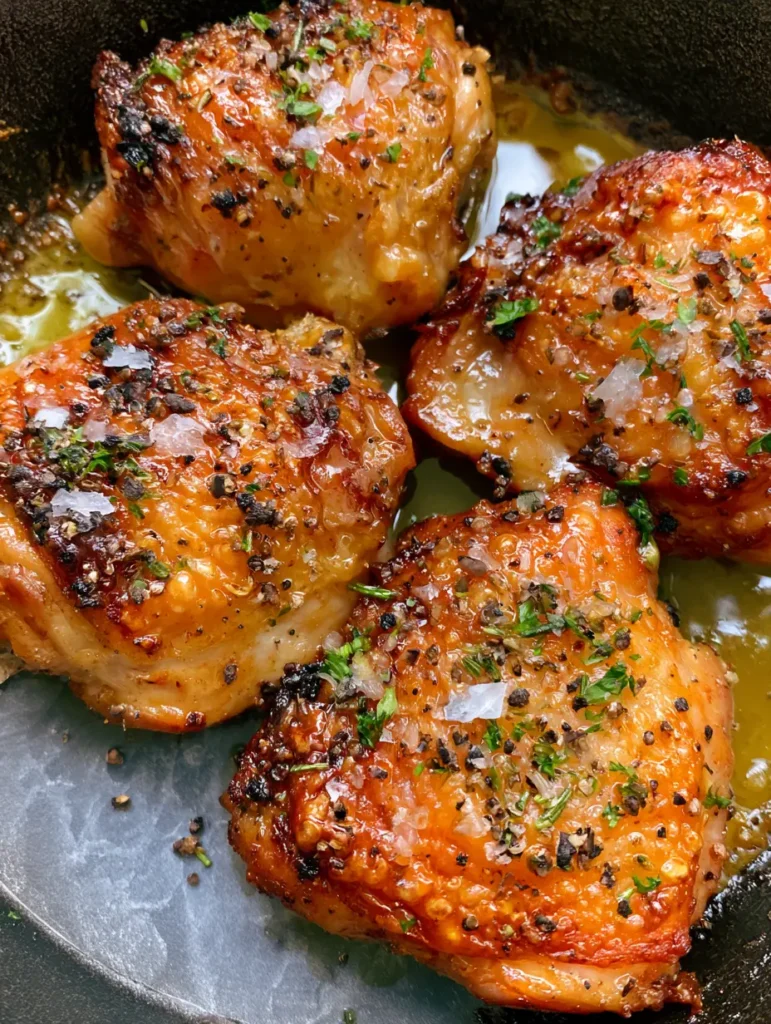
The hallmark of this dish is the deeply browned, bubbling skin that shatters upon the first bite. It is a visual and sensory triumph, featuring a golden-orange hue that signals intense caramelization and the Maillard reaction at its peak performance.
By using a seasoned cast iron skillet, we harness the power of high-heat retention to transform humble chicken into a gourmet masterpiece. This recipe focuses on the harmony of fresh aromatics, high-quality fats, and the exact timing required to keep the meat glistening with natural juices.
The Anatomy of Perfection: Why This Recipe Works
- Shatter-Crisp Texture: We utilize specific searing techniques to ensure the skin is intensely crispy and bubbling, just like the professional results seen in high-end bistros.
- Vibrant Herbal Finish: A combination of finely minced fresh rosemary and parsley adds a layer of earthy brightness that cuts through the richness of the poultry.
- The “Flay” Flavor Profile: Bold seasoning with coarse cracked black peppercorns and generous flakes of Maldon sea salt creates a crust that is as flavorful as it is textured.
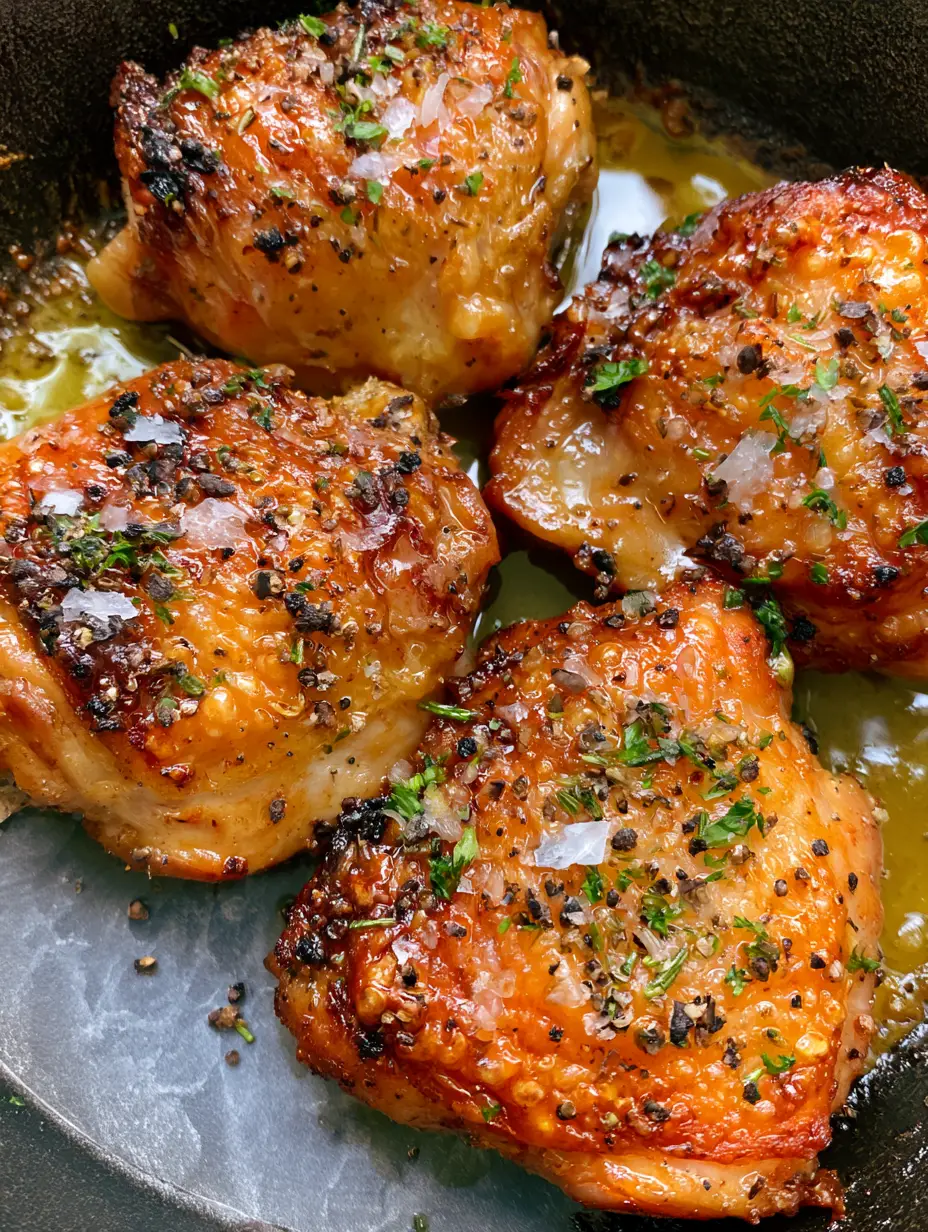
- Glossy Aesthetic: A final olive oil glaze ensures the chicken looks as good as it tastes, providing a professional sheen that catches the light beautifully.
Achieving this level of culinary excellence requires more than just heat; it requires an understanding of moisture control and pan management. Whether you are a seasoned home cook or a beginner, these Bobby Flay Chicken Thighs will become your new gold standard for weeknight dinners.
The Essential Elements for Golden-Brown Perfection
Bone-In, Skin-On Chicken Thighs: You will need 3 large thighs (approx. 1.5 lbs / 680g). The bone acts as a thermal conductor, keeping the meat moist while the skin provides the fat necessary for that iconic crunch.
Extra Virgin Olive Oil: Use 2 tbsp (30ml) for the initial sear and a light drizzle for the finishing glaze. This fat helps conduct heat evenly across the uneven surface of the chicken skin.
Maldon Sea Salt: Use 1.5 tsp (9g) of flaky sea salt. Unlike table salt, these large flakes provide a rhythmic crunch and bursts of salinity that enhance the natural chicken flavor.
Coarse Cracked Black Pepper: Use 1 tsp (2g) of freshly cracked peppercorns. The coarse grind is essential here to provide “bite” and visual contrast against the golden skin.
Fresh Rosemary: 1 tbsp (2g) of finely minced needles. Rosemary is a robust herb that thrives under heat, infusing the natural pan juices with a woody, evergreen aroma.
Fresh Italian Parsley: 1 tbsp (4g) of finely chopped leaves. Added at the very end, parsley provides a necessary pop of color and a clean, peppery finish.
Unsalted Butter (Foundational Ingredient): 1 tbsp (14g). While not visible in the final photo, adding a knob of butter at the end of cooking helps create those small pools of golden cooking juices seen in the skillet.
Tools for Professional Searing
To achieve the visual result of deeply browned, bubbling skin, your equipment matters as much as your ingredients. A 10-inch or 12-inch (25cm or 30cm) cast iron skillet is non-negotiable for this recipe.
Cast iron provides the superior heat retention needed to sear the chicken without the pan temperature dropping. This prevents the chicken from steaming in its own juices, which is the primary cause of rubbery skin.
You will also need a sharp chef’s knife for mincing the herbs finely and a pair of heavy-duty tongs to flip the chicken without tearing the delicate, developing crust. A meat thermometer is highly recommended to ensure the internal temperature reaches exactly 165°F (74°C).
The Step-By-Step Guide to Shatteringly Crispy Skin
Phase 1: Preparation and Moisture Control
The secret to the Bobby Flay Chicken Thighs is starting with dry skin. Remove your chicken from the refrigerator 20 minutes before cooking to take the chill off. Use a paper towel to pat the skin extremely dry; any surface moisture will create steam and prevent the skin from bubbling.
Season the skin side generously with the coarse black pepper and half of the Maldon sea salt. Press the seasoning into the skin so it adheres during the high-heat transition. If you enjoy bold flavors, you might also consider trying our herb-baked chicken for a different take on aromatics.
Phase 2: The Cold-Pan Start Technique
Place the chicken thighs skin-side down in a cold cast iron skillet. Turn the heat to medium. This “cold-pan” method allows the fat under the skin to render out slowly, effectively frying the skin in its own natural oil. As the pan heats up, you will hear a gentle hissing that eventually turns into a vigorous sizzle.
Cook undisturbed for 12-15 minutes. Resist the urge to move the chicken. You are looking for the skin to become deeply browned and intensely crispy. When the skin naturally releases from the pan, it is ready to be flipped.
Phase 3: The Searing and Basting
Flip the chicken thighs using tongs. The skin should now have a golden-orange hue and visible sear marks. Add the butter and half of the minced rosemary to the pan. The butter will foam and pick up the herbal notes, creating those natural chicken pan juices described in the blueprint.
Tilt the skillet slightly and use a spoon to baste the hot, herb-infused fat over the crispy skin. This adds a light olive oil and butter sheen while further deepening the color. Transfer the skillet to a preheated oven at 400°F (200°C) for 8-10 minutes to finish cooking the meat through.
Phase 4: The Finishing Flourish
Once the internal temperature reaches 165°F (74°C), remove the skillet from the oven. Let the chicken rest in the skillet for 5 minutes. This allows the juices to redistribute, ensuring the meat remains glistening and moist.
Just before serving, sprinkle the remaining Maldon sea salt, the rest of the rosemary, and the fresh parsley across the surface. Drizzle a tiny amount of high-quality olive oil over the top to create that final, camera-ready glaze. If you love these bold, savory notes, you’ll find similar satisfaction in our chicken in garlic sauce.
Expert Tips for Success
- Weight It Down: For even more contact and a flatter, crispier skin, place a second smaller heavy skillet on top of the chicken thighs during the first 5 minutes of searing.
- Don’t Crowd the Pan: Cooking only three thighs at a time in a large skillet ensures there is enough space for moisture to evaporate, which is essential for that bubbling texture.
- The Resting Period: Never skip the rest. If you cut into the chicken too soon, the natural juices will run out, leaving the meat dry and the skin soggy.
- Freshness Counts: Always use fresh rosemary and parsley. Dried herbs will burn in the high heat of the cast iron and provide a bitter, gritty texture.
Storage, Reheating & Freezing
Storage: Store leftovers in an airtight container in the refrigerator for up to 3 days. To maintain the integrity of the Bobby Flay Chicken Thighs, store them skin-side up.
Reheating: Avoid the microwave, as it will turn the crispy skin rubbery. Instead, place the thighs in a toaster oven or air fryer at 375°F (190°C) for 5-7 minutes until the skin crisps back up and the meat is warmed through.
Freezing: You can freeze the cooked thighs for up to 2 months. Thaw overnight in the fridge before reheating in the oven to restore the texture.
What to Serve With This
To complement the richness of the seared chicken, pair this dish with light, vibrant sides. A simple arugula salad with a lemon vinaigrette works perfectly. If you are looking for more chicken inspiration, our mediterranean chicken meatballs offer a similarly herb-forward profile.
For a heartier meal, serve the thighs over a bed of creamy polenta or mashed potatoes to soak up those golden cooking juices. You might also enjoy pairing this with our chicken zucchini bake for a vegetable-packed side option.
Frequently Asked Questions
While cast iron is the best for heat retention, you can use a heavy stainless steel pan. Avoid non-stick pans, as they cannot handle the high heat necessary for the Bobby Flay-style crispy skin.
You can, but the cooking time will be significantly shorter. Bone-in thighs are preferred as they stay juicier during the high-heat searing process required to get the skin that bubbling, crispy texture.
While we use a small amount of olive oil for the glaze, the ‘cold-pan’ method relies on rendering the chicken’s own fat. However, a very light coating of high-smoke point oil in the skillet can help prevent sticking if your cast iron isn’t perfectly seasoned.
For chicken thighs, 165°F (74°C) is the food safety standard, but because thighs have more connective tissue, they often taste best and remain tender when cooked to 175°F (79°C).
The most common reasons are excess moisture on the skin or crowding the pan. Ensure you pat the chicken extremely dry with paper towels and leave space between the thighs in the skillet to allow steam to escape.
The Ultimate Bobby Flay Inspired Chicken Thighs
Bobby Flay Chicken Thighs: The Secret to Shatteringly Crispy Skin
Ingredients
Equipment
Method
- Pat the chicken thighs extremely dry with paper towels to ensure a crispy sear. Let sit at room temperature for 20 minutes.
- Season the skin side generously with coarse black pepper and half of the Maldon sea salt.
- Place thighs skin-side down in a cold cast iron skillet. Turn heat to medium and cook for 12-15 minutes until skin is deeply browned and bubbling.
- Flip the chicken. Add butter and half the rosemary. Baste the hot fat over the skin for 1 minute.
- Transfer the skillet to a 400°F (200°C) oven for 8-10 minutes until internal temperature is 165°F (74°C).
- Let rest for 5 minutes. Garnish with remaining salt, rosemary, parsley, and a drizzle of olive oil glaze.
Notes
Don't move the chicken until it naturally releases from the pan.

Bring the Bobby Flay Experience Home
These Bobby Flay Chicken Thighs prove that you don’t need a professional kitchen to achieve elite results. By focusing on the details—the dry skin, the cast iron skillet, and the fresh herbal finish—you can create a dish that is visually stunning and incredibly delicious.
If you enjoyed this recipe, please leave a comment below and let us know how your crispy skin turned out! Don’t forget to share your creations and follow us on Pinterest for more culinary inspiration.


