There is a specific kind of magic that happens when you transform a standard box of chocolate mix into thick, decadent brownie mix cookies. If you have ever craved the dense, fudgy center of a corner-piece brownie but wanted the portable convenience of a cookie, this recipe is your holy grail. We are moving far beyond the basic “cake-mix cookie” texture to achieve a professional, bakery-style result that looks like it came from a high-end patisserie.
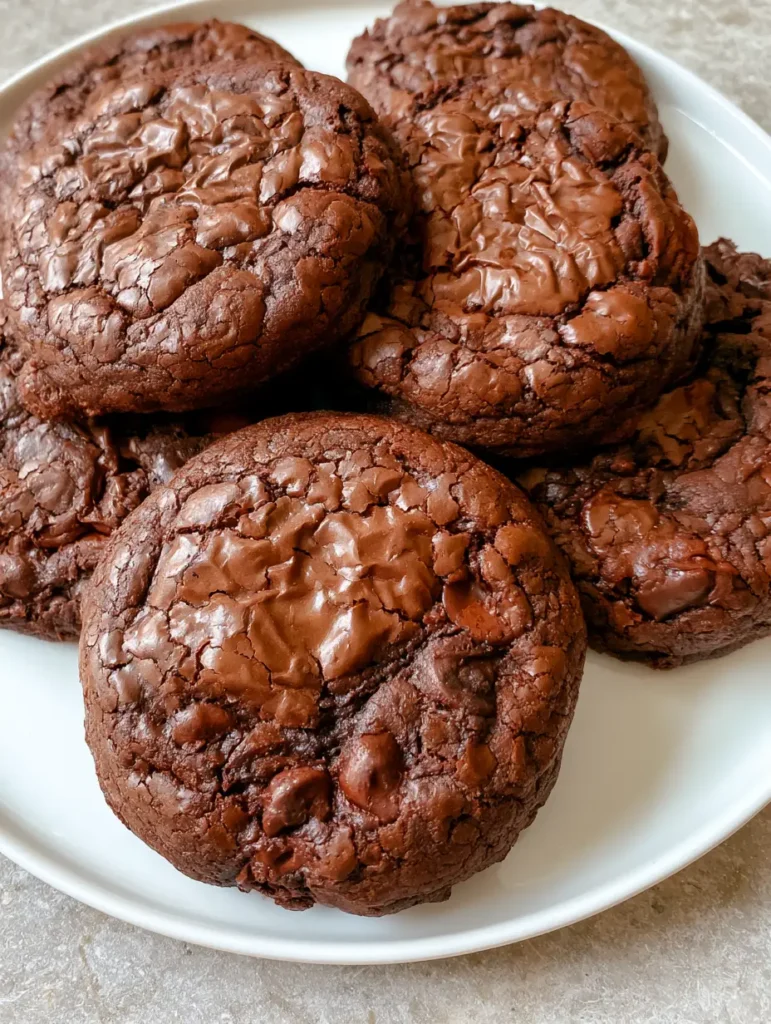
The visual hallmark of a perfect brownie mix cookie is that signature shiny, crackled, and crinkled top surface. This glossy sheen isn’t just for show; it is the result of proper sugar dissolution and egg protein aeration. When you bite through that delicate, paper-thin crust, you should immediately hit a soft, fudgy interior packed with visible melted chocolate chips folded throughout.
In this guide, we will break down the culinary science of the “crinkle,” ensuring your batch looks exactly like the deep chocolate brown masterpieces seen on a light gray stone countertop in natural daylight. Whether you are a seasoned baker or a beginner looking for a reliable win, these cookies provide the maximum chocolate reward for minimal effort.
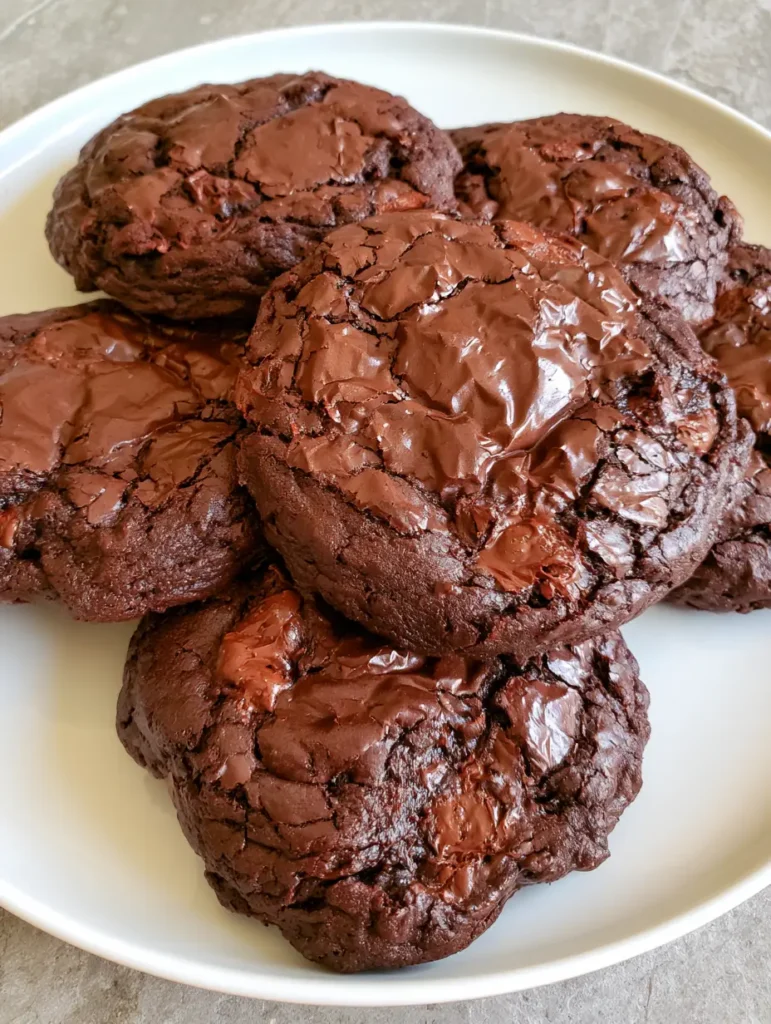
Why These Fudgy Chocolate Masterpieces Work Every Single Time
- The Perfect Glossy Crinkle: We utilize a specific mixing technique to ensure those crackled tops form beautifully every time the dough hits the heat.
- Unmatched Fudgy Texture: By adjusting the fat-to-flour ratio of the standard mix, we create a cookie that stays soft and dense rather than becoming dry or cakey.
- Double Chocolate Impact: The inclusion of semi-sweet chocolate chips adds pockets of molten cocoa that contrast perfectly with the baked chocolate brownie dough.
- Visual Forensics: These cookies are designed to be thick and sturdy, holding their shape while maintaining a tender, melt-in-your-mouth center.
Essential Elements for the Perfect Brownie Cookie
1 Box (18.4 oz / 521g) Standard Brownie Mix: This serves as our flavor foundation. Choose a “fudge” or “dark chocolate” variety for the deepest color and most robust cocoa profile.
1/4 cup (32g) All-Purpose Flour: Adding a small amount of extra flour provides the structural integrity needed to transform a pourable batter into a scoopable dough. This prevents the cookies from spreading into flat puddles on your baking sheet.
2 Large Eggs (Room Temperature): Eggs are the primary leavening agent and protein source here. Using room temperature eggs allows them to emulsify more effectively with the fats, contributing to that glossy top.
1/3 cup (80ml) Neutral Vegetable Oil: Oil provides the necessary moisture and fat for a “fudgy” mouthfeel. Unlike butter, oil stays liquid at room temperature, ensuring the cookies remain soft for days.
1 tsp (5ml) Pure Vanilla Extract: While the mix is chocolate-heavy, vanilla acts as a flavor enhancer. It rounds out the bitterness of the cocoa and adds a subtle aromatic complexity.
1/2 cup (90g) Semi-Sweet Chocolate Chips: These are the “visible melted chocolate chips” mentioned in our visual blueprint. They provide a textural contrast and a secondary hit of chocolate intensity.
Pinch of Flaky Sea Salt (Optional): A tiny amount of salt balances the high sugar content of the mix. It brightens the chocolate notes and makes the cookies taste more “grown-up.”
Tools for Achieving Bakery-Style Results
To achieve the deep chocolate brown color and uniform shape seen in professional food photography, you will need a few specific tools. A standard baking sheet lined with parchment paper is non-negotiable; silicone mats can sometimes inhibit the formation of the crinkle top.
A medium cookie scoop (approximately 2 tablespoons or 30ml) is essential for consistent sizing. Consistent size ensures that all cookies bake at the same rate, preventing the edges of some from burning while others remain raw. Finally, a wire cooling rack is vital to stop the cooking process and allow the fudgy center to set without becoming soggy.
The Step-By-Step Path to Chocolate Bliss
Preparing the High-Sugar Emulsion
Begin by preheating your oven to 350°F (175°C). In a large mixing bowl, whisk together the two large eggs, the vegetable oil, and the vanilla extract. Whisk vigorously for about 60 seconds; you want to see the mixture become slightly frothy.
This vigorous whisking is the secret to the shiny top. It helps dissolve the sugars in the brownie mix more effectively once added, creating that meringue-like crust during the baking process.
Constructing the Heavy Chocolate Dough
Add the brownie mix and the extra all-purpose flour to the wet ingredients. Use a sturdy spatula to fold the mixture together until just combined. The dough will be significantly thicker and stickier than a standard cookie dough, resembling a very stiff fudge.
Gently fold in the semi-sweet chocolate chips. Avoid overmixing at this stage, as overworking the flour can lead to a tough, bready texture rather than the desired fudgy interior. The dough should look rich, dark, and glossy at this stage.
Scooping and Spacing for Optimal Airflow
Using your cookie scoop, drop rounded mounds of dough onto your prepared baking sheet. Space them at least 2 inches (5cm) apart. These cookies will spread slightly as the sugars melt, and they need room for air to circulate to create the crackled effect.
If your kitchen is particularly warm, you may find the dough easier to handle if chilled for 10 minutes. However, for the most prominent crinkles, baking the dough while the oil is still fully emulsified is often more effective.
Baking for Sensory Cues and Texture
Slide the tray into the center rack of the oven. Bake for 10-12 minutes. Around the 8-minute mark, you will begin to see the “visual cues” of success: the edges will set, and the center will begin to puff up and “crack,” revealing the darker dough beneath the shiny surface.
Remove the cookies when the edges feel firm to a light touch, but the centers still look slightly “underdone” or soft. They will continue to firm up as they cool on the hot pan. Overbaking is the enemy of the fudgy cookie; err on the side of caution for that brownie-like middle.
Expert Tips for Success
- Don’t Skip the Flour: That extra 1/4 cup of flour is the difference between a cookie and a brownie puddle. It provides the “lift” seen in the thick chocolate cookies of our visual prompt.
- Watch the Clock: Every oven is different. Start checking at 9 minutes. If the top is shiny and crackled, they are likely ready.
- The “Pan Bang” Trick: If your cookies aren’t crinkling enough, gently lift the baking sheet and drop it onto the oven rack once or twice midway through baking. This collapses the air bubbles and forces the surface to crack.
- Quality of Chips: Use high-quality semi-sweet chips. Lower-quality chips contain more stabilizers and won’t achieve that “molten, folded-in” look as effectively.
Preserving the Fudgy Integrity
Store these brownie mix cookies in an airtight container at room temperature for up to 4 days. To maintain the fudgy center, place a small piece of white bread in the container; the cookies will absorb the moisture from the bread. For longer storage, these cookies freeze beautifully for up to 3 months.
When reheating, a 5-10 second pulse in the microwave will return the chocolate chips to their melted, gooey state. This makes them taste exactly like they just came out of the oven, perfect for a late-night craving.
Creative Pairings and Dessert Spreads
These brownie mix cookies are incredibly versatile. For a high-end dessert platter, serve them alongside some almond dacquoise cookies for a contrast in textures. If you are hosting a casual get-together, they pair perfectly with salty snacks like cornflake toffee cookies.
If you love the combination of chocolate and fruit, consider serving these alongside a warm southern banana cobbler for a truly indulgent experience. The deep cocoa flavor of the cookies also acts as a great palate cleanser after a savory meal of chicken street tacos or a fresh mediterranean quinoa salad (coming soon).
Frequently Asked Questions
This recipe is optimized for a standard 18.4 oz box. If using a smaller 16 oz box, reduce the oil by 1 tablespoon to maintain the correct dough consistency.
You can, but oil results in a more ‘fudgy’ and soft texture. Butter contains water and milk solids which can make the cookies more cake-like and slightly firmer when cooled.
Look for the edges to be set and dull, while the center cracks still look slightly moist or ‘shiny.’ They will firm up significantly as they cool on the pan.
This is usually due to the dough being too warm or a lack of structure. Ensure you added the extra 1/4 cup of flour, and try chilling the dough for 15 minutes before baking.
The shiny top comes from dissolved sugar and aerated eggs. Ensure you whisk your eggs and oil vigorously before adding the mix, and use room-temperature eggs to help the sugar dissolve.
The Ultimate Brownie Mix Cookies Recipe
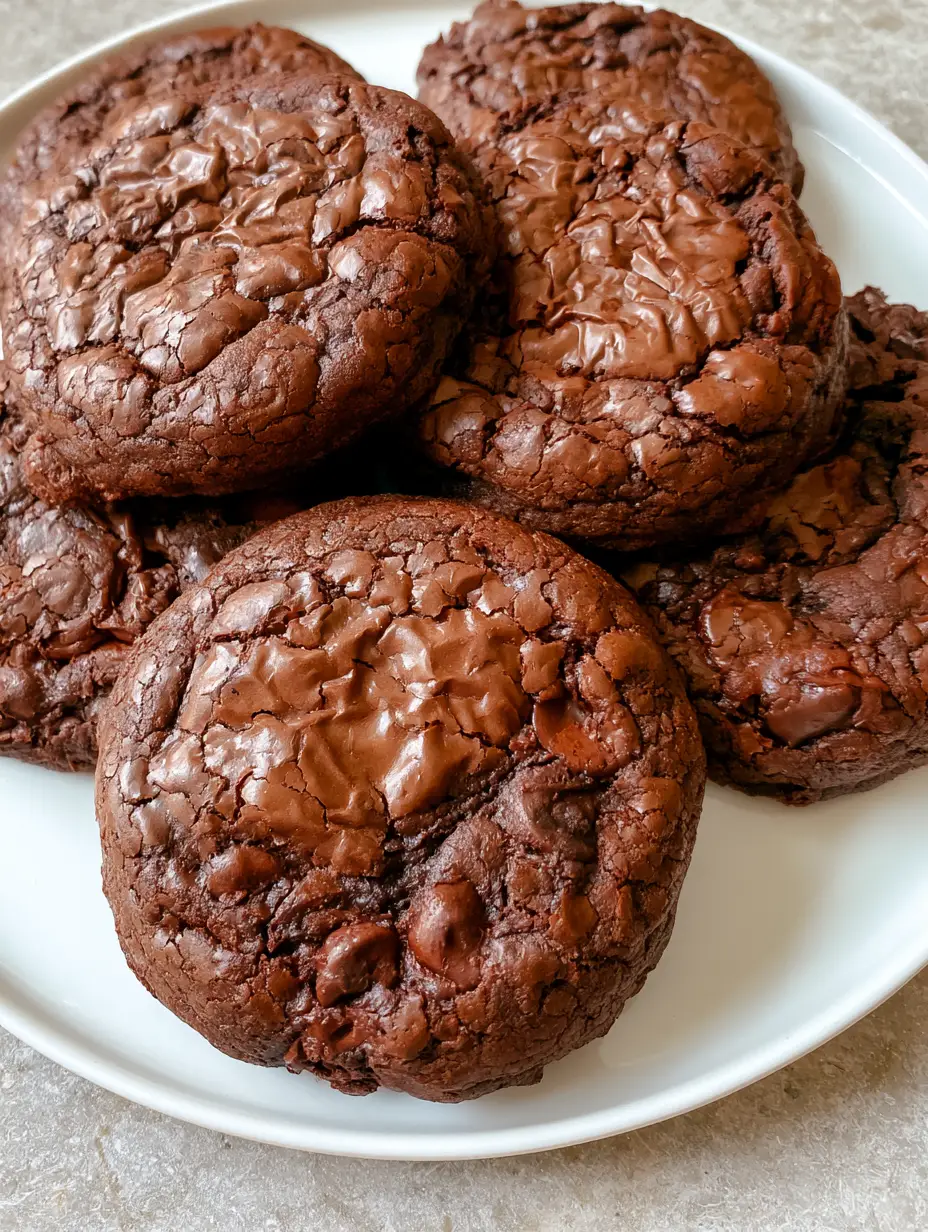
Brownie Mix Cookies: The Ultimate Fudgy Recipe with Glossy Crinkle Tops
Ingredients
Equipment
Method
- Preheat oven to 350°F (175°C). In a large bowl, whisk eggs, oil, and vanilla for 60 seconds until slightly frothy.
- Fold in brownie mix and flour with a spatula until no dry streaks remain. Do not overmix.
- Gently fold in the chocolate chips until evenly distributed.
- Scoop 2-tbsp mounds onto lined sheets. Bake for 10-12 minutes until edges are set and tops are crackled. Cool on pan for 5 minutes.
Notes
Don't overbake; the cookies should still look soft in the center when removed.
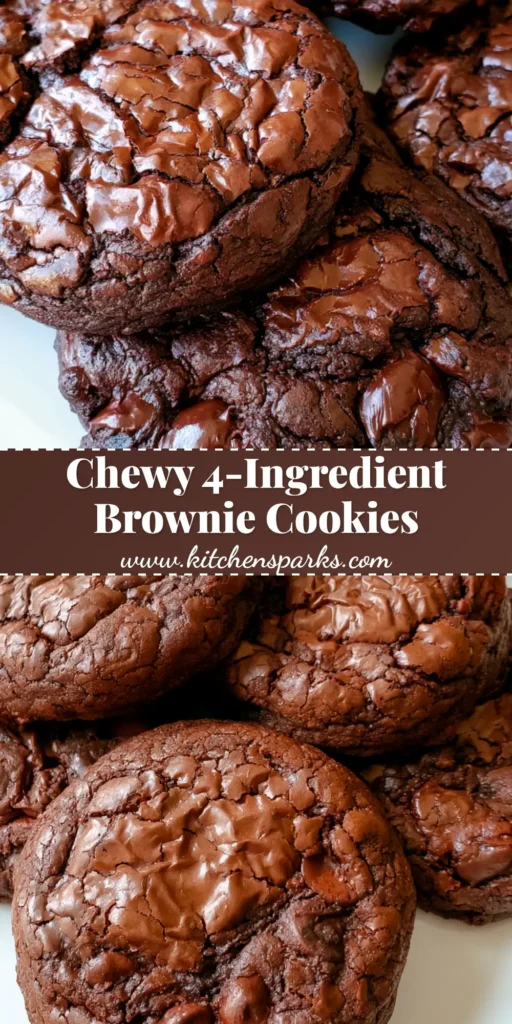
These brownie mix cookies are the ultimate “cheat code” for any chocolate lover. With their glossy, crackled tops and rich, fudgy centers, they bridge the gap between a classic brownie and a perfect cookie. They are visually stunning, incredibly easy to make, and guaranteed to be the star of any dessert table.
We would love to see how your cookies turned out! Did you get that perfect crinkle? Tag us on social media or leave a comment below with your results. For more daily baking inspiration and visual recipe guides, be sure to follow us on Pinterest and join our community of home bakers.


