There is nothing quite as disappointing as a dry, lackluster piece of poultry that lacks character and color. This Grilled Chicken Marinade is specifically engineered to solve that problem, delivering succulent meat with professional-grade parallel char marks and a glossy, translucent golden-brown glaze. By balancing acidity, healthy fats, and natural sugars, we create a chemical reaction that ensures every bite is tender and visually stunning.
When you look at the final dish, you will see the visible specks of cracked black pepper and dried oregano embedded within a shimmering herb glaze. The aesthetic is inspired by high-end bistro cooking, where the contrast between the dark brown char and the matte white ceramic plate makes the meal pop. This recipe isn’t just about taste; it is about mastering the culinary forensics of heat and moisture management.
Whether you are preparing for a summer cookout or a high-protein weeknight meal, this technique provides the “experience” of a master griller right in your own backyard. We will dive deep into the science of the sear and the importance of resting your meat to achieve that handheld-photo-worthy result. Get ready to transform your dinner routine with a marinade that works as hard as you do.
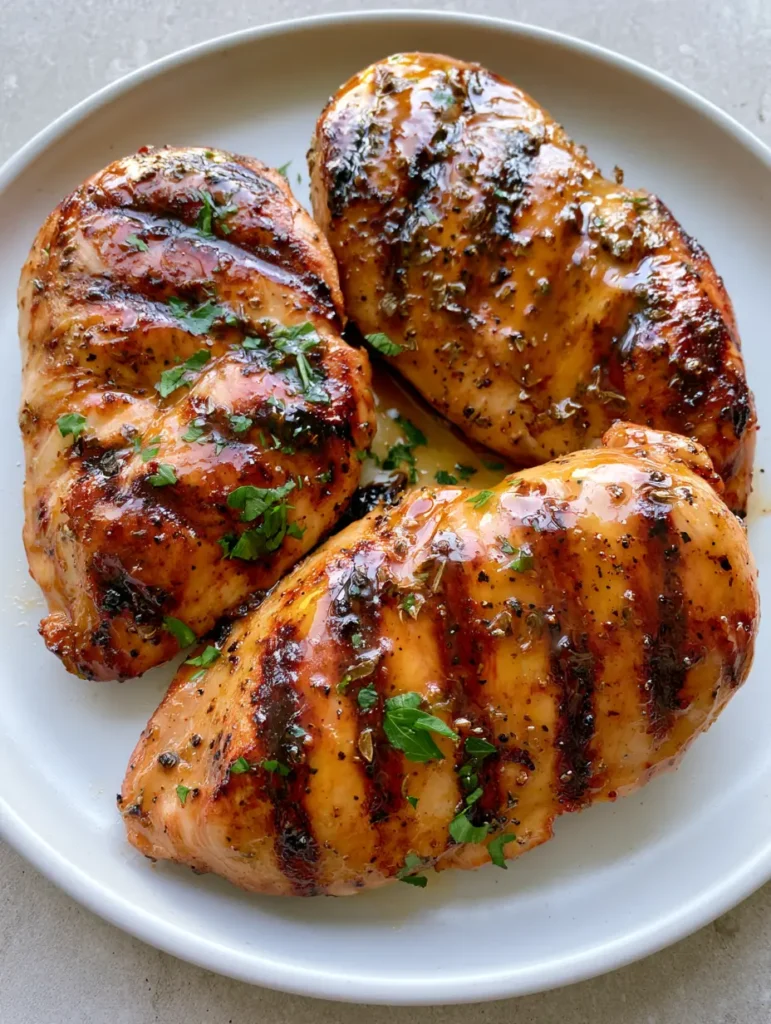
The Secret to Achieving Parallel Char Marks and Juicy Meat
- Visual Precision: Learn the exact timing and grate temperature needed to produce those dark brown, perfectly parallel char marks that define a pro-level grill master.
- The Glossy Glaze: We utilize a specific ratio of honey and oil to create a translucent golden-brown coating that clings to the meat without burning.
- Herbaceous Texture: By using a combination of dried oregano for deep infusion and fresh flat-leaf parsley for a vibrant finish, we maximize both flavor and visual appeal.
- Moisture Retention: Our marinade uses an emulsified base to lock in juices, ensuring your chicken breasts remain succulent and moist even over high heat.
Essential Elements for an Infinitely Flavorful Herb Glaze
To achieve the visual result seen in the blueprint, every ingredient serves a dual purpose: flavor and aesthetics. We don’t just add herbs for taste; we add them because they provide the necessary texture to the golden-brown glaze.
Boneless Skinless Chicken Breasts: We recommend using three large breasts (approx. 1.5 lbs / 680g) to ensure they hold up to the high heat of the grill without drying out. Ensure they are of even thickness for uniform cooking.
Extra Virgin Olive Oil: You will need 1/2 cup (120ml) of high-quality oil to act as the primary fat source. This conducts heat to the chicken’s surface and helps the dried herbs adhere to the meat.
Lemon Juice: 1/4 cup (60ml) of fresh citrus provides the acid needed to denature the proteins slightly, making the chicken tender. If you enjoy Mediterranean flavors, this is a lighter alternative to a Greek chicken marinade.
Honey or Maple Syrup: 2 tbsp (30g) of liquid sweetener is the secret to that “glossy, translucent glaze.” The sugars caramelize quickly, creating the golden-brown color described in the visual prompt.
Dried Oregano: 1 tbsp (3g) of dried oregano is essential because it withstands the heat of the grill better than fresh herbs. It becomes “embedded” in the glaze for a rustic, artisanal look.
Coarse Cracked Black Pepper: Use 1 tsp (2g) of freshly cracked pepper rather than fine powder. The larger specks provide the visual contrast seen on the matte white ceramic plate.
Kosher Salt: 1 tsp (6g) is scientifically required to draw moisture into the protein fibers through osmosis. This ensures the meat remains “succulent and moist” as described.
Fresh Flat-Leaf Parsley: 2 tbsp (8g) of finely minced parsley is saved for the very end. This scattered garnish provides a pop of green against the dark brown char marks.
Garlic Cloves: 3 cloves (15g) of minced garlic provide the foundational aromatic base. Much like my chicken in garlic sauce, the garlic here mellows out during the grilling process.
Kitchen Tools for the Perfect Sear
To achieve the results seen in the handheld smartphone photo, you need the right tools to manage heat and surface contact. Achieving parallel lines requires a clean, high-conduction surface.
Outdoor Grill or Heavy Cast-Iron Grill Pan: A heavy-duty surface is required to maintain the consistent heat necessary for deep brown char marks. If you don’t have a grill, a cast-iron pan is a great substitute for making herb baked chicken flavors on the stove.
Long-Handled Tongs: Precision is key when you want to place the chicken at a perfect 45-degree angle to the grates. Avoid using a fork, which pierces the meat and allows precious juices to escape.
Instant-Read Meat Thermometer: This is the only way to guarantee the meat is moist. We are aiming for an internal temperature of 165°F (74°C) without a second over.
Small Basting Brush: You will use this to apply the extra marinade during the final minutes of cooking. This builds the “glossy, translucent” layer seen in the visual blueprint.
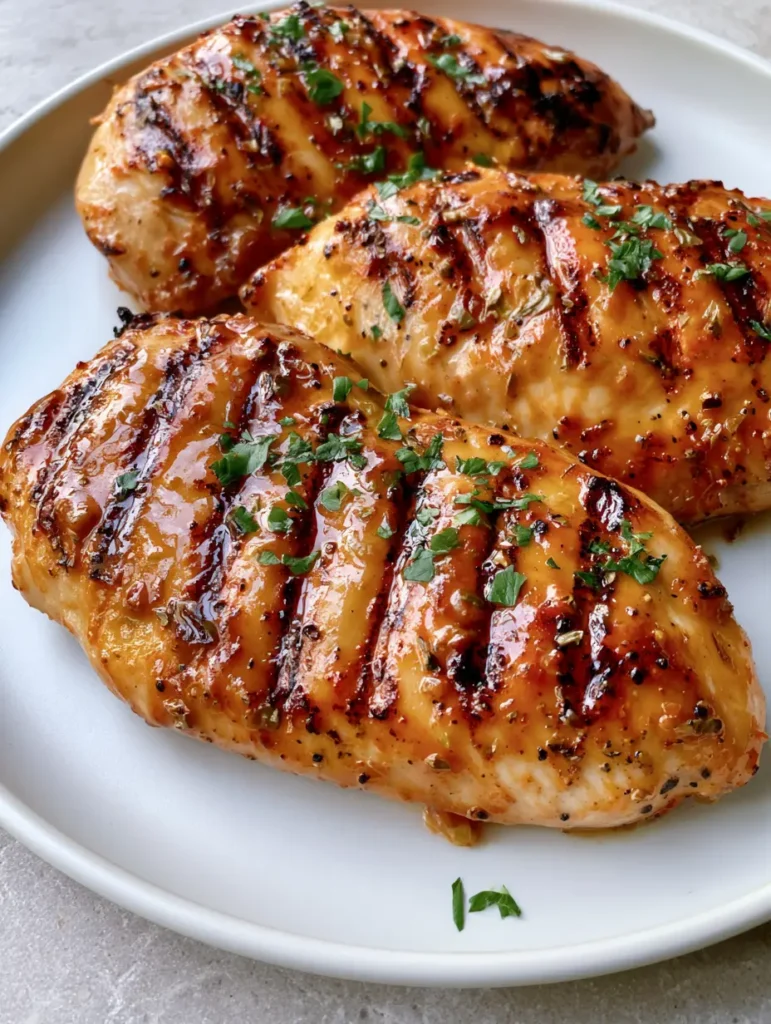
Step-by-Step Guide to Mastering the Grilled Chicken Marinade
Preparing the Emulsified Marinade
In a medium glass bowl, whisk together the olive oil, lemon juice, honey, dried oregano, cracked black pepper, and salt. Whisk vigorously until the oil and lemon juice have emulsified into a slightly thickened, opaque liquid.
Stir in the minced garlic, ensuring the dried herbs and pepper are evenly distributed throughout the mixture. This ensures that every inch of the chicken will have those “visible specks” once it hits the heat.
The Marinating Phase
Place your chicken breasts between two sheets of plastic wrap and lightly pound them to an even 3/4-inch (2cm) thickness. This mechanical tenderization is a professional secret for ensuring the edges don’t dry out before the center is cooked.
Submerge the chicken in the marinade in a zip-top bag or shallow dish, ensuring the herb-heavy liquid coats every surface. Refrigerate for at least 30 minutes, though 2 hours is ideal for the flavors to penetrate the protein fibers.
Preheating and Grate Preparation
Preheat your grill to medium-high heat (approximately 400°F / 200°C). Use a wire brush to clean the grates thoroughly; any leftover debris will prevent the chicken from releasing cleanly and ruin your parallel char marks.
Lightly oil the grates using a paper towel dipped in vegetable oil. You should see a light wisp of smoke, indicating the grill is hot enough to sear the sugars in the honey instantly upon contact.
Searing for Visual Perfection
Remove the chicken from the marinade, letting the excess drip off, but ensuring the oregano and pepper remain “embedded” on the surface. Place the breasts on the grill at a 45-degree angle to the grates.
Press down lightly with your tongs to ensure maximum surface contact. Cook for 5-6 minutes without moving the meat—this patience is what creates those dark brown, perfectly parallel lines.
Basting for the Glossy Glaze
Flip the chicken once. Using your basting brush, apply a fresh layer of the marinade (or a reserved portion that hasn’t touched raw meat) over the seared side.
The honey will begin to bubble and transform into a glossy, translucent golden-brown glaze. Continue cooking for another 5-7 minutes until the internal temperature reaches 165°F (74°C).
The Final Flourish
Transfer the chicken to a matte white ceramic plate and let it rest for 5 minutes. This allows the juices to redistribute, ensuring the meat appears “succulent and moist” when sliced.
Just before serving, scatter the finely minced fresh flat-leaf parsley across the top. The bright green herbs against the golden glaze and dark char marks create the “unedited and realistic” aesthetic seen in professional food photography.
Pro-Level Techniques for Restaurant-Quality Results
- The Resting Rule: Never slice chicken immediately after removing it from the grill. Resting for 5-8 minutes prevents the juices from running out, which is vital for that “succulent” look.
- Sugar Management: If your glaze is browning too quickly, move the chicken to a cooler part of the grill. The honey provides the color, but it can go from golden to burnt in seconds.
- Herb Choice: Always use dried oregano in the marinade and fresh parsley as the garnish. Fresh parsley will turn black and bitter if grilled, while dried oregano thrives under high heat.
- Temperature Control: If you are using a smartphone to take photos like our prompt, the “natural daylight” looks best when the glaze is still warm and shimmering.
How to Store and Repurpose Your Leftovers
If you find yourself with extra grilled chicken, it stays delicious for up to 4 days when stored in an airtight container in the refrigerator. The glaze will slightly solidify, so a gentle reheat is necessary to bring back the gloss.
To reheat, place the chicken in a skillet with a tablespoon of water and cover with a lid. This steams the meat slightly, preventing it from becoming rubbery while reviving the golden-brown herb glaze.
These leftovers are perfect for slicing and adding to a Hawaiian chicken bowl or even a quick BBQ chicken flatbread. The herb profile is versatile enough to work with almost any cuisine.
Perfect Pairings for a Mediterranean Feast
To stay true to the light-grey stone countertop aesthetic, serve this chicken with vibrant, fresh sides. A crisp cucumber and tomato salad provides the perfect acidic counterpoint to the rich, honey-based glaze.
For a heartier meal, consider serving the breasts alongside some Mediterranean-inspired sides or over a bed of fluffy quinoa. If you have leftovers, they make an incredible protein addition to chicken street tacos the following day.
If you are looking for a different protein but want the same grilled excellence, our Portuguese grilled chicken (coming soon) offers a spicier alternative that pairs beautifully with the same matte white ceramic presentation.
Your Pressing Questions Answered
Dried oregano is preferred for the marinade because it withstands the high heat of the grill. Fresh oregano can burn and become bitter. Save the fresh herbs like parsley for the final garnish.
Ensure your grill is preheated to at least 400°F and clean the grates thoroughly. Place the chicken and do not move it for at least 5-6 minutes; the ‘release’ happens naturally once the sear is complete.
A minimum of 30 minutes is required for the salt and acid to work, but 2 hours is the sweet spot for flavor penetration without the texture becoming mushy.
The combination of honey and olive oil creates a syrup-like consistency that caramelizes on the grill. Basting the chicken during the last 2 minutes of cooking builds that shimmering, golden-brown layer.
Chicken breasts often dry out because they are uneven in thickness. Pounding them to a uniform 3/4-inch thickness and using a thermometer to pull them at exactly 165°F ensures they remain succulent.
The Ultimate Grilled Chicken Marinade Recipe Card
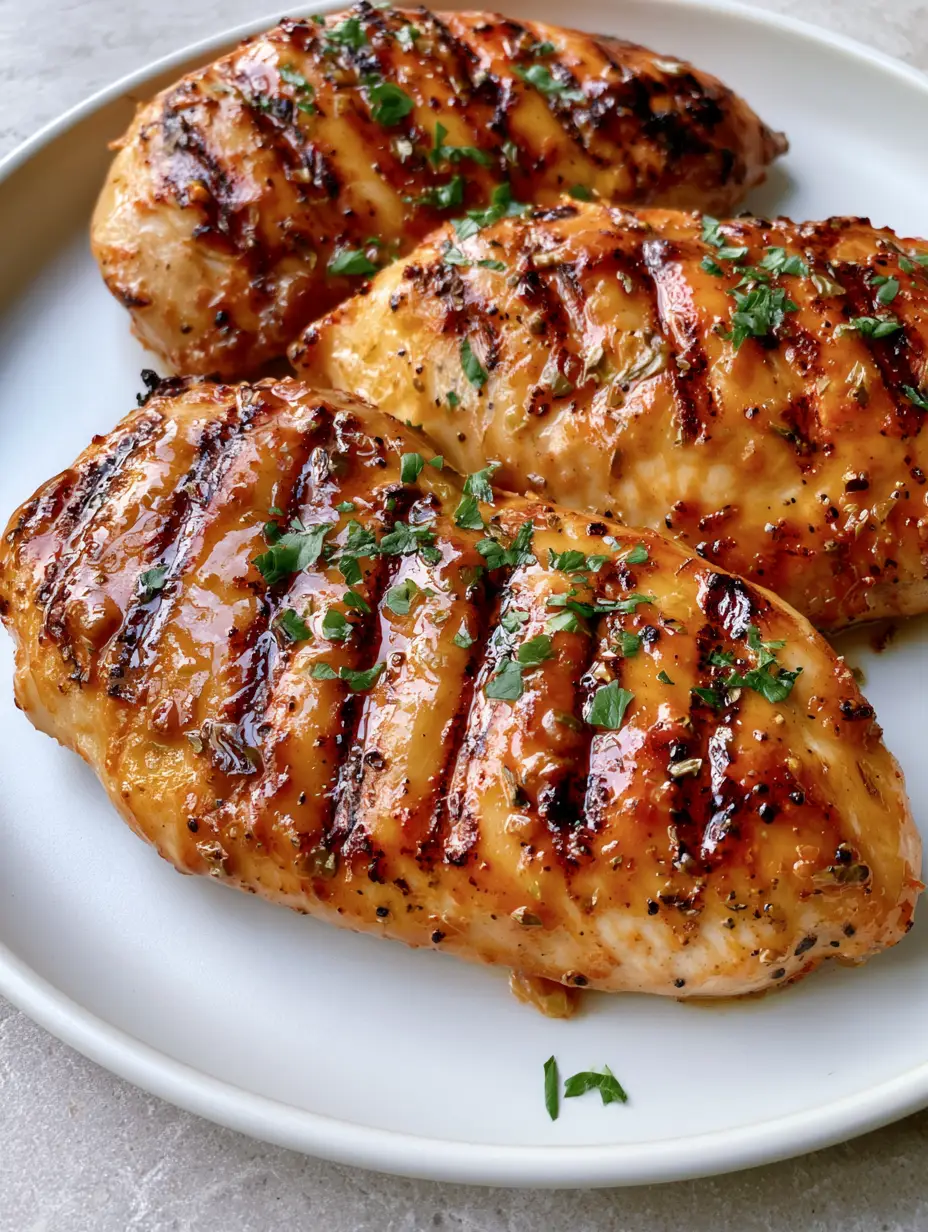
Grilled Chicken Marinade for the Juiciest Herb-Glazed Breasts
Ingredients
Equipment
Method
- In a bowl, combine olive oil, lemon juice, honey, oregano, pepper, salt, and garlic. Whisk until emulsified.
- Pound chicken to 3/4-inch thickness. Submerge in marinade and refrigerate for 30 minutes to 2 hours.
- Preheat grill to 400°F (200°C). Place chicken at 45-degree angle. Grill for 6 minutes without moving to create parallel char marks.
- Flip chicken and baste with remaining marinade. Cook for 5-7 more minutes until internal temperature is 165°F (74°C) and glaze is glossy.
- Rest meat for 5 minutes on a matte white ceramic plate. Garnish with minced parsley and serve.
Notes
Use dried herbs in the marinade to prevent burning on the grill.
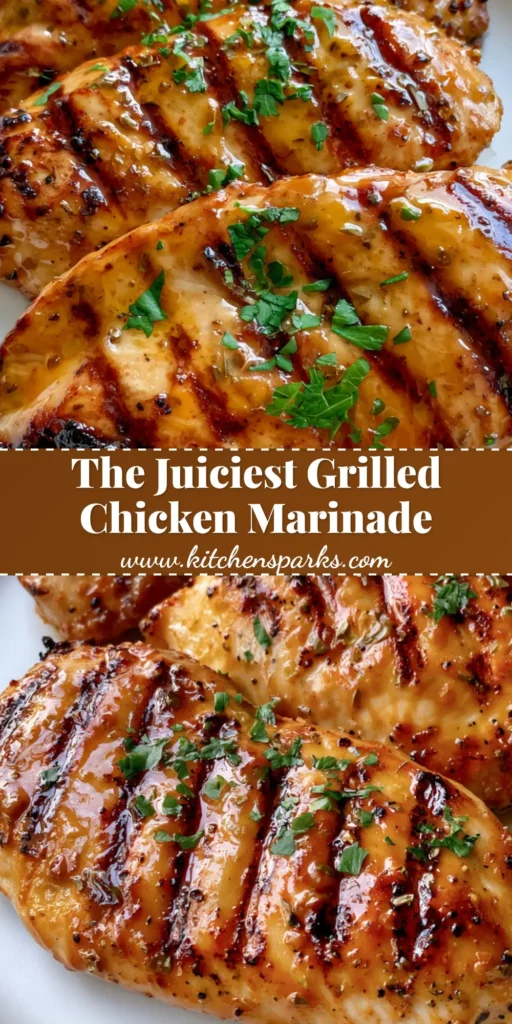
Wrapping Up Your Grilling Adventure
Mastering the Grilled Chicken Marinade is a gateway to effortless, impressive home cooking. By focusing on the visual cues—the parallel marks, the translucent glaze, and the fresh parsley garnish—you create a sensory experience that goes far beyond a simple weeknight dinner.
We would love to see your results! If you make this recipe, please leave a comment below and let us know how your char marks turned out. Don’t forget to share your photos on Pinterest and follow us for more culinary forensic deep-dives!


