There is nothing quite like the sizzle of Grilled Shrimp Skewers hitting a blazing hot grate. If you are looking for that perfect summer staple that combines a glossy, glistening finish with deep, smoky char marks, you have found the ultimate guide. These aren’t just any seafood kabobs; they are a masterclass in balancing high-heat caramelization with the delicate, sweet snap of jumbo shrimp.
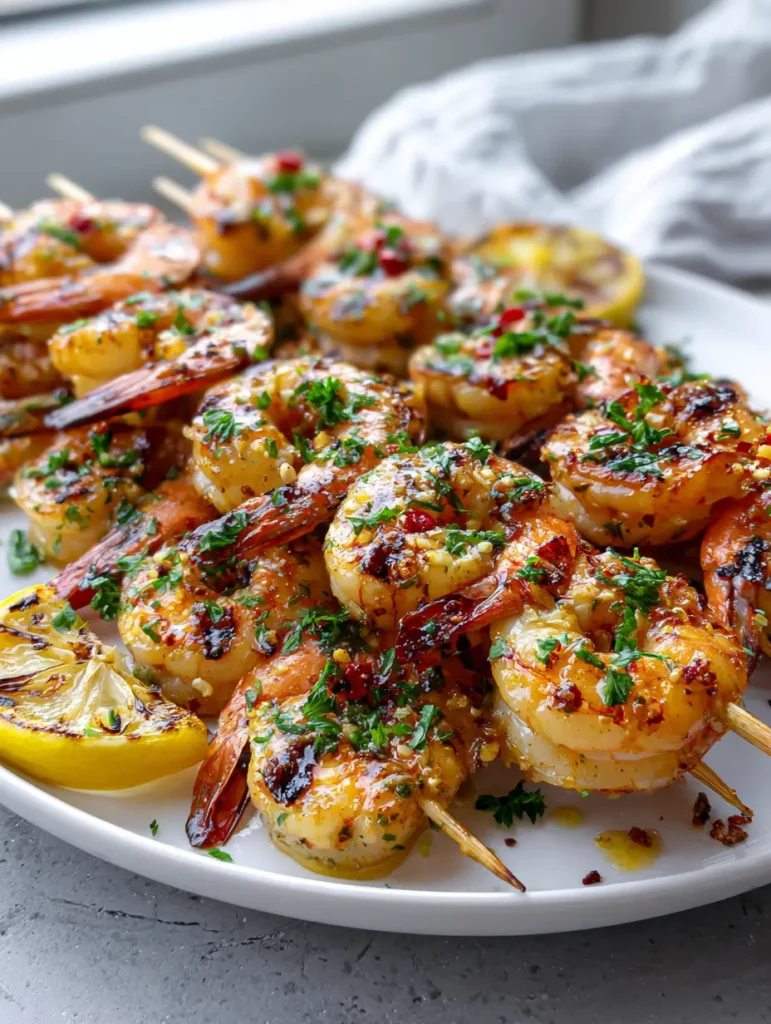
Our Grilled Shrimp Skewers are meticulously designed to capture the essence of outdoor cooking. We focus on achieving that sought-after opaque pink interior while ensuring the exterior is coated in a vibrant lemon-garlic oil glaze that catches the light. Topped with a heavy dusting of fresh parsley and the subtle heat of crushed red pepper flakes, this dish is as visually stunning as it is delicious.
Whether you are hosting a backyard gathering or looking for a quick, high-protein weeknight dinner, these skewers deliver professional-grade results. We will walk through the culinary science of preventing rubbery textures and how to use charred lemon wedges to unlock a deeper, concentrated citrus profile that fresh juice simply cannot match.
Why These Zesty Seafood Skewers Outshine the Rest
- Visual Masterpiece: The contrast between the dark grill char marks and the vibrant green parsley creates a restaurant-quality presentation on a clean white platter.
- Textural Harmony: By using jumbo shrimp, we ensure a meaty, satisfying “snap” in every bite, protected by a glistening oil-based glaze.
- Flavor Depth: We don’t just use lemon; we char the lemon wedges on the grill to caramelize their natural sugars, creating a mellow, smoky acidity.
- Speed and Precision: This recipe moves fast, taking less than 10 minutes on the grill, making it the perfect candidate for a healthy, sophisticated meal.
Essential Components for the Ultimate Lemon-Garlic Glaze
To achieve the specific visual and flavor profile of our Grilled Shrimp Skewers, every ingredient serves a structural and culinary purpose. We move beyond simple seasoning to create a functional barrier that keeps the seafood succulent under intense heat.
Jumbo Shrimp (1.5 lbs / 680g): Look for 16/20 count shrimp. Their larger surface area is essential for developing those distinct dark char marks without overcooking the center.
Extra Virgin Olive Oil (1/3 cup / 80ml): This is the foundation of our glistening glaze. It carries the garlic flavor and provides the necessary fat to prevent the shrimp from sticking to the grates.
Fresh Garlic (4 cloves): Finely minced garlic infuses the oil. As it hits the grill, it toasts slightly, contributing to the aromatic profile that defines world-class grilled seafood.
Crushed Red Pepper Flakes (1 tsp / 2g): These provide small pops of red color against the pink shrimp and a gentle heat that cuts through the richness of the oil glaze.
Fresh Italian Parsley (1/2 cup / 15g): Finely chopped parsley is added at the very end. This “heavy garnish” provides a burst of herbaceous freshness and a vivid green visual contrast.
Lemons (2 large): One lemon is juiced for the marinade, while the other is sliced into wedges and charred. Charring softens the lemon and intensifies the juice for a professional finish.
Kosher Salt and Cracked Black Pepper: Essential foundational seasonings. Salt denatures the proteins slightly, helping the shrimp retain moisture during the rapid evaporation of grilling.
Wooden Skewers: These must be charred at the tips to match our visual blueprint, signaling a truly authentic flame-grilled experience.
The Toolkit: Equipment for High-Heat Grilling
Achieving the perfect Grilled Shrimp Skewers requires more than just a heat source; it requires the right tools to manage delicate proteins. Using a heavy-duty grill—whether gas or charcoal—is non-negotiable for obtaining those dark, defined sear lines described in our prompt.
You will need a set of long wooden skewers. Pro-tip: soak them in water for at least 30 minutes prior to threading to ensure they char beautifully without snapping or catching fire. A high-quality basting brush is also critical for applying the lemon-garlic oil glaze during the final moments of cooking to create that glossy, glistening sheen.
Finally, a clean white ceramic platter is the best vessel for serving. The neutral background allows the pink hues of the shrimp and the bright green of the parsley to pop, mimicking the handheld smartphone photo style of elite food photography.
Mastering the Sear: Step-by-Step Instructions
Phase 1: Preparing the Shrimp and Skewers
Begin by soaking your wooden skewers in cold water. This prevents them from incinerating on the grill and allows them to achieve that perfect charred look at the tips. While the skewers soak, peel and devein your jumbo shrimp, leaving the tails on for a better visual handle and added flavor depth during the sear.
Pat the shrimp bone-dry with paper towels. This is a critical culinary step; moisture on the surface of the shrimp will create steam, preventing the formation of those dark grill char marks we are aiming for. In a small bowl, whisk together the olive oil, minced garlic, half of the red pepper flakes, and a pinch of salt.
Phase 2: Threading and Initial Glazing
Thread 4-5 jumbo shrimp onto each charred wooden skewer. Ensure they are nested snugly but not squashed; you want the heat to circulate around the curved edges of each shrimp. Brush a thin layer of the garlic-oil mixture over the shrimp, ensuring they are lightly coated but not dripping.
If you enjoy bold flavors, you might consider pairing this with a side of cowboy butter for dipping, which complements the garlic notes perfectly. Prepare your grill for direct high heat, aiming for a surface temperature of around 450°F (230°C).
Phase 3: The High-Heat Grilling Process
Place the skewers directly over the hottest part of the grill. Do not move them for at least 2 minutes. You are waiting for the “release”—the moment the protein naturally detaches from the grate after forming a crust. Flip the skewers once you see the bottom edges turn an opaque pink.
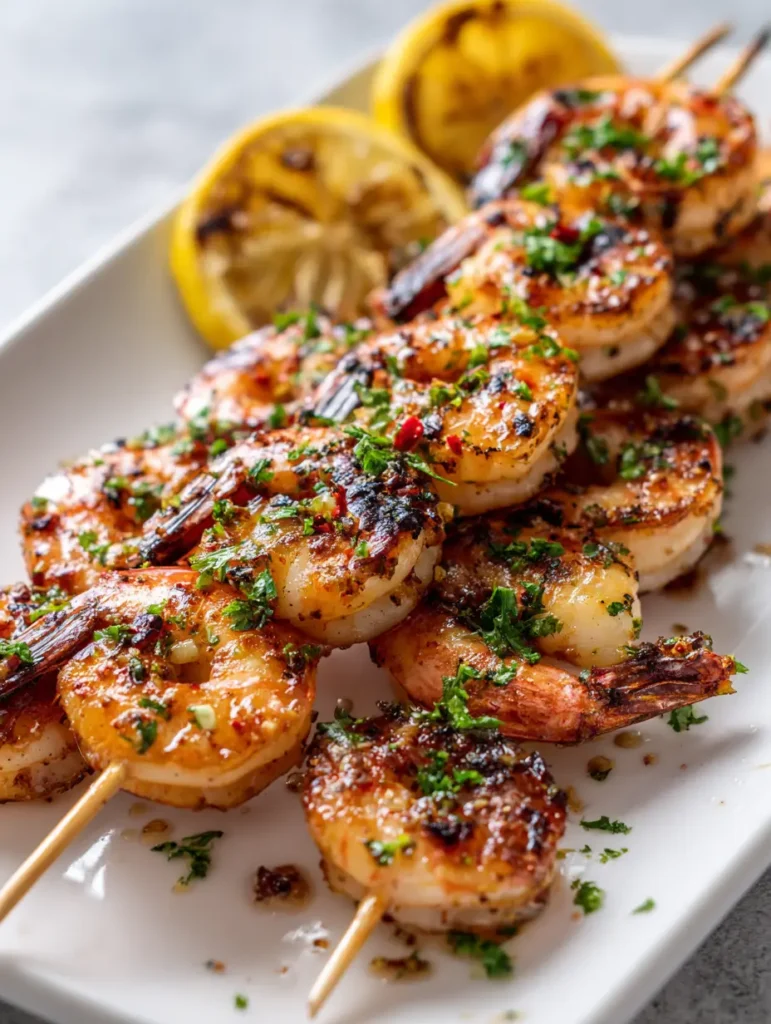
Immediately place your lemon wedges cut-side down on the grill next to the shrimp. As the second side of the shrimp cooks, use your basting brush to liberally apply the remaining lemon-garlic oil glaze. Watch for the glistening effect as the oil bubbles against the heat.
Phase 4: Finishing and Garnishing
Remove the Grilled Shrimp Skewers from the grill once the shrimp are opaque throughout and firm to the touch. The total grilling time should not exceed 5-6 minutes. Place the skewers on your white ceramic platter and immediately squeeze one of the charred lemon wedges over the top.
Shower the shrimp with the finely chopped fresh parsley and the remaining crushed red pepper flakes. The heat from the shrimp will slightly wilt the parsley, releasing its aroma and creating that professional, glossy look found in high-end food photography.
Expert Tips for Success on the Grill
- The “C” Shape Rule: Shrimp are done when they curl into a “C” shape. If they tightly coil into an “O”, they are overcooked and will be rubbery.
- Oil Choice Matters: Use a high-quality olive oil. Because we are grilling quickly, the flavor of the oil will remain present in the final dish.
- Direct Heat Only: Do not use indirect heat for shrimp. They need the shock of high heat to develop color before the interior dries out.
- Double Skewering: If your shrimp are spinning when you try to flip them, use two skewers per row to lock them in place for a perfect flip.
- Garnish Late: Only add the parsley after the shrimp leave the grill to maintain that bright, vibrant green color against the charred pink shrimp.
The Science of Storage and Reheating
Grilled seafood is best enjoyed immediately to appreciate the contrast between the hot, charred exterior and the succulent interior. However, if you have leftovers, store them in an airtight container in the refrigerator for up to 2 days.
To reheat, avoid the microwave at all costs, as it will turn your jumbo shrimp into rubber. Instead, flash-sear them in a hot skillet with a teaspoon of olive oil for 60 seconds per side. This restores the glistening glaze and maintains the structural integrity of the dish.
What to Serve with Grilled Shrimp Skewers
These skewers are incredibly versatile and pair beautifully with bright, acidic sides or hearty grains. For a complete Mediterranean-inspired meal, serve them over a bed of one-pot black beans and rice to soak up the extra lemon-garlic oil.
If you are looking for more seafood inspiration, our creamy coconut garlic shrimp offers a tropical contrast to the smoky char of the grill. For those hosting a larger BBQ, serving these alongside grilled chicken bites with garlic sauce creates a fantastic “surf and turf” skewer platter that will keep guests coming back for more.
Frequently Asked Questions
Yes, but they must be fully thawed and patted extremely dry with paper towels. Any excess moisture will cause the shrimp to steam rather than sear, preventing those distinct char marks.
Look for a color change from translucent gray to opaque pink. The shrimp should form a gentle ‘C’ shape; if they curl into a tight ‘O’, they are overcooked.
You should soak wooden skewers in water for at least 30 minutes. This ensures they char beautifully at the tips without burning through or snapping while you flip the shrimp.
Clean your grill grates thoroughly and preheat to high (at least 450°F). Do not move the skewers for the first 2 minutes to allow the sear to develop and the protein to naturally release.
Charring the lemon caramelizes its natural sugars and reduces the harsh acidity, resulting in a mellow, smoky citrus juice that enhances the grilled flavor of the shrimp.
The Ultimate Grilled Shrimp Skewers Recipe
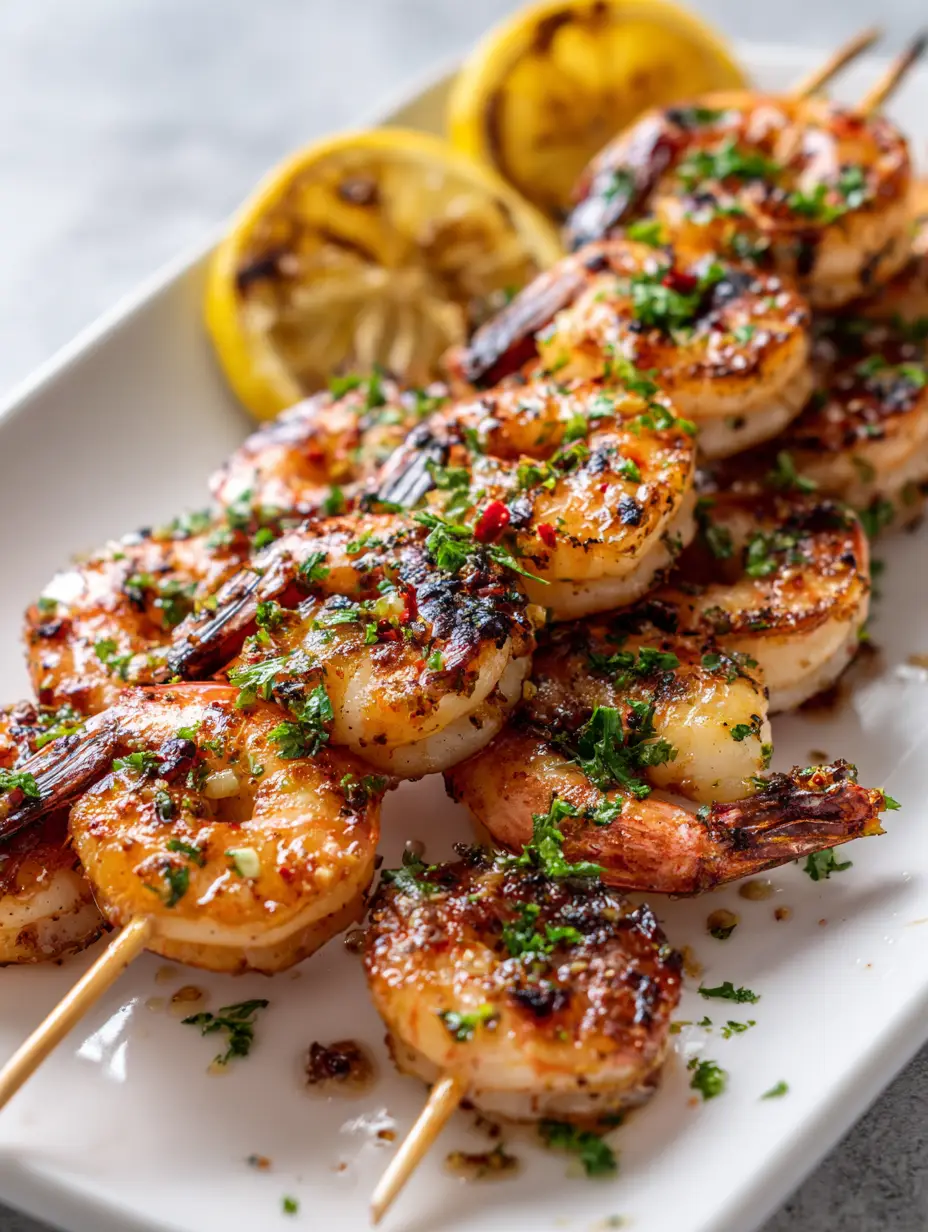
Grilled Shrimp Skewers with Lemon-Garlic Oil Glaze and Charred Lemon
Ingredients
Equipment
Method
- Soak wooden skewers in water for 30 minutes. Clean and pat jumbo shrimp bone-dry.
- Whisk olive oil, minced garlic, half the red pepper flakes, and lemon juice in a bowl.
- Thread shrimp onto skewers. Place on a 450°F (230°C) grill for 2-3 minutes until charred.
- Flip skewers, brush with lemon-garlic glaze, and grill for 2 more minutes until opaque pink.
Notes
Char the lemon wedges cut-side down for 2 minutes for maximum flavor.
Join the Kitchen Spark Community
We hope these Grilled Shrimp Skewers become a permanent fixture in your summer rotation. The combination of smoky char and zesty garlic oil is a flavor profile that never goes out of style. If you enjoyed this recipe, please leave a comment below and let us know how your char marks turned out!
Don’t forget to follow us on Pinterest for more visually stunning recipe inspiration. Share your creations by tagging us—we love seeing your culinary masterpieces come to life on the grill!