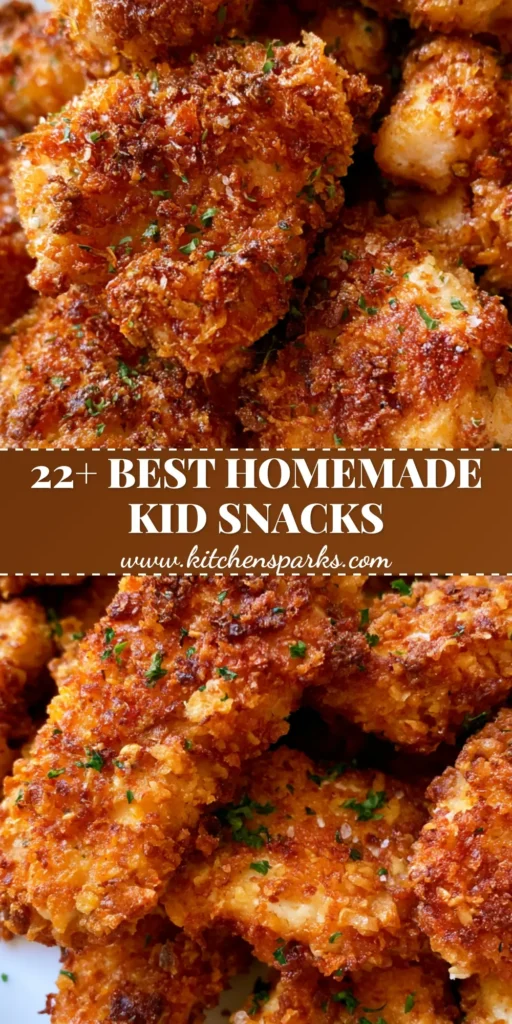
When it comes to finding the perfect Homemade Snacks for Kids, nothing beats the universal appeal of a golden-brown, crispy chicken nugget. Forget the processed, mystery-meat versions found in the freezer aisle; we are talking about real, juicy chicken breast coated in a craggy, toasted panko crust that shatters with every bite.
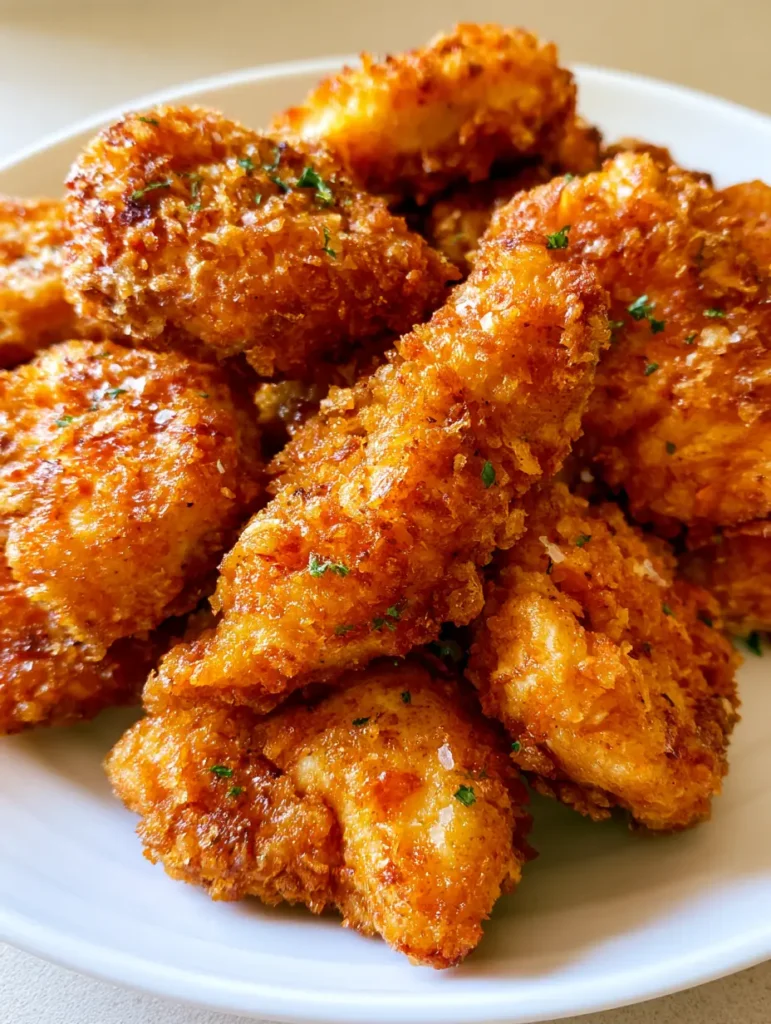
The secret to these nuggets lies in the visual details you see before you: that deep toasted golden-brown exterior, the visible crispy ridges, and the delicate scatter of dried parsley and fine sea salt. This recipe is designed to bridge the gap between “healthy” and “crave-worthy,” providing a protein-packed snack that looks as good as it tastes.
Whether you are prepping for an after-school energy boost or a weekend movie night, these nuggets deliver a professional-grade crunch using the power of air frying. Let’s dive into how to achieve that signature “craggy” texture that makes these the ultimate kid-approved snack.
Why These Are the Ultimate Homemade Snacks for Kids
- Sensory Crunch: The thick, irregular panko ridges provide a professional culinary texture that mimics deep-frying without the excess oil.
- Visually Verified Quality: You can see the real chicken fibers and the vibrant green parsley, ensuring your family is eating whole foods.
- Air-Fried Efficiency: By using high-circulating heat, we achieve a toasted golden-brown finish in under 15 minutes.
- Customizable Flavor: While we start with sea salt and parsley, these are the perfect canvas for your favorite dipping sauces.
The Anatomy of a Perfect Golden-Brown Crust
To achieve the specific visual result of “textured bumps” and “toasted golden-brown crust,” we need to understand the science of the breading station. Panko breadcrumbs are larger and airier than traditional breadcrumbs, which is essential for that irregular shape mentioned in our blueprint.
When these nuggets hit the air fryer, the heat needs to circulate around every bump. This is why we don’t just “dust” the chicken; we press the breading in firmly to create those thick, craggy ridges that catch the light and the seasoning.
Essential Ingredients for Juicy Results
The Foundation: Chicken and Binder
1 lb (450g) Boneless Skinless Chicken Breast: We use lean breast meat cut into irregular, bite-sized pieces to ensure they cook evenly while remaining incredibly juicy on the inside.
1/2 cup (60g) All-Purpose Flour: This initial coating acts as a primer, absorbing surface moisture from the chicken so the egg wash has something to cling to.
2 large Eggs: Whisked until no streaks remain, the eggs act as the culinary “glue” that holds our heavy panko coating in place during the high-velocity air frying process.
The Textural Components
2 cups (120g) Panko Breadcrumbs: These Japanese-style crumbs are the key to the “craggy” visual; their jagged edges create the textured bumps seen in the final dish.
1 tsp (5g) Garlic Powder & 1 tsp (5g) Onion Powder: These “invisible” ingredients are essential for building a savory base layer of flavor that complements the chicken without changing the visual color.
The Visual Finishers
1 tbsp (2g) Dried Parsley Flakes: These provide the tiny green flakes scattered across the surface, adding a pop of color and a hint of earthy aroma.
1/2 tsp (3g) Fine Sea Salt: Unlike coarse salt, fine sea salt grains nestle into the ridges of the panko, ensuring every bite is perfectly seasoned.
Cooking Oil Spray (Avocado or Olive Oil): A light misting is scientifically required to help the panko undergo the Maillard reaction, turning it from pale white to deep toasted golden-brown.
Must-Have Equipment for Air Frying Success
Achieving the result of a handheld, smartphone-worthy photo requires the right tools. You will need a high-quality Air Fryer with a basket or tray that allows for maximum airflow. A set of stainless steel tongs is vital for flipping the nuggets without knocking off that precious craggy breading.
We also recommend using a shallow breading set (three separate bowls) to keep your workspace organized. This ensures the flour, egg, and panko stay separate, preventing the breading from becoming a gummy mess before it even hits the heat.
Step-by-Step Instructions to Golden Perfection
Preparing the Chicken “Canvas”
Start by patting your chicken breasts dry with paper towels. This is a critical step; any surface moisture will steam the breading from the inside out, preventing that “crispy ridge” texture we are aiming for.
Cut the chicken into irregular, 1.5-inch (4cm) pieces. The irregularity is key—it creates more surface area for the panko to cling to, resulting in more crunchy bits per nugget.
The Triple-Dredge Technique
Set up three bowls. In the first, place your flour seasoned with a pinch of salt. In the second, whisk your eggs. In the third, combine the panko, dried parsley, and garlic powder.
Dredge a piece of chicken in flour, shake off the excess, dip into the egg, and then press firmly into the panko. You want to literally “bury” the chicken in panko and press down so the crumbs create those textured bumps.
Executing the Air-Fried Finish
Preheat your air fryer to 400°F (200°C). Arrange the nuggets in a single layer on the tray, ensuring they are not touching. If you crowd the pan, the steam will soften the crust.
Lightly spray the tops with oil. Slide the tray in and cook for 6 minutes. You will start to smell the toasted breadcrumbs and see the edges turning a light tan.
The Flip and Final Toast
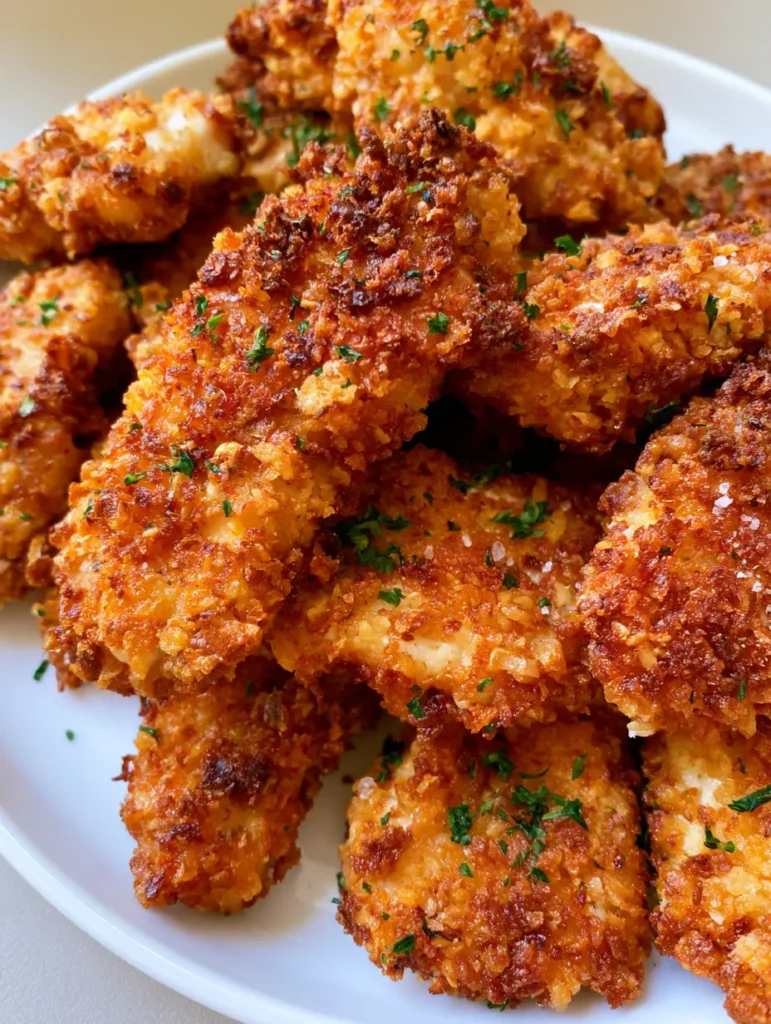
Carefully flip each nugget. Spray the other side lightly with oil. Cook for another 5-6 minutes. Look for the visual cue: the panko should be a deep, toasted golden-brown, and the parsley flakes should look dark and crisp.
Immediately upon removing them from the air fryer, sprinkle the fine sea salt over the hot nuggets. The residual oil will help the salt grains stick to the crispy ridges.
Expert Tips for the Best Homemade Snacks for Kids
- The Double Shake: Halfway through the second cook cycle, give the basket a gentle shake to ensure the sides of the nuggets get hit by the hot air.
- Temperature Check: For a “juicy interior,” use an instant-read thermometer. Remove the chicken when it hits 160°F (71°C); carry-over cooking will bring it to the safe 165°F (74°C) without drying it out.
- Panko Toasting: If you want an even deeper color, you can lightly toast the panko in a dry skillet for 2 minutes before breading the chicken.
- Space is Key: Never overlap your nuggets. Air needs to circulate 360 degrees to create those “visible crispy ridges.”
Storing and Reheating Your Snacks
These Homemade Snacks for Kids are best served fresh, but they can be stored in an airtight container in the refrigerator for up to 3 days. To maintain the crunch, avoid the microwave.
To reheat, place the nuggets back in the air fryer at 350°F (175°C) for 3-4 minutes. This will re-crisp the panko crust and ensure the interior stays moist. You can also freeze these raw on a baking sheet and then transfer to a bag; just add 2-3 minutes to the total air frying time.
What to Serve With These Crispy Nuggets
While these nuggets are a star on their own, they pair beautifully with other family favorites. If you are looking for more Homemade Snacks for Kids, consider serving these alongside some crispy homemade onion rings for a full-texture feast.
If you’re aiming for a more balanced meal, these nuggets are the perfect protein addition to a healthy dinners for picky eaters rotation. They also work surprisingly well chopped up inside chicken street tacos for a crunchy fusion twist that kids love.
Frequently Asked Questions
Yes, you can bread the nuggets and freeze them raw in a single layer. Once frozen, transfer to a bag and air fry directly from frozen, adding 2-3 minutes to the cooking time.
Absolutely. Chicken thighs are naturally juicier and more forgiving, though they may require an additional 1-2 minutes of cook time.
Avoid overcooking by using an instant-read thermometer. Pull the nuggets at 160°F (71°C), as carry-over heat will finish the cooking while keeping the white meat tender.
Panko is superior for texture because the flakes are larger and airier, creating the ‘craggy ridges’ and ‘textured bumps’ that result in a crunchier bite.
Panko needs a small amount of fat to brown in an air fryer. Ensure you use a light misting of oil spray on the breading to achieve that deep toasted color.
The Ultimate Crispy Air Fried Chicken Nugget Recipe
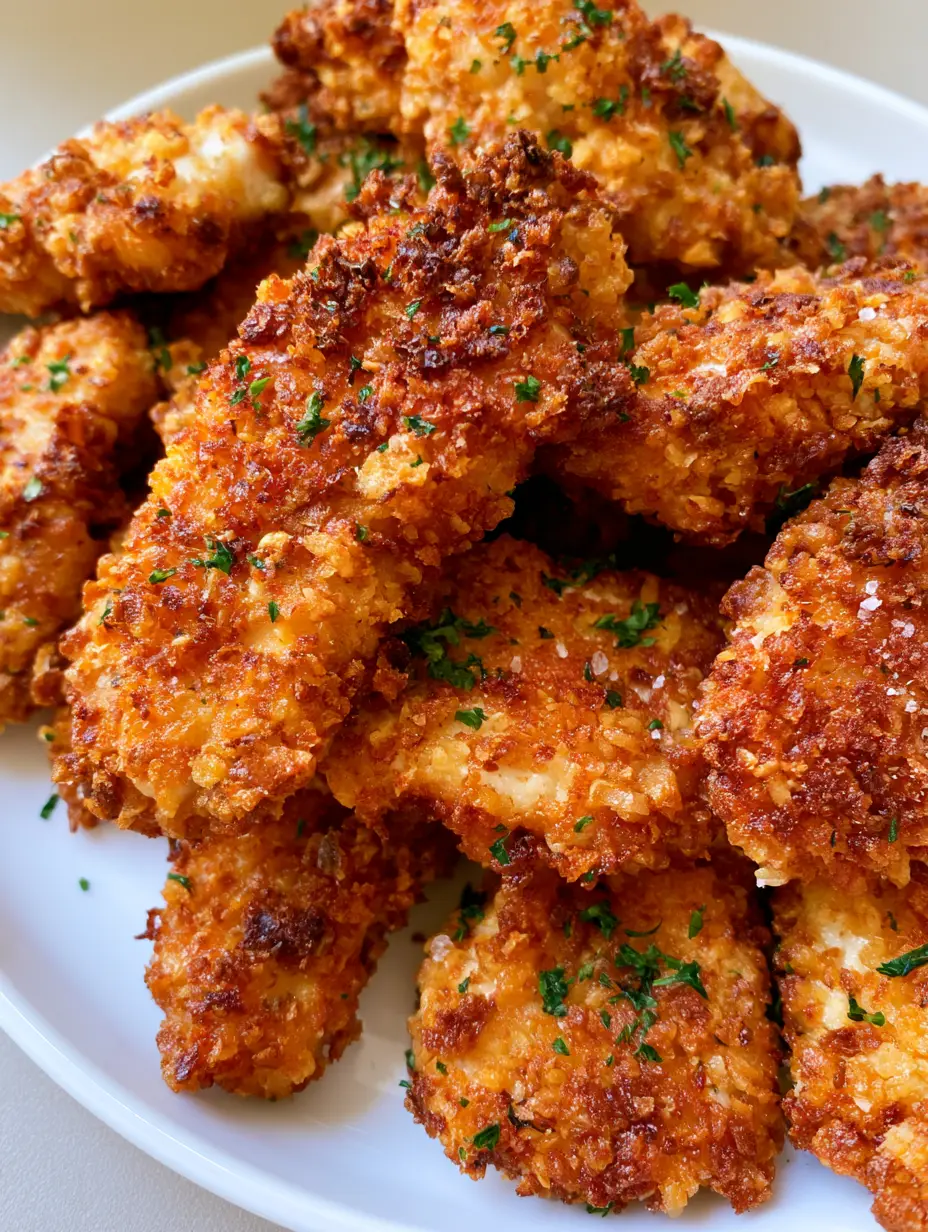
Homemade Snacks for Kids: The Crispy Air Fried Panko Chicken Nugget
Ingredients
Equipment
Method
- Pat the chicken breast pieces dry with paper towels to ensure a crispy bond.
- Coat chicken in flour, dip in beaten egg, then press firmly into the panko-parsley mixture to create textured bumps.
- Place nuggets in the air fryer at 400°F (200°C) for 6 minutes until the crust begins to set.
- Flip nuggets, spray with oil, and cook for 5-6 more minutes until a deep toasted golden-brown crust forms.
Notes
Sprinkle sea salt immediately after cooking so it sticks to the crispy ridges.
Making Snack Time Memorable
Creating Homemade Snacks for Kids doesn’t have to be a chore. With the right technique and a focus on visual textures—like that toasted panko crust and the sprinkle of parsley—you can turn a simple chicken breast into a gourmet experience. These nuggets prove that healthy, air-fried food can be just as satisfying as its deep-fried counterparts.
If your family loved the “craggy” crunch of these nuggets, please leave a comment below and share your results! Don’t forget to pin this recipe to your favorite boards on Pinterest so you always have a go-to snack ready to go.