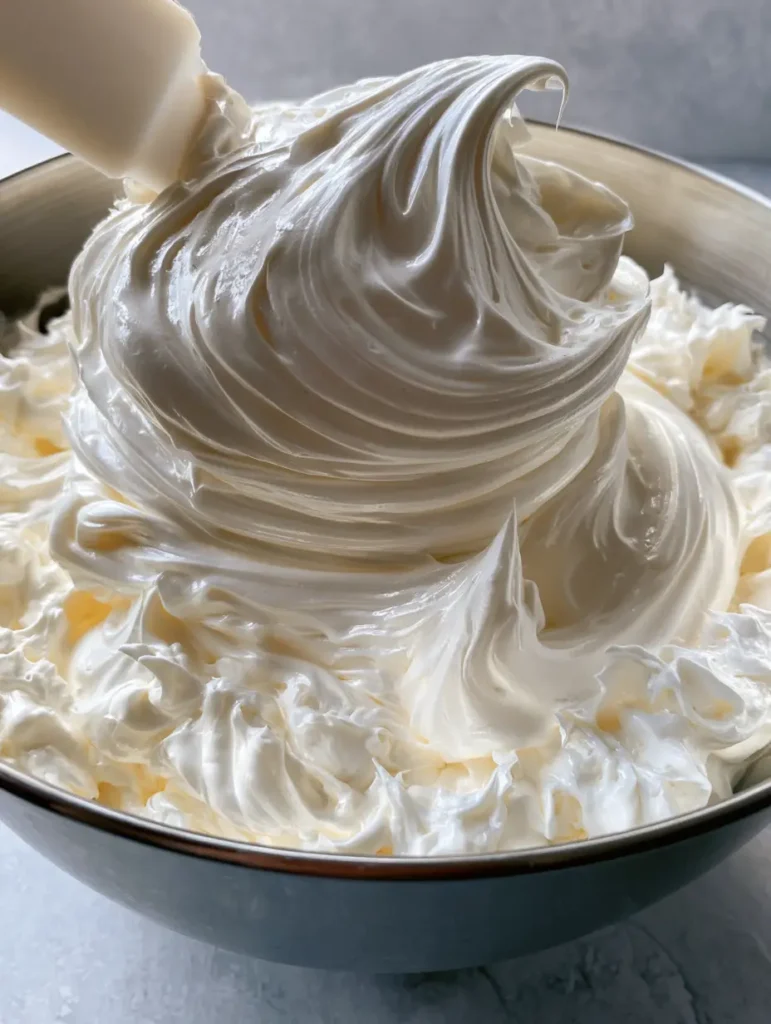
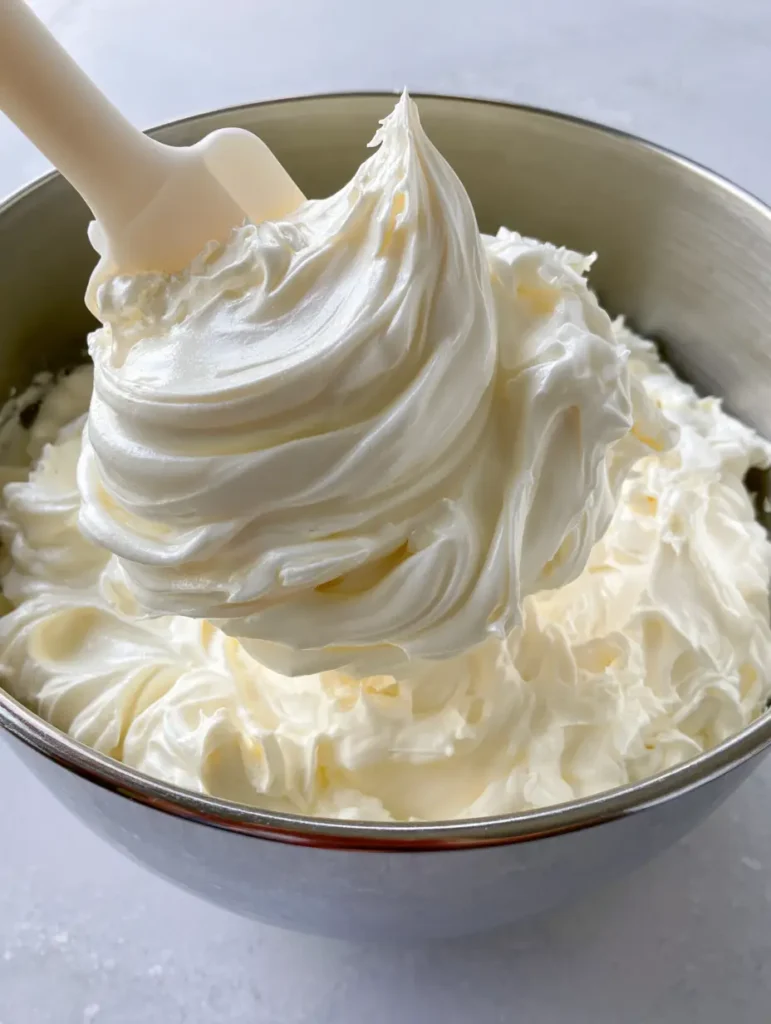
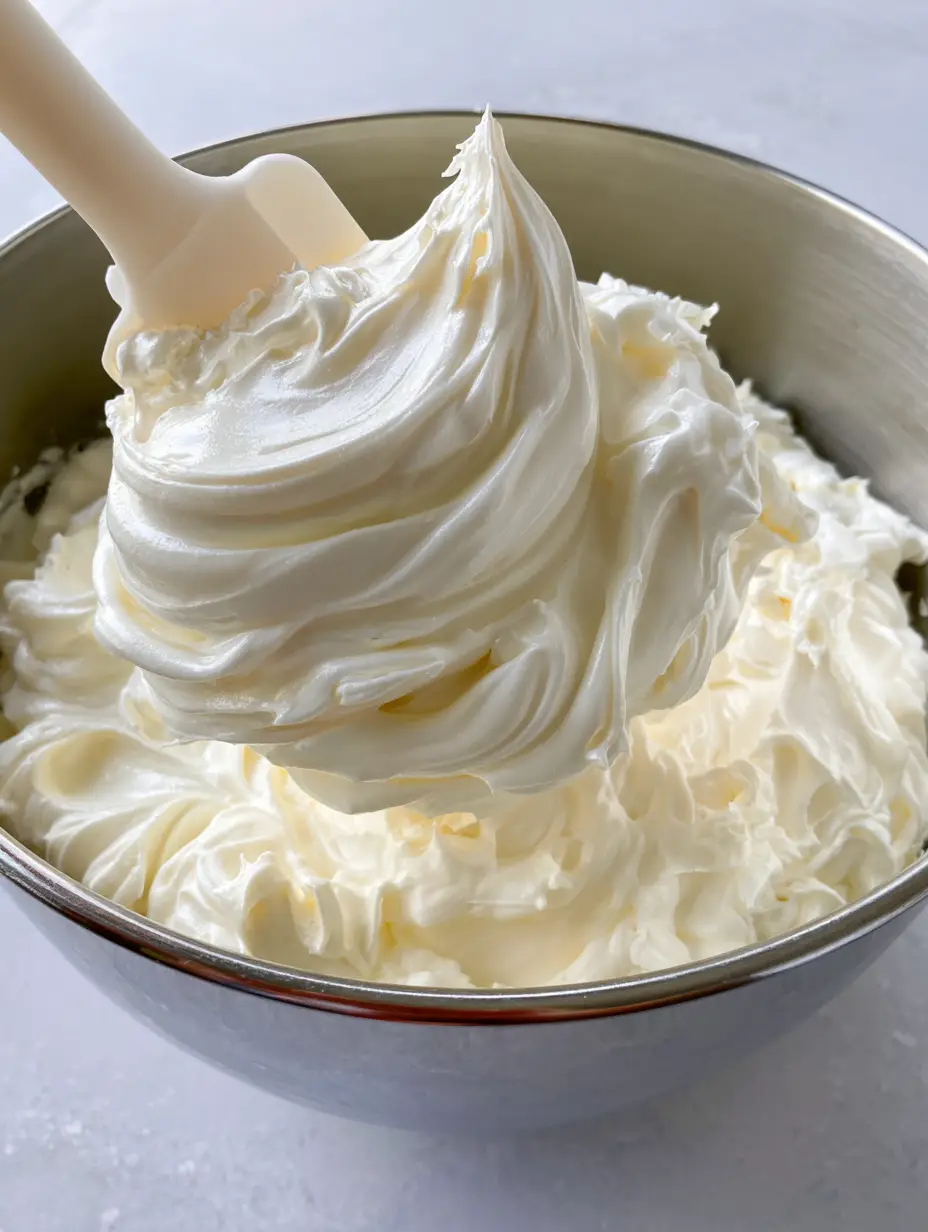
There is a specific moment in the kitchen that separates the hobbyist from the professional pastry chef. It happens the second you lift a silicone spatula from a stainless steel mixing bowl and behold a voluminous, glossy ivory swirl of Italian Meringue Buttercream. This isn’t just frosting; it is a culinary masterpiece of aeration and emulsification.
If you have ever struggled with gritty American buttercream or felt that Swiss meringue was a bit too soft, this Italian version is your holy grail. Its silky, reflective texture and firm, smooth peaks make it the gold standard for wedding cakes and high-end patisserie. In this guide, we are diving deep into the science of cooked sugar and whipped fats to ensure you achieve that perfect, bubble-free finish every single time.
Our Italian Meringue Buttercream is designed to be remarkably stable, holding its shape even in warmer temperatures while maintaining a mouthfeel that is light as air. You will see those signature vanilla bean specks dancing through the ivory frosting, promising a flavor that is sophisticated and perfectly balanced in sweetness.
Why This Meringue-Based Frosting Reigns Supreme
- Structural Integrity: Unlike other frostings, the cooked sugar syrup creates a stable protein structure that holds firm, smooth peaks for hours.
- Luxurious Mouthfeel: The emulsification of high-quality unsalted butter results in a silky, reflective texture that melts instantly on the tongue.
- Perfect Sweetness: By using a meringue base, we achieve a voluminous frost without the cloying, “sugar-rush” sweetness of powdered sugar-based recipes.
- Visual Perfection: The glossy ivory finish, punctuated by real vanilla bean specks, provides a professional aesthetic that requires no extra decoration.
Premium Ingredients for a Stable Italian Meringue
To achieve the aerated meringue and smooth finish seen in our visual blueprint, every ingredient must be at the correct temperature and quality. Here is what you need for the ultimate Italian Meringue Buttercream.
Egg Whites (Room Temperature): 5 large (150g) egg whites provide the protein structure. Ensure there is not a single drop of yolk, as fat prevents the meringue from reaching its full voluminous potential.
Granulated Sugar: 1 1/2 cups (300g) of white sugar. This will be transformed into a 240°F (115°C) syrup to cook the egg whites, creating a stable, safe-to-eat base.
Water: 1/2 cup (120ml) of filtered water. This is the medium for your sugar syrup, ensuring it dissolves evenly and reaches the “soft ball” stage without crystallizing.
Unsalted Butter (High-Fat): 2 cups (454g) of unsalted butter, softened to roughly 65°F (18°C). This is the “invisible” hero that provides the glossy ivory frosting swirls and rich flavor.
Vanilla Bean Paste: 1 tbsp (15ml) of high-quality paste. This is essential for those beautiful vanilla bean specks that signal a premium, homemade frosting.
Cream of Tartar: 1/2 tsp (2g). This acid stabilizes the egg white proteins, helping you achieve those firm, smooth peaks without the risk of collapsing.
Fine Sea Salt: 1/4 tsp (1g). A pinch of salt is scientifically necessary to brighten the vanilla and cut through the richness of the butter.
Essential Tools for Culinary Precision
To replicate the thick, glossy results shown in our stainless steel mixing bowl visual, you will need more than just a whisk. Precision is the key to success with Italian Meringue Buttercream.
A stand mixer equipped with both a whisk attachment and a paddle attachment is non-negotiable for the long whipping times required. You will also need a reliable candy thermometer to track the sugar syrup’s progress to exactly 240°F (115°C).
Lastly, a high-quality silicone spatula is required to fold the frosting and check for “silky, reflective texture.” This tool allows you to scrape the sides of the bowl to ensure no clumps of butter remain in your aerated meringue.
Mastering the Art of Meringue Emulsification
The Foundation: Creating the Sugar Syrup
In a small, heavy-bottomed saucepan, combine your granulated sugar and water. Stir gently only until the sugar is moistened, then turn the heat to medium-high. Once the mixture begins to bubble, stop stirring entirely to prevent crystallization.
Clip your candy thermometer to the side of the pan. You are looking for the “soft ball” stage, which occurs between 238°F and 242°F (114°C – 116°C). This temperature is critical; too low and the Italian Meringue Buttercream will be soupy; too high and you will have bits of hard candy in your frosting.
The Aeration: Whipping the Egg Whites
While the syrup is heating, place your room-temperature egg whites and cream of tartar into the stainless steel bowl of your stand mixer. Start on low speed to break up the proteins, then increase to medium-high.
Whip until the whites reach “soft peaks”—they should be white, foamy, and hold a gentle curve when the whisk is lifted. Time this so the peaks are ready just as the sugar syrup hits the 240°F (115°C) mark.
The Integration: The Hot Sugar Stream
With the mixer running on medium-low, very slowly pour the hot sugar syrup in a thin, steady stream down the side of the bowl. Avoid hitting the whisk, or the syrup will splatter and turn into hard sugar threads.
Once all the syrup is in, increase the speed to high. Whip the meringue until the bowl feels completely cool to the touch. This can take 10 to 15 minutes. The meringue should be thick, glossy, and brilliantly white at this stage.
The Emulsification: Incorporating the Butter
Switch to the paddle attachment. This is the secret to removing excess air and creating that smooth, clump-free texture. With the mixer on medium, add the softened butter one tablespoon (15g) at a time.
Do not panic if the mixture looks curdled or “soupy” halfway through—this is a normal part of the emulsification process. Keep beating, and the Italian Meringue Buttercream will suddenly transform into a voluminous, silky frosting. Finish by beating in the vanilla bean paste and salt.
Pro-Level Secrets for a Flawless, Bubble-Free Finish
- The Temperature Rule: If your frosting stays soupy, the meringue was likely too warm when you added the butter. Place the bowl in the fridge for 10 minutes and whip again.
- The Curdling Cure: If the frosting looks like cottage cheese, it is too cold. Simply take a small bowl of the frosting, microwave it for 10 seconds until melted, and pour it back into the mixer while it’s running.
- Removing Air Bubbles: For that “reflective texture” seen in the photos, run the mixer on the lowest speed with the paddle attachment for 5 minutes at the very end to knock out any large air pockets.
- The Clean Bowl Method: Wipe your mixing bowl and whisk with a bit of lemon juice or white vinegar before starting to ensure every trace of residual fat is gone.
The Best Ways to Use Your Italian Buttercream
This Italian Meringue Buttercream is the perfect partner for high-end desserts. Its stability makes it ideal for piping intricate flowers or achieving sharp edges on a tiered cake. If you are looking for a filling that offers a sharp contrast, consider layering it with a rich chocolate ganache.
For a whimsical twist, use this frosting as a sophisticated dip for crispy strawberry cheesecake wontons or as a filling for buttery homemade toaster strudels. The ivory swirls also look stunning when served alongside a sweet Hawaiian roll French toast for a decadent brunch spread.
Storage and Make-Ahead Instructions
Room Temperature: Because the sugar is cooked to a high temperature, this buttercream is stable at room temperature for up to 2 days, making it perfect for display cakes.
Refrigeration: Store in an airtight container for up to 2 weeks. Before using, let it come to room temperature completely and re-whip it with the paddle attachment to restore the silky texture.
Freezing: You can freeze Italian Meringue Buttercream for up to 3 months. Thaw overnight in the refrigerator, then bring to room temperature and re-whip until glossy and smooth again.
Absolutely. Since you are dissolving the sugar into water to create a syrup, the initial grain size of the sugar does not matter for the final texture.
It has a rich, buttery flavor but is balanced by the light, airy meringue and vanilla, making it much less heavy than American buttercream.
Curdling happens when the butter is too cold. Simply melt a small portion of the frosting and whip it back into the main batch, or continue whipping until it emulsifies.
Yes, because the sugar is cooked to the soft-ball stage, the meringue structure is much more stable than American or Swiss buttercream, making it better for outdoor events.
This usually happens if the meringue was still too hot or if the butter was added too quickly. Chill the bowl for 10 minutes and re-whip to restore volume.
How to Make the Best Italian Meringue Buttercream
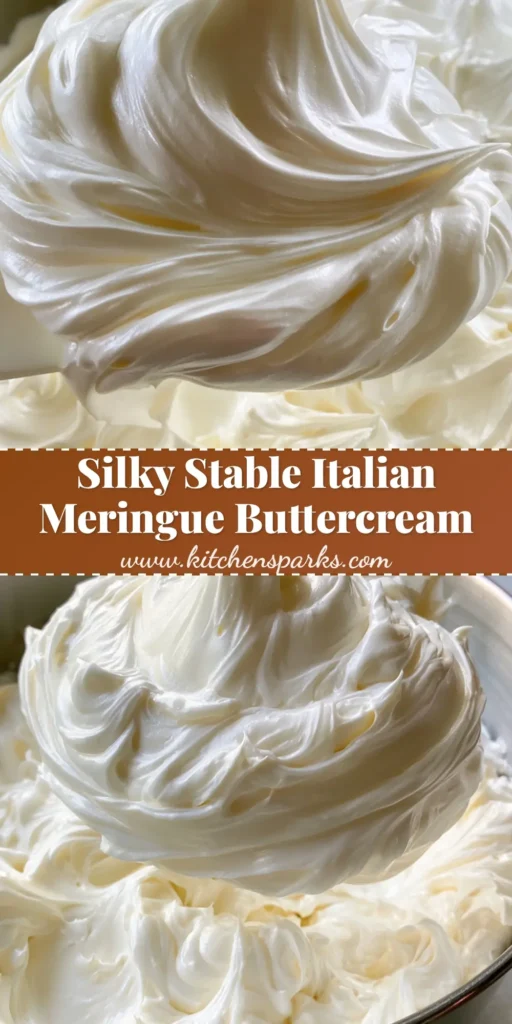
Italian Meringue Buttercream: The Secret to Silky, Glossy Professional Frosting
Ingredients
Equipment
Method
- Combine sugar and water in a saucepan over medium-high heat. Do not stir once it begins to boil. Monitor with a candy thermometer until it reaches 240°F (115°C).
- While syrup cooks, whip egg whites and cream of tartar in a stand mixer until soft peaks form.
- With the mixer on medium-low, slowly pour the 240°F sugar syrup down the side of the bowl in a steady stream.
- Increase speed to high and whip until the meringue is stiff, glossy, and the bowl is cool to the touch (approx. 10-15 minutes).
- Switch to the paddle attachment. Add butter one tablespoon at a time on medium speed until the frosting becomes smooth and voluminous.
- Mix in the vanilla bean paste and salt. Run on low for 5 minutes to remove air bubbles and achieve a reflective texture.
Notes
If the mixture curdles, just keep whipping; it will eventually emulsify.
Bringing Professional Patisserie to Your Home Kitchen
Mastering Italian Meringue Buttercream is a rite of passage for any serious home baker. It requires patience and precision, but the result—a thick, glossy, ivory frosting that tastes like a cloud of vanilla—is worth every second. Whether you are frosting a birthday cake or topping a batch of cupcakes, this recipe ensures a professional finish that will leave your guests in awe.
We would love to see your beautiful creations! Leave a comment below telling us how your buttercream turned out, and don’t forget to share your photos and pin this recipe to Pinterest for your next baking project.