Imagine the nostalgic, caramelized charm of a classic upside-down cake fused with the decadent, velvet-smooth texture of a New York-style cheesecake. This Pineapple Upside-Down Cheesecake Cake is not just a dessert; it is a structural masterpiece designed to be the centerpiece of your next celebration. Every bite offers a journey through buttery sponge, dense cream cheese, and a sticky, fruit-forward glaze.
When you look at a tall slice of this cake, you see the hallmark of professional baking: a moist, golden-yellow sponge base supporting a thick, creamy white cheesecake middle. The crown is a glossy, amber-hued masterpiece of perfectly circular pineapple rings and vibrant maraschino cherries. This recipe delivers that exact visual promise with culinary precision.
Whether you are a seasoned baker or a home cook looking to elevate your game, this guide provides the forensic detail needed to achieve that perfect amber drip. We have optimized every step to ensure your layers are distinct, your fruit is perfectly caramelized, and your cheesecake remains crack-free and luscious.
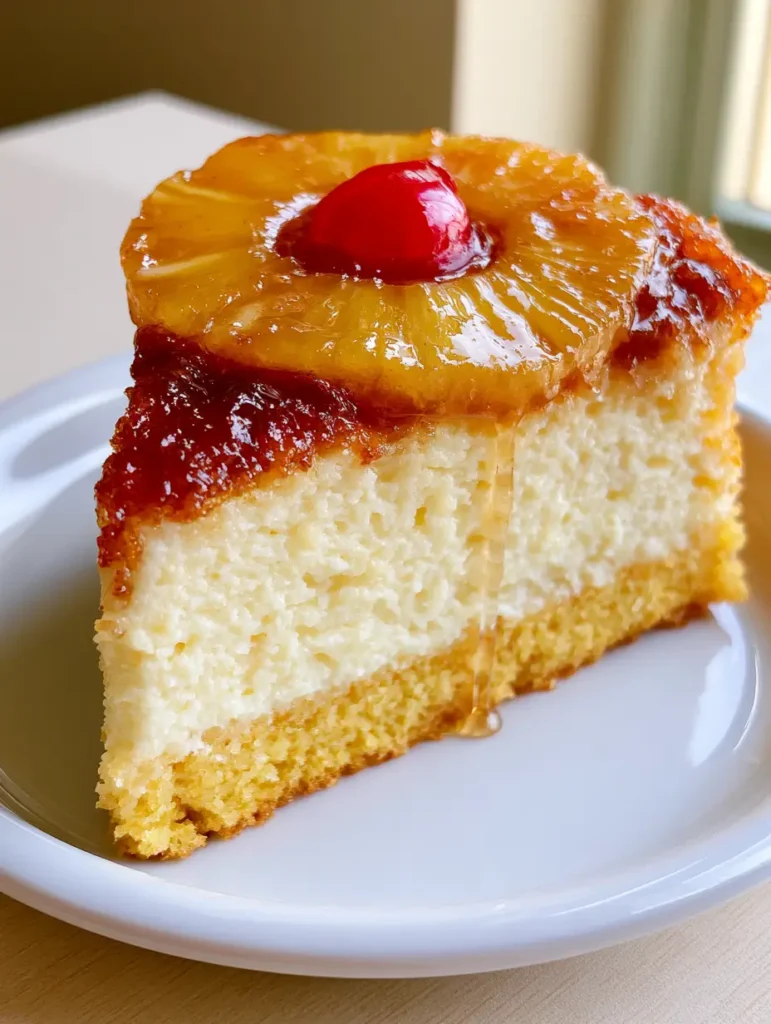
Why This Tropical Layered Masterpiece Works
- Textural Contrast: The marriage of a light, airy golden sponge and a dense, baked cheesecake provides a sophisticated mouthfeel that keeps guests coming back for more.
- Visual Brilliance: The transparent amber syrup creates a natural, glossy glow on the fruit topping, making it look as though it came straight from a high-end patisserie.
- Flavor Balance: The tanginess of the pineapple juice reduction cuts through the richness of the cream cheese, ensuring the dessert is bright rather than cloying.
- Proven Structural Integrity: Using foundational science, we ensure the cheesecake layer is sturdy enough to hold the weight of the fruit without collapsing the cake beneath.
Essentials for the Perfect Tropical Layers
To achieve the result seen in our visual guide, you need specific ingredients that perform under heat. We don’t just list them; we explain why they are vital to your success.
Full-Fat Cream Cheese: 24 oz (680g). Use only block-style cream cheese at room temperature to ensure the “thick, dense, creamy white” texture described in our blueprint. Avoid spreadable versions which contain too much air.
Pineapple Rings in Juice: 1 can (20 oz / 567g). Canned rings provide the “perfectly circular” look required for the topping. We will use the reserved juice for our signature reduction glaze.
Light Brown Sugar: 1 cup (200g). This is the base of our “glossy amber brown sugar glaze.” It provides the molasses notes that caramelize against the fruit during the baking process.
Unsalted Butter: 1 cup (225g). High-quality butter is the fat source for the golden-yellow sponge, providing that signature “moist” crumb and a rich, traditional flavor profile.
Maraschino Cherries: 1 jar. These provide the “bright red” pops of color in the center of each pineapple ring, a classic visual cue for this specific dessert.
Sour Cream: 1/2 cup (120ml). Adding sour cream to the cheesecake layer introduces a subtle tang and contributes to the “creamy white” visual while preventing the layer from becoming too airy.
Cake Flour: 1.5 cups (180g). For the “moist golden-yellow sponge cake” layer, cake flour is superior to all-purpose as it results in a finer, more tender crumb that supports the cheesecake weight.
If you love the combination of fruit and creamy textures, you might also enjoy our strawberry cheesecake dump cake for a quicker weeknight treat.
Specialized Equipment for Forensic Results
Achieving the “tall slice” profile requires more than just a standard pan. You will need a 9-inch (23cm) springform pan with extra-high sides (at least 3 inches deep). This allows the layers to build vertically without overflowing.
A heavy-duty aluminum foil wrap is also necessary for the exterior of the pan. Since we are baking a cheesecake layer, a water bath (bain-marie) is the secret to that “creamy” and “white” appearance without any unappealing brown patches or cracks.
Finally, a small saucepan is required to create the pineapple juice reduction. This step transforms thin juice into a “sticky, caramelized brown sugar glaze” that creates those beautiful, slow-moving drips down the side of the cake.
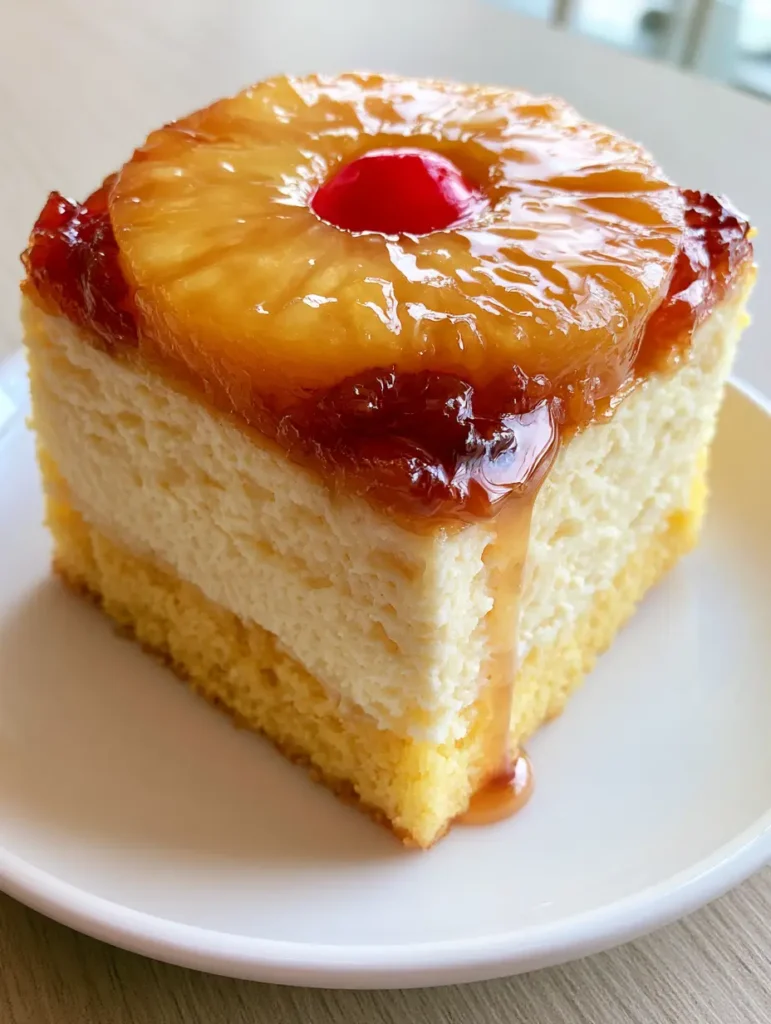
Mastering the Golden Topping and Cheesecake Base
Phase 1: Creating the Caramelized Fruit Foundation
Preheat your oven to 325°F (165°C). Melt 1/4 cup (55g) of butter and pour it into the bottom of your prepared springform pan. Sprinkle the brown sugar evenly over the butter, creating a sandy bed for your fruit.
Arrange the pineapple rings in a circular pattern. Place one “bright red maraschino cherry” firmly in the center of each ring. This is where the visual magic begins; ensure they are pressed down so the glaze can envelop them completely.
Phase 2: Crafting the Dense Creamy Cheesecake Layer
In a large bowl, beat the room-temperature cream cheese and sugar until completely smooth. It is critical to avoid over-beating at this stage; we want “dense,” not “fluffy.” Incorporate the eggs one at a time, followed by the sour cream and vanilla.
Gently pour this mixture directly over your pineapple arrangement. Use a spatula to smooth the top. This will become the middle layer when the cake is eventually flipped. If you find yourself craving more cheesecake variations, check out our no-bake banana pudding cheesecake.
Phase 3: The Golden-Yellow Sponge Cake Layer
Whisk together your cake flour, baking powder, and salt. In a separate bowl, cream the remaining butter and sugar until light. Add the eggs and then alternate between the dry ingredients and a splash of pineapple juice.
Carefully dollop the cake batter over the cheesecake layer. Use an offset spatula to spread it to the edges. This “golden-yellow sponge cake” serves as the structural base of your slice once inverted.
The Science of the Bake and the Flip
Place your foil-wrapped springform pan into a larger roasting pan. Fill the roasting pan with boiling water until it reaches halfway up the side of the cake pan. Bake for 60-70 minutes.
Listen for the “silent” cues: the cake is done when the edges are set but the center has a slight, rhythmic jiggle. The cake top should be a “moist, golden-yellow” color. Remove from the water bath and allow it to cool to room temperature before refrigerating for at least 6 hours.
To achieve the “glossy amber” finish, run a thin knife around the edge. Place your serving plate over the pan and, in one confident motion, flip it. The “sticky, caramelized brown sugar glaze” should release perfectly, creating that “transparent amber syrup” that drips down the sides.
Expert Tips for Visual Perfection
- The Juice Reduction: Take the reserved pineapple juice and simmer it in a pan until reduced by half. Brush this over the fruit after flipping for an extra “glossy” glow.
- Temperature Control: Never flip a warm cake. The cheesecake layer needs to be fully set to maintain its “thick, dense” structure during the inversion.
- The Perfect Slice: To get the clean edges seen in the handheld smartphone photo, dip your knife in hot water and wipe it clean between every single cut.
- Ingredient Prep: Ensure your cherries are patted dry with a paper towel before placing them. This prevents red dye from bleeding into the “creamy white” cheesecake.
Serving and Pairing Suggestions
This Pineapple Upside-Down Cheesecake Cake is a tropical powerhouse that pairs beautifully with other vibrant dishes. If you are hosting a themed dinner, consider starting with our pineapple jerk chicken (coming soon) for a cohesive flavor profile.
For a lighter side, a spicy pineapple cucumber salad offers a refreshing crunch that cleanses the palate between bites of rich cheesecake. If you want to lean further into the cake aesthetics, our guide on vanilla mousse cake filling can provide even more layering inspiration for future bakes.
Frequently Asked Questions
Yes! In fact, it is better when made 24 hours in advance. This allows the cheesecake layer to fully set and the flavors in the pineapple glaze to meld with the sponge.
While fresh pineapple is delicious, canned rings are recommended for this specific recipe because they are uniform in thickness and sweetness, ensuring the ‘perfectly circular’ visual and consistent caramelization.
The drip comes from the combination of light brown sugar and butter melting during the bake, enhanced by brushing a pineapple juice reduction over the top once the cake is inverted.
Wrap the bottom and sides of your springform pan in at least three layers of heavy-duty aluminum foil, or use a silicone cake protector to create a watertight seal.
Cracks are usually caused by over-beating the batter (incorporating too much air) or drastic temperature changes. Always use a water bath and allow the cake to cool slowly in the oven with the door cracked.
The Pineapple Upside-Down Cheesecake Cake Recipe
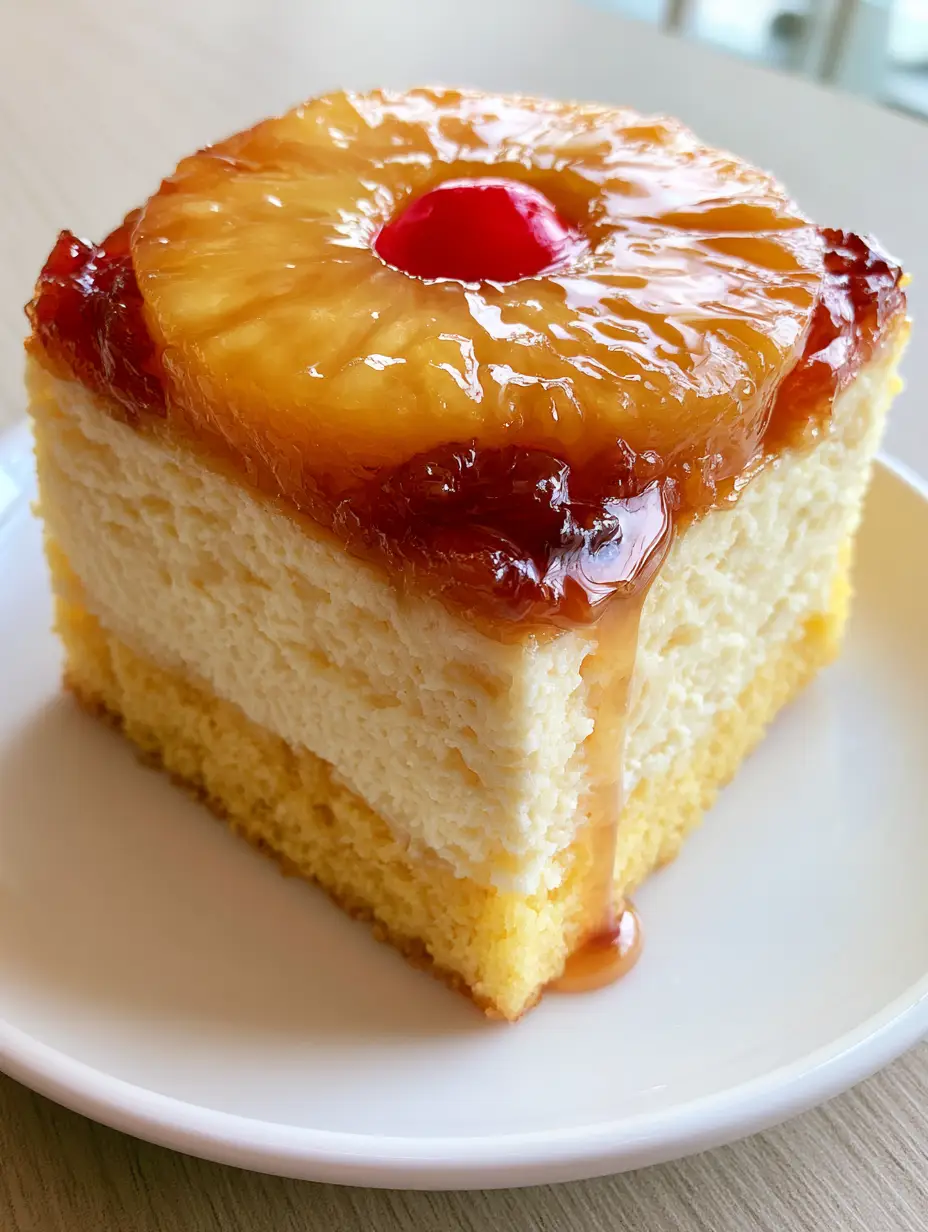
Pineapple Upside-Down Cheesecake Cake: The Ultimate Layered Tropical Showstopper
Ingredients
Equipment
Method
- Preheat oven to 325°F (165°C). Pour melted butter into the springform pan, sprinkle brown sugar, and arrange pineapple rings and cherries.
- Beat cream cheese and sugar until smooth. Add eggs and sour cream. Pour over the fruit layer.
- Cream butter and sugar for the cake. Mix in dry ingredients and pineapple juice. Spread carefully over the cheesecake layer.
- Place springform pan in a water bath. Bake for 70 minutes until edges are set. Cool completely and chill for 6 hours before flipping.
Notes
Always use a water bath to prevent the cheesecake from cracking or browning too much.
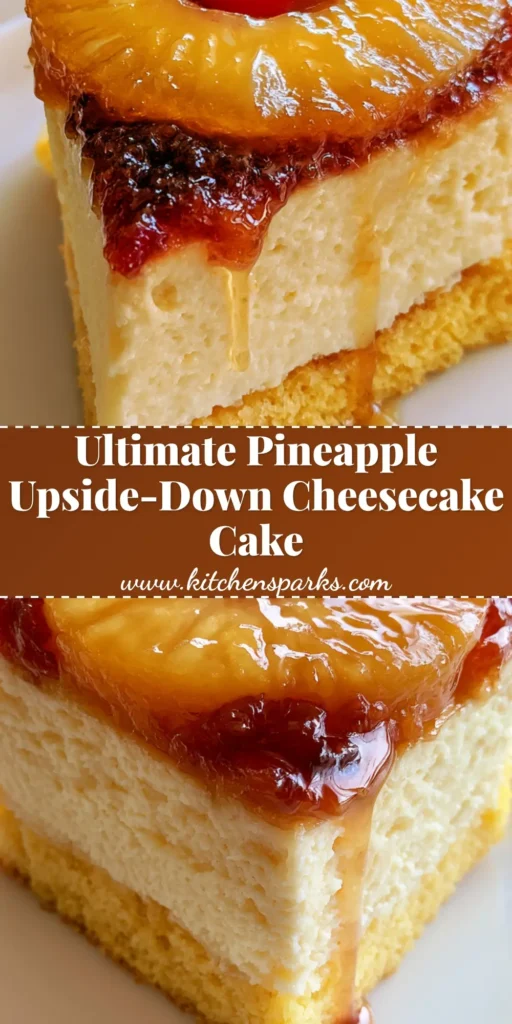
Conclusion: Your Tropical Showstopper Awaits
By following this forensic culinary guide, you have created more than just a cake; you have crafted an edible piece of art. The “sticky, caramelized” fruit and the “dense, creamy” cheesecake layers are a testament to your patience and precision. This recipe is designed to impress and satisfy even the most discerning dessert enthusiasts.
If you enjoyed making this Pineapple Upside-Down Cheesecake Cake, we would love to see your results! Please leave a comment below and share your photos with us on Pinterest. Happy baking!


