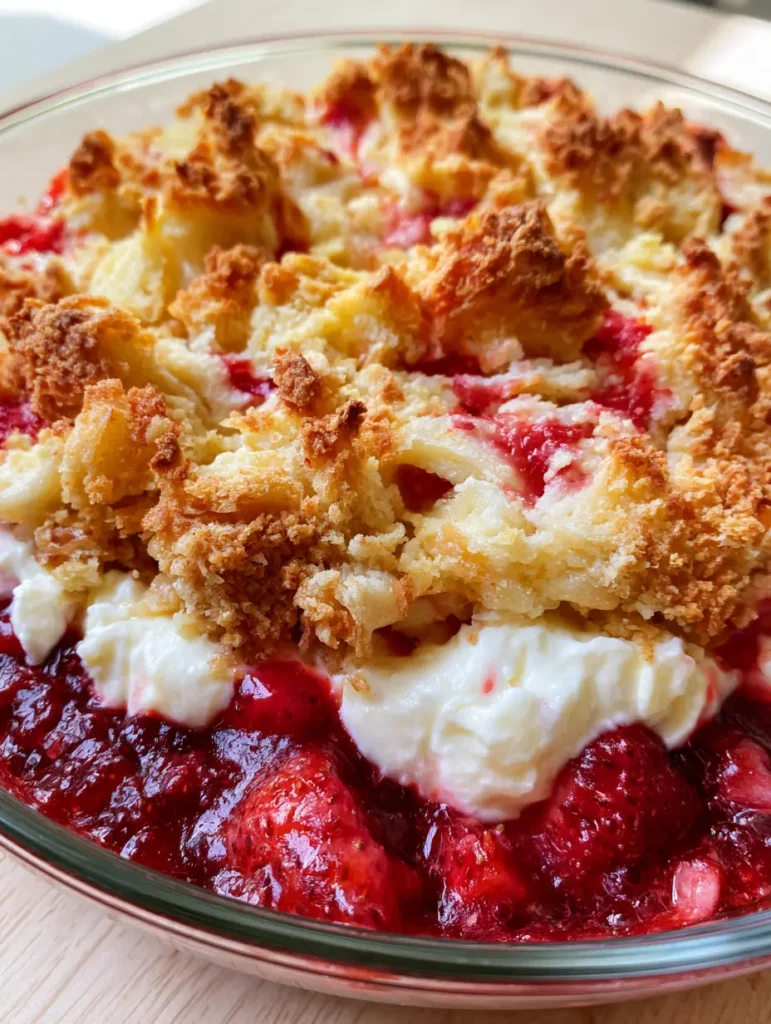
The Strawberry Cheesecake Dump Cake is the ultimate dessert for those who crave the decadent, tangy flavor of a traditional cheesecake but lack the hours required for water baths and cooling times. Imagine a thick layer of bubbling, deep red strawberry sauce containing whole, softened strawberries that melt in your mouth. This rich fruit base is punctuated by dense, creamy white dollops of sweetened cream cheese, providing a luxurious contrast to the fruity acidity.
What sets this specific Strawberry Cheesecake Dump Cake apart is the texture of the uppermost layer. We have engineered this recipe to produce a craggy, uneven terrain of golden-brown baked cake mix, featuring toasted, crunchy peaks and pale, buttery moist crevices. As it bakes, small spots of red strawberry juice bubble up through the crust, creating a visual masterpiece that looks like it came from a professional bakery rather than a simple 9×13 glass pan.
This recipe is designed for maximum visual and flavor impact with minimal effort. Whether you are preparing this for a summer potluck or a cozy family Sunday dinner, the combination of caramelized fruit edges and the velvety cream cheese center will make this your new go-to dessert. It is the perfect companion to a dollop of vanilla mousse cake filling if you want to take the decadence to the next level.
The Essential Textures of a Perfect Strawberry Dessert
- Bubbling Crimson Foundation: A molten layer of deep red strawberry filling that remains saucy and vibrant even after intense baking.
- Velvety Cheesecake Pockets: Sweetened cream cheese dollops that hold their shape while becoming incredibly soft and aerated.
- Multi-Textural Crust: A combination of toasted, crunchy cake granules and soft, butter-saturated crumbs that mimic a shortbread topping.
- Caramelized Perimeter: Dark, chewy edges where the strawberry sugars have met the glass pan and concentrated into a candy-like finish.
The Science Behind the “Dump and Bake” Ingredients
To achieve the visual and structural integrity seen in our professional test kitchen, each ingredient serves a specific culinary purpose. We aren’t just dumping; we are layering with intent. From the moisture content of the fruit to the fat ratio in the butter, every component matters for the final result.
Strawberry Pie Filling: 2 cans (21 oz / 600g each). This provides the structural “sauce” and the deep red color that bubbles through the crust; choose a brand with high fruit density for the best results.
Whole Fresh Strawberries: 1 cup (150g), hulled. Adding whole fruit to the canned filling ensures you get those “softened whole strawberries” described in our visual blueprint, adding a rustic, fresh element.
Full-Fat Cream Cheese: 8 oz (225g), softened. This is the heart of the “cheesecake” element; using full-fat ensures the dollops stay creamy and don’t disappear into the cake mix.
Granulated Sugar: 1/4 cup (50g). We mix this into the cream cheese to create the “sweetened dollops” that provide the necessary contrast to the tart berries.
Pure Vanilla Extract: 1 tsp (5ml). This invisible ingredient bridges the flavor gap between the fruity base and the buttery crust.
Yellow or White Cake Mix: 1 box (15.25 oz / 432g). The dry mix acts as the “craggy terrain,” absorbing butter to form a crumbly, toasted topping.
Unsalted Butter: 3/4 cup (170g), melted. Melted butter is crucial for creating the “pale, buttery moist crevices” and ensuring no dry flour spots remain on the surface.
Primary Tools for Dessert Success
To capture the exact look of our Strawberry Cheesecake Dump Cake, you need the right vessels. A clear glass 9×13 inch (23×33 cm) baking pan is mandatory. The glass allows you to monitor the “bubbling red sauce” and ensures the “caramelized fruit edges” develop evenly without burning too quickly.
You will also need a medium mixing bowl and a hand mixer to whip the cream cheese until it is light and airy. A standard offset spatula or a large spoon is helpful for “dumping” the ingredients in layers without over-mixing. Remember, the key to a dump cake is the distinct layers—do not stir the ingredients together!
Step-by-Step Blueprint for a Bubbly Golden Crust
Layering the Fruity Foundation
Start by preheating your oven to 350°F (175°C). In your clear glass baking pan, empty both cans of strawberry pie filling. Spread them evenly across the bottom until the glass is fully coated.
Scatter the whole, hulled strawberries across the filling. Use a spoon to gently press them halfway into the sauce. This ensures they soften beautifully while remaining visible as distinct fruit pieces in the final bake.
Crafting the Sweetened Cream Cheese Dollops
In a medium bowl, beat the softened cream cheese, 1/4 cup of sugar, and vanilla extract until smooth. Using a tablespoon, drop “dense, creamy white dollops” of the mixture over the strawberry layer. Space them about 2 inches apart to ensure every slice of Strawberry Cheesecake Dump Cake has a pocket of creaminess.
These dollops should sit on top of the fruit. Do not spread them out; the goal is to have concentrated bursts of cheesecake flavor throughout the dessert.
Building the Craggy Cake Terrain
Evenly sprinkle the dry cake mix over the entire surface of the pan. Use your hands to break up any very large clumps, but keep the surface “uneven” to encourage those toasted, crunchy peaks.
Slowly and carefully pour the melted butter over the cake mix. Focus on covering as much of the dry powder as possible. It is perfectly fine to have some small “pale, buttery moist crevices” where the butter has pooled slightly—this creates the varied texture seen in the visual blueprint.
Baking for Visual Perfection
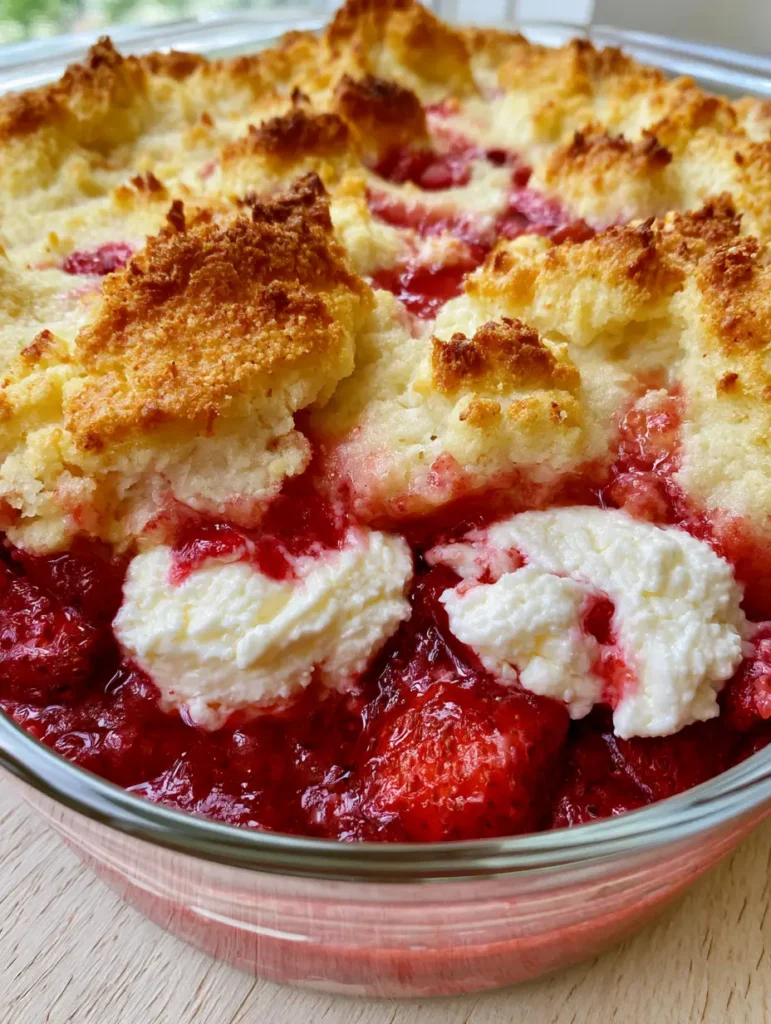
Slide the pan into the center rack of the oven. Bake for 40-45 minutes. You are looking for specific sensory cues: the smell of toasted sugar and the sound of the strawberry sauce “bubbling” at the edges.
The cake is done when the top is a deep golden-brown and you see small spots of red strawberry juice bubbling up through the crust. The edges should look caramelized and slightly chewy. Remove from the oven and let it rest for at least 15 minutes before serving to allow the sauce to set.
Expert Tips for a Flawless Dump Cake
- Temperature Matters: Ensure your cream cheese is truly at room temperature before whipping. If it is too cold, the dollops will be lumpy rather than “dense and creamy.”
- The Butter Trick: If you notice dry spots of flour halfway through baking, you can carefully place tiny slivers of cold butter on those spots to help them melt and brown.
- Don’t Over-Mix: The cardinal sin of a Strawberry Cheesecake Dump Cake is stirring. The layers must remain separate to achieve the visual contrast between the red fruit and white cheese.
- Fruit Varieties: If you prefer a more tart dessert, you can swap one can of pie filling for 2 cups (300g) of sliced fresh strawberries tossed in a little cornstarch and sugar.
Strategic Storage and Reheating Advice
This Strawberry Cheesecake Dump Cake is best served warm, but it keeps remarkably well. Cover the glass pan tightly with plastic wrap or foil and store in the refrigerator for up to 4 days. The crust will soften slightly over time as it absorbs moisture from the strawberries.
To reheat, place a portion in the microwave for 20-30 seconds, or back in a 350°F (175°C) oven for 10 minutes to crisp up the top. We do not recommend freezing this cake, as the cream cheese dollops may change texture upon thawing, losing their velvety mouthfeel.
What to Pair With This Efforless Dessert
While this cake is a star on its own, it pairs beautifully with other classic flavors. A scoop of high-quality vanilla bean ice cream is the traditional choice, but a side of no-bake banana pudding cheesecake can create a stunning dessert bar for parties.
If you are serving this as part of a larger meal, consider a light, savory start like a marinated cauliflower salad (coming soon) or a fresh mediterranean quinoa salad (coming soon). The acidity in the salads cleanses the palate, making the rich Strawberry Cheesecake Dump Cake taste even better.
Common Questions About Strawberry Dump Cakes
Absolutely. While yellow cake mix provides a classic ‘golden-brown’ look, a white cake mix or even a chocolate cake mix can be used for a different flavor profile, though the visual result will vary from the blueprint.
Yes, you can use frozen strawberries, but ensure they are thawed and drained slightly to prevent the bubbling red sauce from becoming too watery. The ‘softened whole strawberries’ texture is best achieved with fresh or high-quality canned fruit.
Yes, because of the ‘sweetened cream cheese dollops,’ this cake should be refrigerated if you aren’t eating it within two hours. It keeps well for up to 4 days when covered.
Using a clear glass baking pan is the secret. Glass conducts heat efficiently and allows the sugars in the strawberry filling to caramelize against the sides, creating those sought-after chewy, dark edges.
A powdery top occurs when the melted butter didn’t cover all the dry cake mix. To fix this, ensure you pour the butter evenly, and if you see dry spots mid-bake, add small slivers of butter to those areas to encourage browning.
The Ultimate Strawberry Cheesecake Dump Cake Recipe
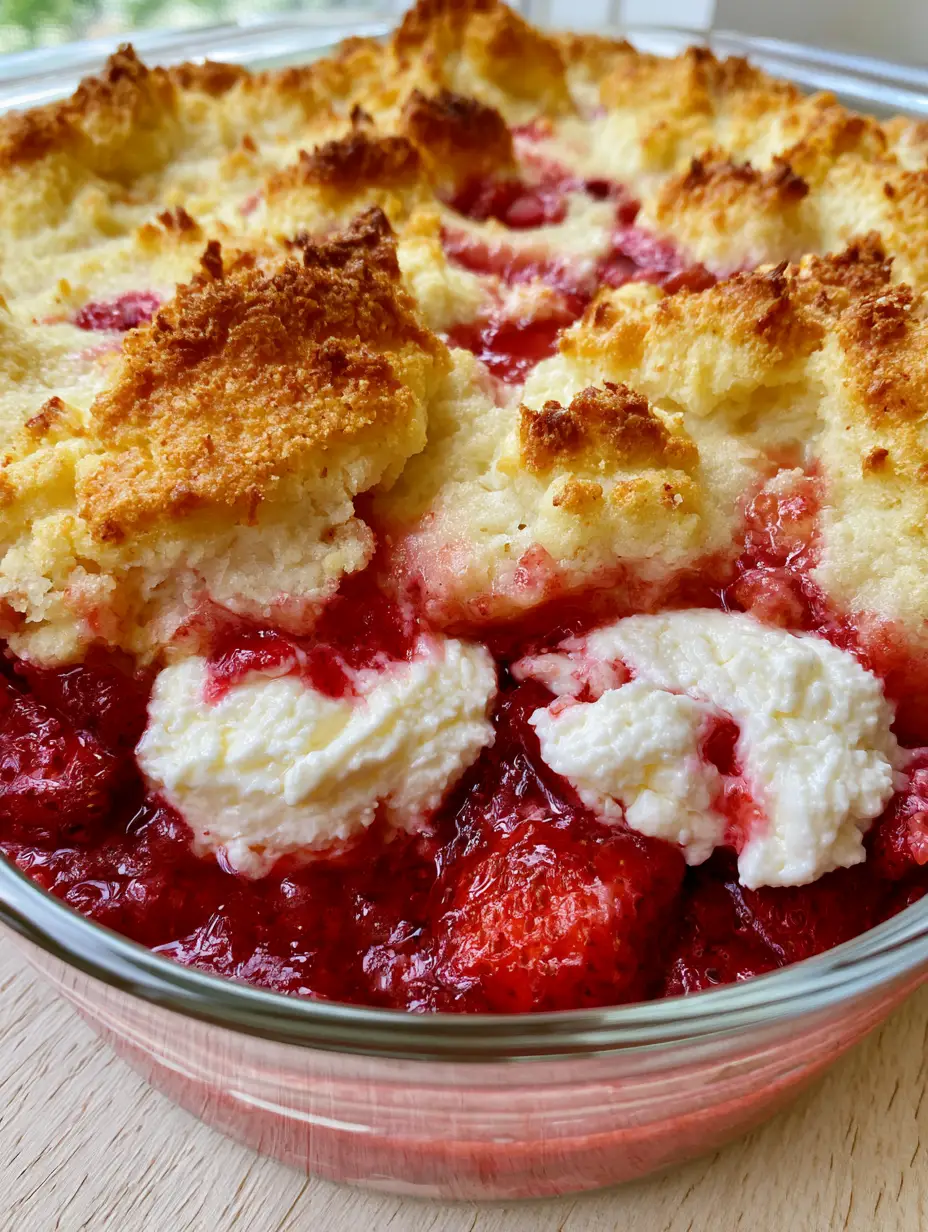
Strawberry Cheesecake Dump Cake With A Golden Buttery Crust
Ingredients
Equipment
Method
- Preheat oven to 350°F (175°C). Pour the strawberry pie filling into a clear glass 9x13 pan and spread evenly.
- Distribute the whole strawberries across the filling, pressing them slightly into the sauce.
- Whip softened cream cheese, sugar, and vanilla until smooth and airy.
- Drop tablespoon-sized dollops of the cream cheese mixture over the strawberries. Do not stir.
- Sprinkle the dry cake mix evenly over the layers, leaving the surface craggy and uneven.
- Pour melted butter over the cake mix. Bake for 40-45 minutes until the top is golden-brown and filling is bubbling through the crust.
Notes
Let the cake rest for 15 minutes after baking to set the strawberry sauce.
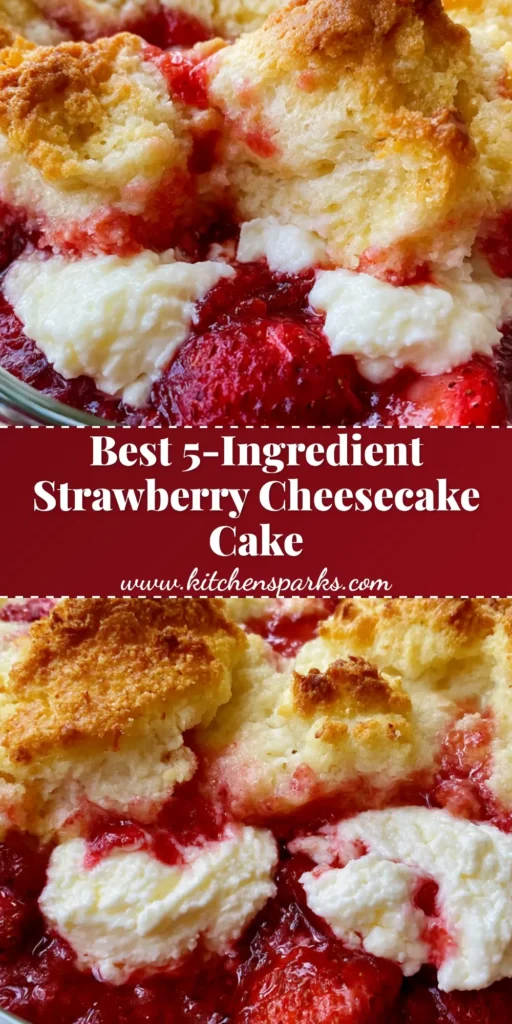
Sharing the Sweetness
The Strawberry Cheesecake Dump Cake is a testament to the fact that you don’t need a culinary degree to create a dessert that looks and tastes like a masterpiece. The contrast of the bubbling red fruit against the golden, buttery crust is a visual treat that never fails to impress. If you enjoyed this recipe, please leave a comment below and share your results! Don’t forget to follow us and save this recipe to your boards on Pinterest for your next gathering.


