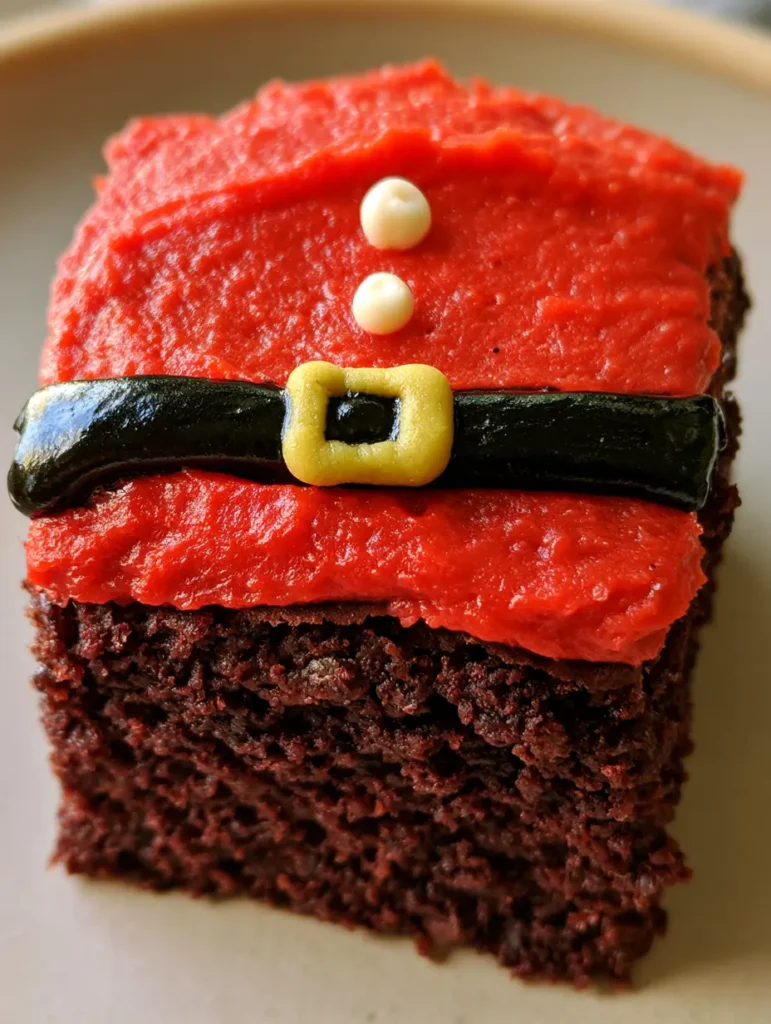
When the holiday season rolls around, nothing captures the festive spirit quite like a tray of Santa Belly Brownies. These aren’t just your standard chocolate treats; they are a visual masterpiece designed to mimic the iconic suit of Old Saint Nick himself.
The base consists of a dense, dark chocolate brownie with a moist crumb texture that melts in your mouth. Topped with a vibrant, smooth layer of bright red frosting and finished with a glossy black icing belt, these treats are the highlight of any Christmas dessert table.
In this comprehensive guide, we will dive deep into the culinary science of achieving that perfect fudgy texture. We will also master the art of precision piping to ensure your yellow frosting buckle and white icing buttons look professionally curated.
Why These Santa Belly Brownies are the Star of the Season
- Unmatched Texture: Unlike cake-y alternatives, these brownies are thick, fudgy, and incredibly decadent.
- Visual Precision: The contrast between the matte yellow buckle and the glossy black icing belt creates a stunning 3D effect.
- Perfect Proportions: Each square-cut brownie provides the ideal canvas for Santa’s signature suit details.
- Kid-Friendly Crafting: While the base is professional grade, the decorating steps are a joyful activity for the whole family.
Essential Components for the Perfect Festive Brownie Base
Creating the foundation for Santa Belly Brownies requires a balance of high-quality fats and premium cocoa. Every ingredient plays a specific role in achieving the moist crumb depicted in our visual blueprint.
Unsalted Butter (225g / 1 cup): Melted butter is the secret to a chewy, fudgy texture. It provides the necessary fat to coat the flour proteins, preventing excess gluten development.
Granulated Sugar (400g / 2 cups): Sugar does more than sweeten; it liquefies during baking to create that shiny, crackly top and helps retain moisture. For an even deeper flavor, you might pair these with a Southern Banana Cobbler at your next potluck.
Large Eggs (4 total): Eggs act as the primary emulsifier and structural binder. Using room-temperature eggs ensures they incorporate seamlessly into the fat for a smooth batter.
Dutch-Processed Cocoa Powder (95g / 1 cup): This cocoa is treated with alkali to neutralize acidity. It results in the dark, intense chocolate color and smooth flavor profile essential for the “dense, dark chocolate” look.
All-Purpose Flour (125g / 1 cup): We use a relatively small amount of flour compared to the fat and sugar. This low flour-to-fat ratio is what guarantees a fudgy rather than cake-like result.
Fine Sea Salt (5g / 1 tsp): Salt is a flavor enhancer that cuts through the richness of the chocolate. It balances the sweetness of the thick red frosting we will add later.
Pure Vanilla Extract (10ml / 2 tsp): Vanilla provides a floral aromatic background. It elevates the chocolate notes, making the brownie taste more “expensive” and complex.
The Decorating Kit: Achieving the Santa Suit Aesthetic
To match our Midjourney prompt’s specific visual descriptors, you will need specific icing types. Texture and finish (matte vs. glossy) are key to the final professional appearance.
Bright Red Vanilla Frosting (450g / 2 cups): You need a thick, crusting buttercream or a high-quality canned frosting. The color must be a deep, “Santa Red” to provide the bold base for the suit.
Glossy Black Icing (1 tube or 120g): Use a gel-based black icing to achieve the “glossy” finish described for the belt. Gel icing catches the light better than standard buttercream.
Matte Yellow Piping Icing (60g / 1/4 cup): This is used for the buckle. A stiffer consistency is required so the square shape holds its edges without bleeding into the black belt.
White Decorating Icing (30g / 2 tbsp): This is for the “tiny circular drops” that act as buttons. It should be bright white to pop against the red background.
Must-Have Kitchen Tools for Precision Decorating
You cannot achieve the sharp lines of a Santa suit with a butter knife alone. These tools ensure your Santa Belly Brownies look exactly like the handheld smartphone photo in our blueprint.
8×8 Inch (20×20 cm) Square Baking Pan: A square pan is non-negotiable for achieving those perfect “square-cut” edges. Line it with parchment paper for easy removal.
Small Offset Spatula: This tool is essential for spreading the thick red frosting into a “smooth layer.” It allows for a flat, even surface across the entire brownie slab.
Fine-Tip Piping Bags: You will need at least three—one for the black belt, one for the yellow buckle, and one for the white buttons. Disposable bags make cleanup much easier.
Electronic Kitchen Scale: Precision is the hallmark of elite baking. Measuring by weight ensures consistent fudginess every single time you bake.
Mastering the Art of Santa’s Suit: A Step-by-Step Guide
Step 1: Forging the Fudgy Chocolate Foundation
Preheat your oven to 350°F (175°C). In a large microwave-safe bowl, melt your butter completely. Whisk in the sugar vigorously for 2 minutes; this helps create that sought-after crackly top.
Add the eggs one at a time, whisking well after each addition. Stir in the vanilla. Sift the cocoa powder, flour, and salt directly into the wet ingredients. Fold gently with a spatula until just combined—overmixing will introduce too much air, ruining the dense texture.
Pour the batter into your lined pan. Bake for 25-28 minutes. Visual Cue: The edges should be set, but the center should still have a slight wobble. A toothpick inserted should come out with moist crumbs, not wet batter.
Step 2: The Red Base Coat
Allow the brownies to cool *completely* in the pan. If they are even slightly warm, the frosting will melt and lose its “thick, smooth” appearance. Once cool, lift the parchment out and cut the slab into 9 or 16 even squares.
Using your offset spatula, apply a generous layer of red frosting to each square. Start from the center and push outward toward the edges. Aim for a flat, level surface that mimics the fabric of a suit.
Step 3: Piping the Glossy Black Belt
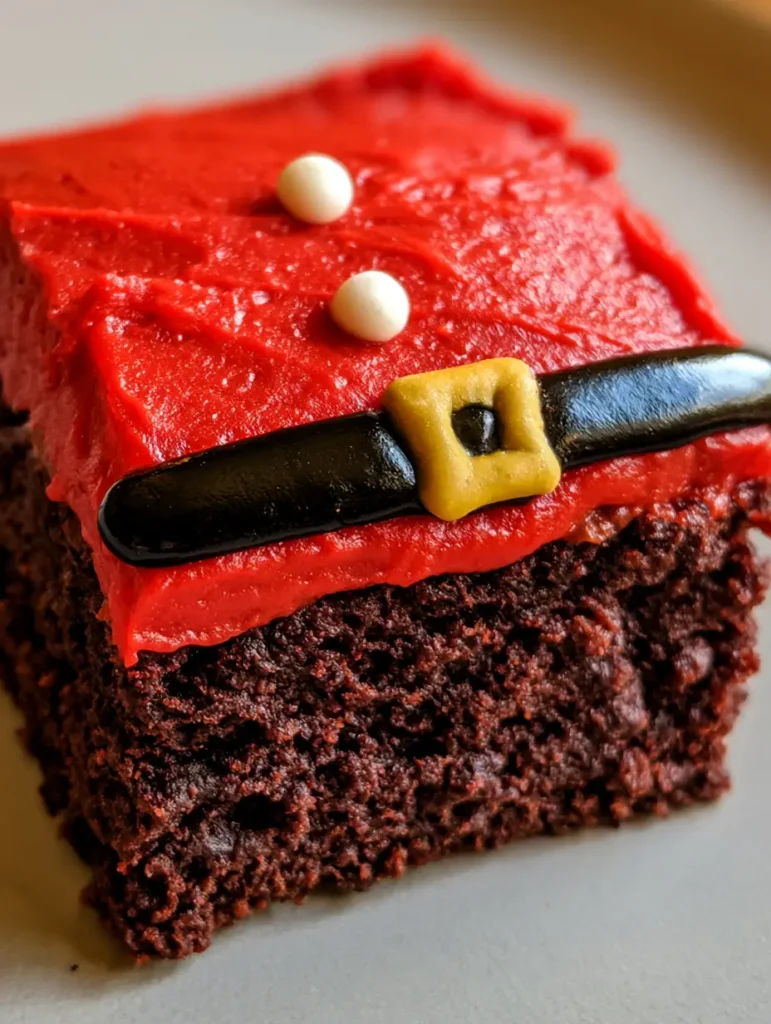
Fit a piping bag with a medium flat tip or simply snip a small horizontal slit in the bag. Draw a single, continuous horizontal line across the center of each brownie. The icing should look wet and glossy, providing a textural contrast to the red frosting.
If you enjoy the process of layering flavors and textures like this, you might also love making a No-Bake Banana Pudding Cheesecake. The precision in assembly is quite similar!
Step 4: Adding the Buckle and Buttons
Using the yellow icing with a small round tip, pipe a small square directly in the center of the black belt. Ensure the lines are clean and “matte.” This yellow square represents the gold buckle of Santa’s belt.
Finally, take your white icing. Position your tip vertically about half an inch above the belt. Squeeze gently to create two “tiny circular drops” stacked vertically. These are the buttons on Santa’s coat, completing the transformation into Santa Belly Brownies.
Professional Secrets for Flawless Holiday Brownie Decorating
- The Chill Factor: Place your frosted red brownies in the fridge for 15 minutes before piping the black belt. This “sets” the base so the colors don’t bleed together.
- Toothpick Templates: If you are nervous about piping straight lines, use a toothpick to lightly score a line where the belt should go. This acts as a guide for your piping bag.
- Clean Cuts: To get the perfectly sharp “square-cut” edges seen in the photo, wipe your knife clean with a warm, damp cloth between every single cut.
- Vibrant Reds: If making your own frosting, use “No-Taste Red” gel food coloring. Standard liquid coloring requires too much volume to get a deep red, which can thin out the frosting and add a bitter chemical taste.
The Ideal Environment for Your Holiday Treats
Santa Belly Brownies are best stored in an airtight container at room temperature for up to 3 days. However, because of the “moist crumb texture,” they actually stay delicious in the refrigerator for up to a week.
If you are planning to freeze these, do so *before* decorating. Wrap the plain brownie squares tightly in plastic wrap and foil. They will stay fresh for up to 3 months. When ready to serve, thaw at room temperature and then follow the decorating steps.
What to Serve Alongside Santa’s Favorite Treats
These brownies are incredibly rich and sweet, so they pair best with items that offer a bit of contrast. A cold glass of milk is the classic choice, but if you’re hosting a full holiday spread, consider some savory balance.
A Dolly Parton Macaroni Salad provides a creamy, tangy side for a holiday luncheon. If you’re looking for something lighter to offset the dense chocolate, a Marinated Cauliflower Salad (coming soon) offers a crisp, acidic bite that cleanses the palate between brownies.
For a festive dinner party, serve these brownies as the grand finale after a main course of Portuguese Grilled Chicken (coming soon). The smoky char of the chicken makes the deep cocoa notes of the brownies stand out even more.
Commonly Asked Questions About Holiday Brownies
Yes! You can bake the brownies 2 days early. For the best look, frost and decorate them within 24 hours of serving so the icing stays fresh.
To achieve a fudgy texture, use a higher ratio of fat (butter) and chocolate to flour, and avoid overbeating the eggs which introduces air.
Ensure the red frosting has ‘crusted’ or set by chilling the brownies in the fridge for 15-20 minutes before piping the black belt.
Wait for the brownies to cool completely, then use a sharp knife dipped in hot water and wiped dry between every cut for perfect squares.
Using cheap liquid food coloring can thin frosting and add bitterness. Use a high-quality ‘No-Taste Red’ gel paste for a vibrant, true red color.
The Ultimate Santa Belly Brownies Recipe Card
Santa Belly Brownies: The Ultimate Fudgy Holiday Dessert Guide
Ingredients
Equipment
Method
- Whisk melted butter and sugar for 2 minutes until combined. Add eggs one at a time, then stir in vanilla.
- Sift in cocoa, flour, and salt. Fold gently until no streaks of flour remain. Do not overmix.
- Pour into pan and bake at 350°F (175°C) for 25-28 minutes until the edges are set but the center wobbles slightly.
- Once brownies are cold, cut into squares and spread a smooth, thick layer of red frosting on top.
- Pipe a horizontal line of glossy black icing across the middle of each brownie.
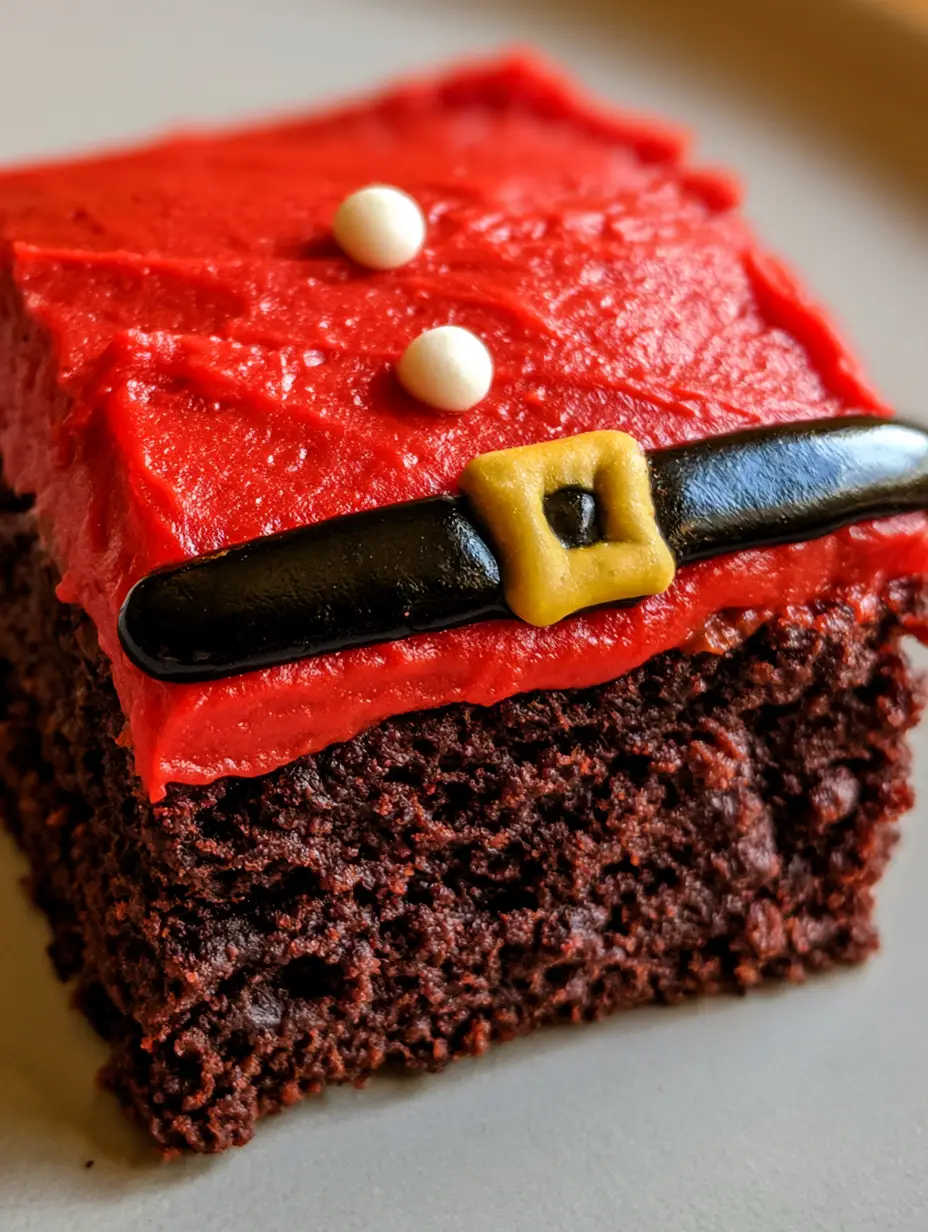
- Pipe a yellow square buckle on the belt and two white dots above it for buttons.
Notes
Use a warm knife for clean, sharp edges when cutting.
Share the Holiday Magic!
These Santa Belly Brownies are more than just a dessert; they are a festive memory in the making. Whether you’re baking them for a school party or leaving them out for the big man himself, they are guaranteed to bring a smile to everyone’s face.
If you enjoyed this recipe, please leave a comment below and let us know how your Santa suits turned out! Don’t forget to follow us and share your creations on Pinterest so we can see your beautiful holiday baking.