There is something undeniably primal and satisfying about the sizzle of a grill and the aroma of caramelizing onions wafting through a summer breeze. Our Stuffed Onion Bombs are the ultimate evolution of the classic backyard burger, deconstructed and rebuilt inside a charred, succulent onion shell. Imagine the deepest, smokiest flavors of a firecracker cheeseburger encapsulated in a vessel that provides both structural integrity and a sweet, savory crunch.
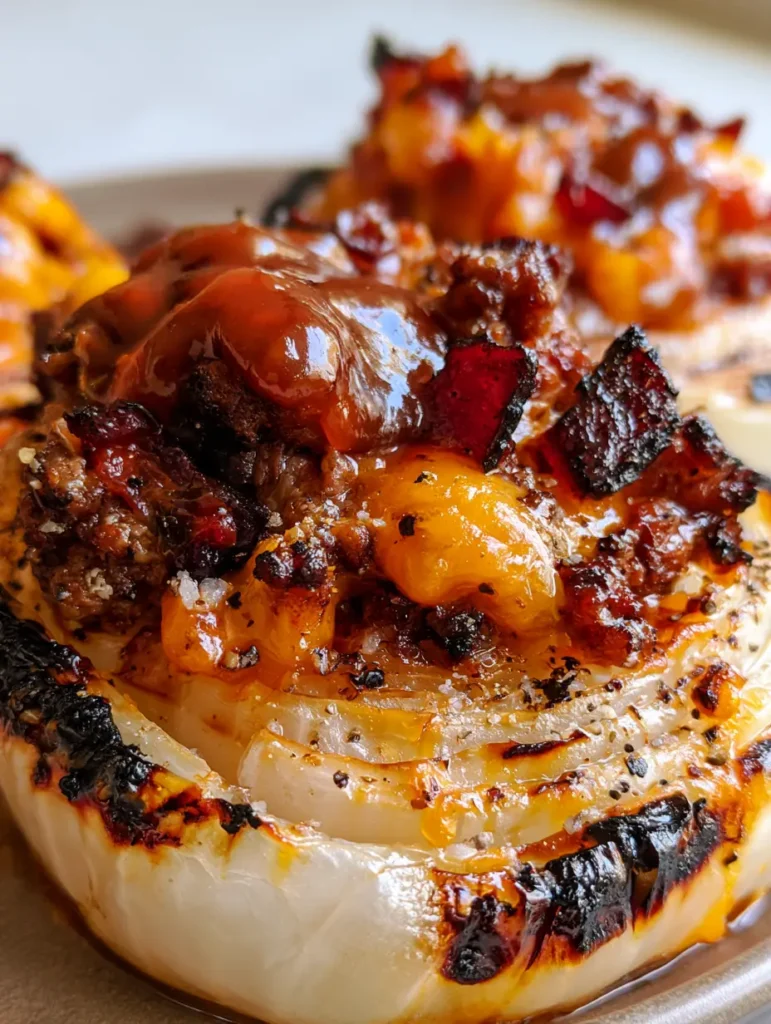
This isn’t just a meal; it’s a sensory experience designed for those who appreciate the finer details of outdoor cooking. From the glossy, mahogany-colored BBQ sauce bubbling over the edges to the visible grains of coarse salt and cracked black pepper, every element of these Stuffed Onion Bombs has been meticulously crafted to satisfy your deepest comfort food cravings. Whether you are snapping a quick smartphone photo to share with friends or diving in for that first cheesy, bacon-filled bite, these “bombs” are guaranteed to be the star of your next cookout.
By using thick, translucent white onion layers as our primary structure, we create a natural moisture barrier that keeps the ground beef incredibly juicy while the exterior achieves those coveted, dark grill marks. The result is a handheld masterpiece that balances the sharpness of melted cheddar with the salty crunch of dark red bacon, all tied together by a thick BBQ glaze that offers just the right amount of tang.
Why You Will Crave These Firecracker Bacon Cheddar Delights
- Textural Harmony: Experience the contrast between the soft, blistered onion exterior and the crumbly, savory ground beef filling.
- Bold Flavor Profile: The combination of sharp orange cheddar and crispy dark red bacon creates an umami explosion in every mouthful.
- Visually Stunning: With a thick, mahogany-colored BBQ glaze and visible cracked black pepper, these are a “foodstagram” dream come true.
- Grill-Master Appeal: Mastering the char on these white onion layers will elevate your status from a casual cook to a true culinary artist.
- Naturally Low Carb: By swapping the traditional bun for nutrient-dense onion layers, you get all the burger flavor with fewer refined grains.
Everything You Need for Firecracker Bacon Cheddar Bombs
Creating the perfect Stuffed Onion Bombs requires a balance of high-quality proteins and structural aromatics. We have selected ingredients that not only taste incredible together but also behave predictably under the high heat of a grill or a cast-iron skillet.
Large White Onions (3-4 large): These serve as the “bomb” shells; white onions are preferred for their thick layers and high sugar content which facilitates beautiful charring. You will use the outer layers for stuffing and can save the cores for making crispy homemade onion rings later.
Lean Ground Beef (1 lb / 454g): A 80/20 or 85/15 blend is ideal here, providing enough fat for a succulent interior without causing excessive flare-ups on the grill. The beef provides the savory foundation for our firecracker filling.
Sharp Orange Cheddar (1 cup / 115g, shredded): Sharp cheddar offers a punchy flavor that stands up to the smokiness of the grill. As it melts, it acts as a binder, holding the crumbly beef and bacon together inside the onion.
Crispy Bacon (6-8 slices / 170g): We use dark red, thick-cut bacon that is fried until exceptionally crispy before being chopped into small chunks. This adds a necessary crunch and a hit of salty, smoky fat to the interior mix.
Glossy BBQ Sauce (1/2 cup / 120ml): Choose a mahogany-colored, thick sauce with a high sugar content. This ensures it glazes beautifully and bubbles slightly under the heat, creating that professional, lacquered look.
Coarse Salt and Cracked Black Pepper (to taste): These are not just for seasoning; they provide the essential visual texture seen in high-end food photography. The large grains of salt and shards of pepper highlight the charred surfaces of the onion.
Foundational Additions (The “Invisible” Essentials): You will also need 1 tbsp (15ml) of high-smoke point oil (like avocado or canola) to brush the onions before grilling. A pinch of garlic powder and onion powder added to the beef will enhance the “firecracker” burger profile without competing with the fresh onion flavor.
Kitchen Gear for a Successful Searing Session
To achieve the specific visual results of soft, charred onion layers and a bubbling glaze, you need the right tools. While a standard grill is traditional, a heavy-duty indoor setup works just as well for these Stuffed Onion Bombs.
Outdoor Grill or Cast-Iron Grill Pan: This is essential for achieving those dark, defined grill marks on the translucent onion layers. A cast-iron surface retains heat efficiently, ensuring the beef cooks through while the exterior blisters.
Sharp Chef’s Knife: You will need this to precisely slice the ends off the onions and to “score” them down one side, allowing the layers to be removed without tearing. A sharp blade also makes quick work of chopping the crispy bacon.
Mixing Bowls: Use a large bowl to combine the ground beef, melted cheese, and bacon chunks. Ensuring a uniform distribution of these ingredients is key to a consistent “bomb” experience.
Silicone Basting Brush: This is the secret to that thick, glossy BBQ glaze. A silicone brush allows you to layer the sauce heavily over the hot onions without stripping away the seasoning.
Internal Meat Thermometer: Since the beef is encased in layers of onion, a thermometer is the only way to guarantee it has reached a safe 160°F (71°C) without overcooking the delicate onion shell.
The Art of the Onion Shell: A Guided Transformation
Achieving the look of a professional, handheld smartphone photo requires patience and technique. Follow these steps to ensure your Stuffed Onion Bombs are structurally sound and visually spectacular.
Preparing the Onion Vessels
Start by cutting the top and bottom off your white onions. Peel away the papery skin. Make a single vertical cut from the top to the center of the onion. Place the onions in a pot of boiling water for about 5-8 minutes.
This “blanching” process is the secret step; it makes the onion layers pliable and translucent. Once they are slightly softened, shock them in cold water. Carefully peel the thick outer layers apart. Set aside the largest 8-10 shells for stuffing.
Crafting the Firecracker Filling
In a large mixing bowl, combine the ground beef with your coarse salt, cracked black pepper, and a dash of garlic powder. Fold in the shredded sharp cheddar and the crispy, chopped bacon chunks. The beef should be cold when you do this to prevent the fat from melting too early.
Work the mixture with your hands just until combined. Do not overwork the meat, or the filling will become dense and rubbery. You want a “crumbly yet cohesive” texture that mimics a high-end steakhouse burger.
Stuffing and Shaping the Bombs
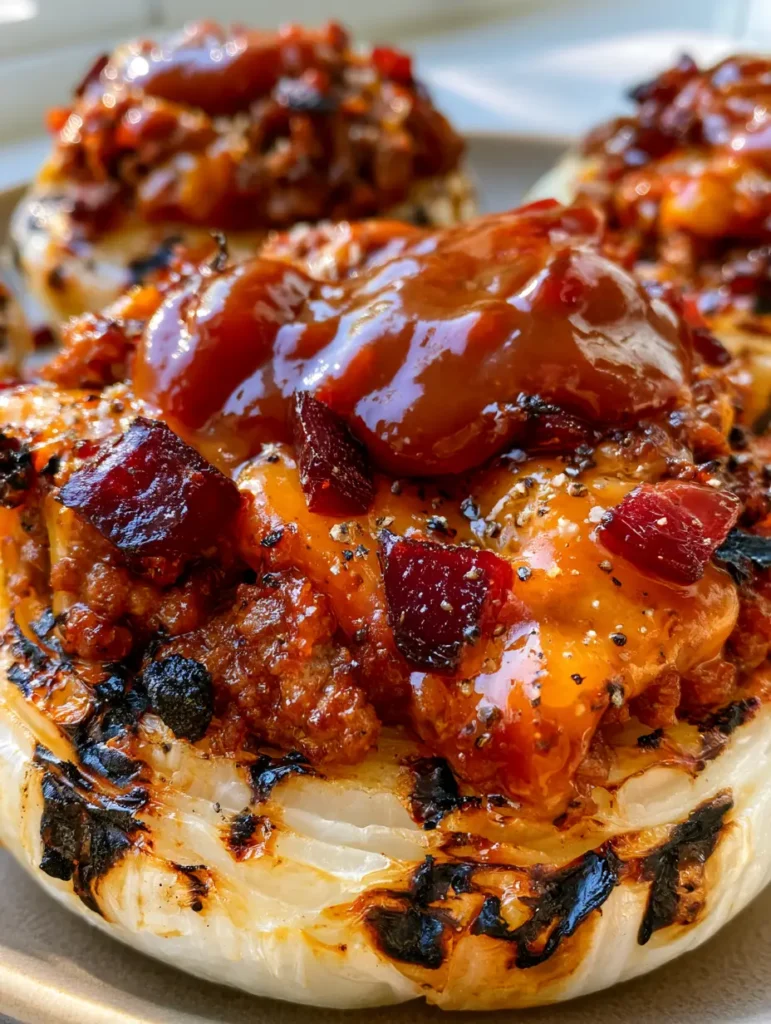
Take a handful of the beef mixture (roughly the size of a golf ball) and press it firmly. Place the meat ball inside one onion layer, then wrap a second onion layer around the opening of the first. This “double-shelling” ensures the meat is completely encased.
Press the layers firmly so the onion grips the meat. At this stage, your bombs should look like smooth, white spheres. Brush the exterior of each bomb with a light coating of oil and an extra sprinkle of coarse salt and cracked pepper.
The Grilling and Glazing Process
Preheat your grill to medium-high heat (about 400°F / 200°C). Place the stuffed onions directly onto the grates. You should hear an immediate sizzle—this is the sound of the Maillard reaction beginning. Grill for about 8-10 minutes, turning occasionally.
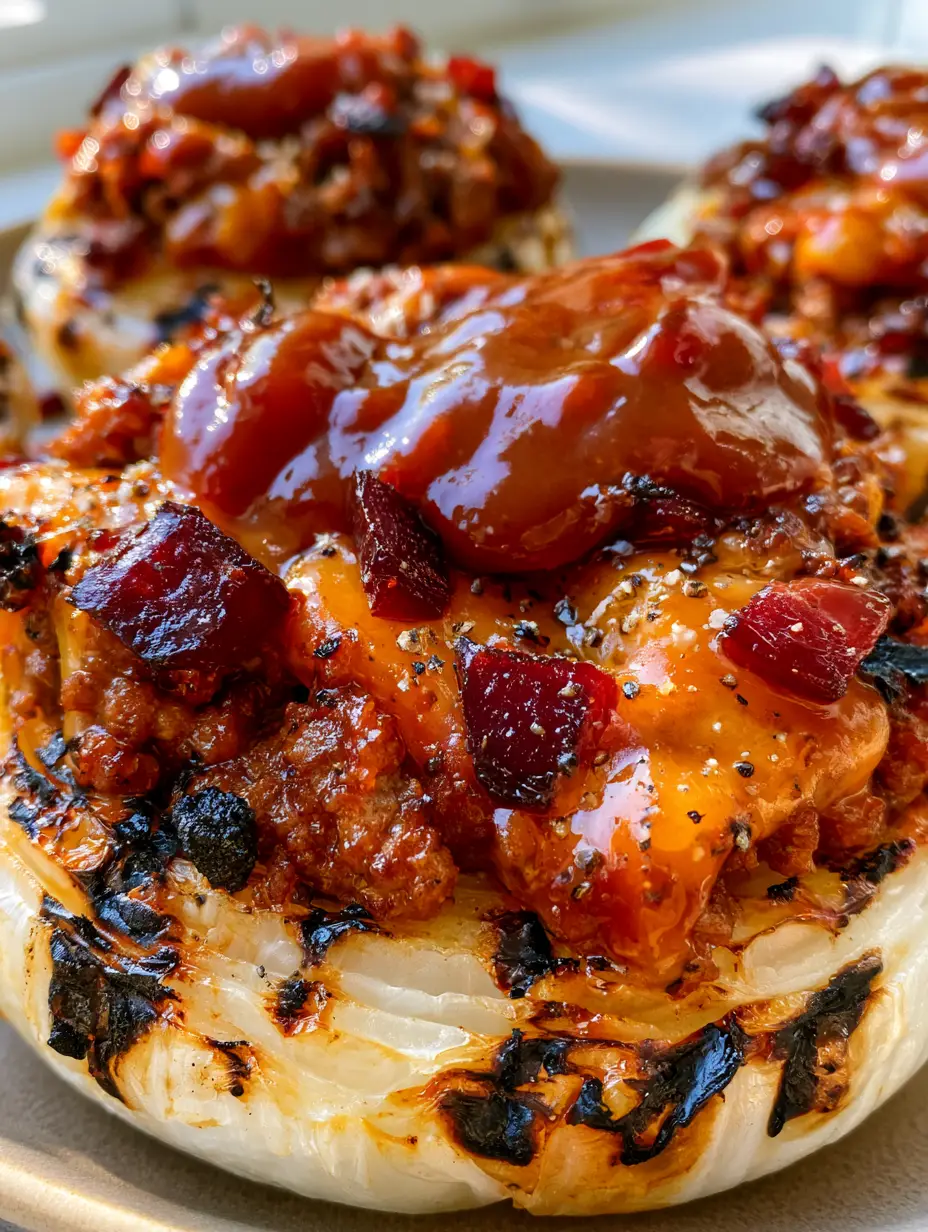
Look for the visual cue: the onion layers should transition from opaque white to a translucent, golden hue with dark, charred grill marks. Once the internal temperature reaches 150°F (65°C), use your basting brush to apply a thick layer of mahogany BBQ sauce.
Continue grilling for another 5 minutes. The sauce should begin to bubble and “set,” creating a glossy, lacquered finish. Remove from the heat once the internal temperature hits 160°F (71°C) and the cheese inside is visibly oozing from any small crevices.
Pitmaster Secrets for Flawless Char and Melt
- Temperature Control: If the onions are charring too fast before the meat is done, move them to a cooler part of the grill (indirect heat) to finish cooking.
- The Cheese Factor: Use a block of cheddar and grate it yourself. Pre-shredded cheese is coated in potato starch, which can prevent it from melting into that luxurious, gooey texture seen in our photos.
- Bacon Placement: Ensure the bacon is chopped into small chunks. If the pieces are too large, the onion layers won’t wrap tightly around the filling, causing the “bombs” to fall apart.
- Resting Period: Allow the Stuffed Onion Bombs to rest for 5 minutes before serving. This allows the juices in the beef to redistribute and the cheese to firm up slightly, making them easier to handle.
Maintaining Freshness: Storage and Reheat Guide
While these are best served fresh off the grill under natural daylight, you can store leftovers for later enjoyment. Place the cooled bombs in an airtight container and refrigerate for up to 3 days.
To reheat, we recommend using an air fryer at 350°F (175°C) for 5-7 minutes. This will crisp up the onion layers again and restore the bubbling texture of the BBQ glaze. Avoid the microwave if possible, as it will make the onion shells soggy and the beef rubbery.
Freezing is possible but not recommended for the best texture. If you must, wrap each bomb tightly in plastic wrap and foil. Thaw completely in the refrigerator before reheating in the oven or air fryer.
What to Serve Alongside These Savory Bombs
These Stuffed Onion Bombs are incredibly rich, so they pair best with sides that offer a bright or refreshing contrast. A crisp Caprese pasta salad provides a burst of acidity that cuts through the fatty bacon and cheese.
If you want to lean into the summer BBQ theme, consider serving them with a side of Mexican street corn or a light marinated cauliflower salad (coming soon). For a heartier meal, a scoop of Italian bow tie pasta salad rounds out the plate beautifully.
To wash it all down, a cold, refreshing campfire dirty soda or a zesty raspberry lemon drop cocktail provides the perfect sweet finish to a smoky, savory dinner.
Grilling Queries Answered
Yes! Bake them at 400°F (200°C) for about 25-30 minutes. You won’t get the same grill marks, but the flavor will still be excellent. Finish under the broiler for 2 minutes to bubble the glaze.
No, the beef should be raw when stuffed. It cooks perfectly inside the onion shell, which acts like a small oven, keeping the meat juicy while it reaches the safe temperature of 160°F.
The secret is blanching the onions first to make them pliable and using a ‘double-shell’ method where you overlap two layers of onion to fully encase the meat filling.
Absolutely. You can use a sugar-free BBQ sauce to keep the entire recipe keto-friendly, as the onion shell already replaces the high-carb burger bun.
Large white onions are best because they have thick, sturdy layers that hold up well to heat and provide a sweet, mild flavor that complements the beef and BBQ sauce.
The Definitive Recipe Card
Stuffed Onion Bombs: Grilled Firecracker Bacon Cheddar Cheeseburger Recipe
Ingredients
Equipment
Method
- Boil whole onions for 5-8 minutes until pliable. Shock in cold water and peel apart the thick outer layers.
- Combine ground beef, cheddar, chopped crispy bacon, salt, and pepper in a bowl. Mix until just combined.
- Form beef into balls and wrap with two onion layers to fully encase the meat. Brush with oil.
- Place on a medium-high grill. Cook for 8-10 minutes until onion shells are translucent and show dark grill marks.
- Brush heavily with BBQ sauce. Grill for 5 more minutes until the sauce is bubbling and mahogany-colored.
Notes
Let the bombs rest for 5 minutes so the cheese sets.
Share Your Stuffed Onion Bomb Masterpiece!
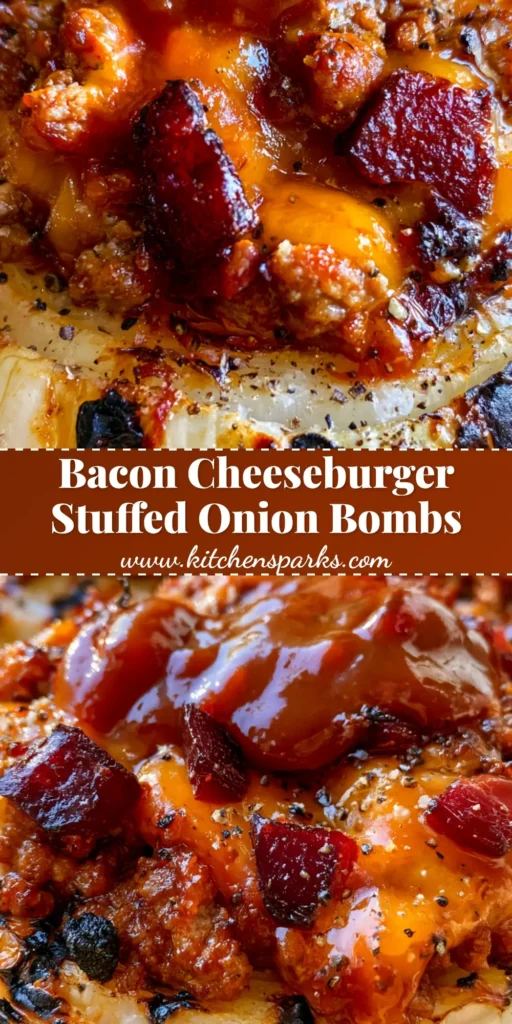
We hope these Stuffed Onion Bombs become a new staple in your outdoor cooking repertoire. The combination of the charred onion shell and the firecracker beef filling is truly a match made in culinary heaven. Don’t forget to capture your own smartphone photo of the bubbling BBQ sauce and share it with us!
If you loved this recipe, please leave a comment below and let us know how yours turned out. For more grilling inspiration and visual recipe blueprints, follow us on Pinterest and sign up for our newsletter. Happy grilling!


