There is a specific sound that defines the perfect snack: the high-shatter crunch of a deep-fried coating yielding to a tender, sweet onion center. These Crispy Homemade Onion Rings aren’t your average soggy side dish; they are a masterclass in texture, featuring a bubbly, craggy batter that looks as incredible as it tastes.
If you have ever wondered how professional kitchens achieve those airy, golden-brown ridges and that signature “snap,” you are in the right place. We are diving deep into the culinary science of carbonation and temperature to recreate the exact visual of a towering stack of rings seasoned with cracked black pepper and fresh herbs.
Whether you are preparing these for a weekend treat or as a side for smash burger tacos, this recipe ensures a coating that stays crispy long after it leaves the oil. Let’s get into the forensic details of making the ultimate onion ring.
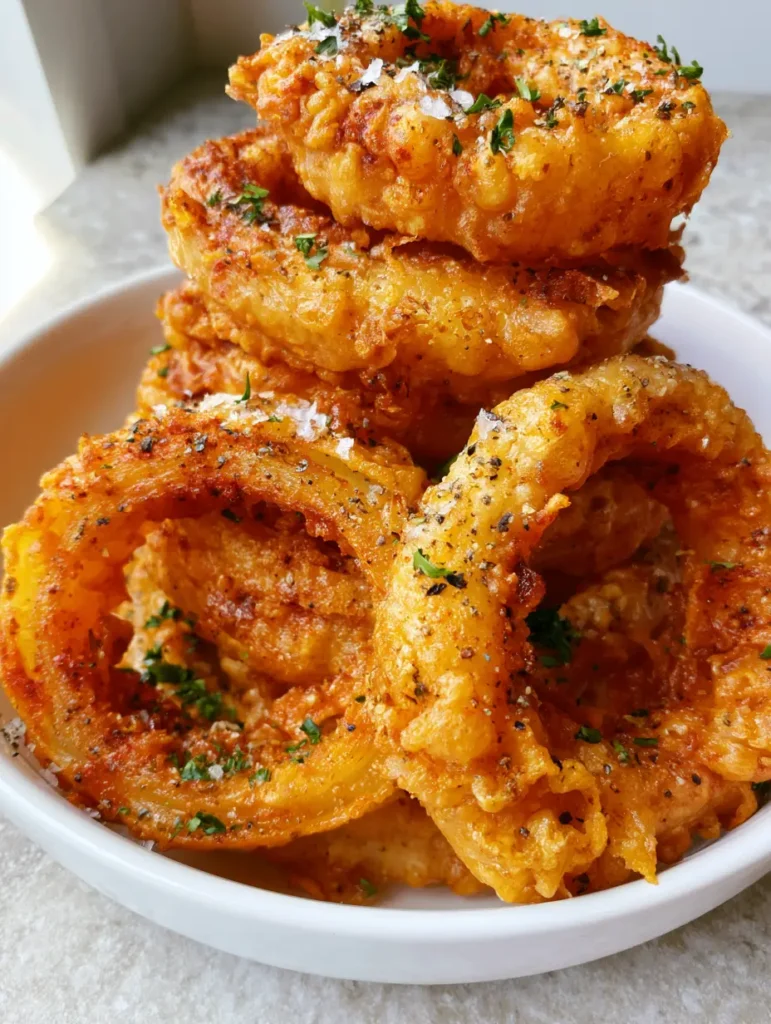
The Anatomy of the Ultimate Golden-Brown Crunch
To achieve the specific visual profile of our blueprint—uneven, craggy batter with visible seasoning—we focus on three primary pillars of fry-science. Each element is designed to maximize the surface area for maximum crunch.
- The Bubbly Aerated Texture: We use a combination of leavening agents and carbonation to create “micro-bubbles” that expand instantly when they hit the hot oil.
- The Forensic Flavor Profile: Visible specks of cracked black pepper and a hint of paprika provide a warm, golden hue and a sophisticated flavor that cuts through the richness of the fry.
- Structural Integrity: A specialized double-dredge technique ensures the batter clings to the onion without sliding off, leaving that iconic hollow interior as the onion softens.
- The Finishing Touch: A dusting of flaky sea salt and finely chopped fresh parsley adds a pop of color and a final hit of clean, herbal brightness.
The Science-Backed Ingredient List for Bubbly Batter
Large White Onions (2 units): White onions offer a sharper, cleaner flavor than yellow onions and hold their shape better when sliced into thick, sturdy 3/4-inch (2cm) rings.
All-Purpose Flour (1.5 cups / 180g): This serves as the structural base of our batter, providing the gluten network needed to trap air bubbles during the frying process.
Cornstarch (0.5 cup / 64g): Cornstarch interferes with gluten development, resulting in a lighter, crispier, and more “shatter-like” texture than flour alone could provide.
Baking Powder (1 tsp / 5g): This chemical leavener reacts with heat and moisture to create the “bubbly” surface seen in our visual blueprint.
Smoked Paprika (1 tsp / 2g): Beyond flavor, paprika is the “secret” ingredient that gives the rings their deep, golden-brown glow and vibrant visual appeal.
Cracked Black Pepper (1 tsp / 2g): Using coarsely cracked pepper ensures those beautiful dark specks are visible through the golden batter, as requested in our forensic prompt.
Club Soda or Seltzer, Ice Cold (1.25 cups / 300ml): The CO2 in the water creates an immediate lift in the batter, while the cold temperature prevents the flour from absorbing too much oil.
Vegetable Oil (1 quart / 950ml): A neutral oil with a high smoke point is essential for maintaining a steady 375°F (190°C) without burning the delicate batter.
Fresh Parsley & Flaky Sea Salt: These are our finishing touches, applied immediately after frying to ensure they adhere to the hot surface for that “smartphone-ready” look.
Essential Tools for Deep-Fried Success
To recreate the tall stack of rings in a white ceramic bowl, you’ll need a few key pieces of kitchen gear. A heavy-bottomed Dutch oven or a deep cast-iron skillet is preferred for its heat retention properties.
A digital probe thermometer is non-negotiable; frying at the wrong temperature is the leading cause of greasy, limp onion rings. You will also need a wire cooling rack set over a baking sheet to allow air to circulate around the rings post-fry, preventing steam from softening the crust.
Finally, a spider strainer or slotted spoon is necessary to safely maneuver the rings and remove those extra “craggy” bits of batter from the oil. These tools are the same ones you’d use for making oven-baked chicken legs or other high-texture snacks.
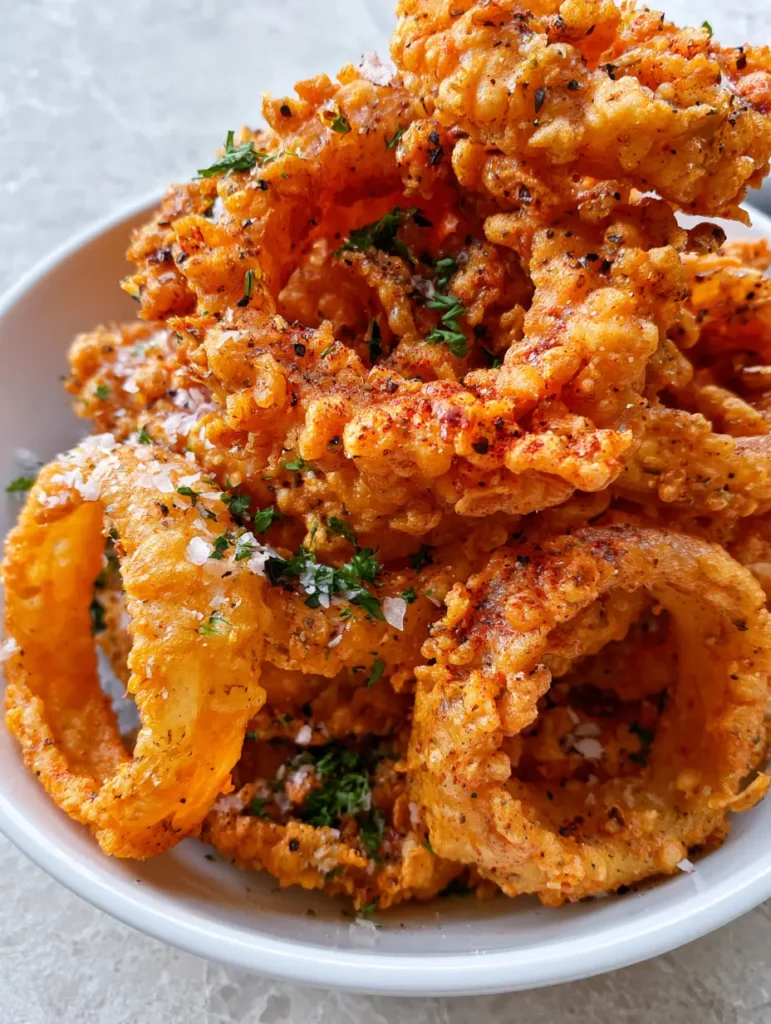
Mastering the Deep-Fryer for Maximum Crunch
Phase 1: Preparing the Onions for Maximum Adhesion
Peel your onions and slice them into thick 3/4-inch (2cm) rounds. Carefully separate the rings, keeping only the large and medium ones for this recipe (save the centers for a marinated cauliflower salad (coming soon) later).
Soak the rings in a bowl of ice water for 10 minutes. This hydrates the onion and helps remove some of the pungent sulfur, resulting in a sweeter bite that softens perfectly inside the batter.
Phase 2: The Double-Dredge Dry Mix
In a medium bowl, whisk together the flour, cornstarch, baking powder, paprika, and black pepper. Before adding any liquid, take your dampened onion rings and toss them in this dry mixture until fully coated.
This “primer coat” is the secret to preventing the batter from slipping off. Shake off the excess flour and set the rings aside on a plate; the flour should look like a thin, dusty film.
Phase 3: The Cold Carbonated Batter
Slowly pour the ice-cold club soda into the remaining dry mixture. Whisk gently until just combined—do not overmix! A few small lumps are perfectly fine and actually contribute to the uneven, textured “craggy” look we are aiming for.
Visual Cue: The batter should be thick enough to coat a spoon but should still drip slowly. If it is too thin, the “bubbly” texture won’t hold in the oil.
Phase 4: The Golden Transformation
Heat your oil to 375°F (190°C). Dip a floured ring into the batter, let the excess drip off for one second, and carefully lower it into the oil. Fry only 3-4 rings at a time to avoid dropping the oil temperature.
Fry for 2-3 minutes per side. Look for the sensory cue of the batter turning a vibrant golden-brown and the bubbling of the oil slowing down significantly, indicating the moisture has been cooked out of the crust.
Expert Tips for the Ultimate “Snap”
- Keep it Cold: If your batter starts to warm up while you are frying in batches, place the bowl inside a larger bowl filled with ice. Cold batter + hot oil = maximum bubbles.
- Check the Oil: Always wait for the oil to return to 375°F (190°C) between batches. If the oil is too cool, the batter will soak it up like a sponge.
- The “Hollow” Trick: The hollow interior mentioned in our visual prompt happens when the onion is sliced thick enough to steam inside its own “shell.” Don’t slice them too thin!
- Garnish Immediately: The flaky sea salt and chopped parsley must be applied the second the rings come out of the oil. The residual surface oil acts as a “glue.”
The Best Pairings for Crispy Onion Rings
These rings are a fantastic addition to any spread of favorite homemade snacks for kids. They provide a sophisticated crunch that pairs beautifully with savory dips like spicy aioli or even a tangy BBQ sauce.
For a full meal, serve these alongside grilled chicken (coming soon) or as a crunchy topper for a steak. The contrast of the sweet onion and the salty, peppery crust makes them incredibly versatile.
Storing and Reheating Your Homemade Snack
While these are best enjoyed immediately, you can store leftovers in an airtight container in the fridge for up to 2 days. To restore that “forensic crunch,” do not use a microwave.
Reheat the rings in a 375°F (190°C) oven or air fryer for 3-5 minutes. This will re-crisp the batter and bring back the bubbly texture without making the onion underneath too mushy.
Frequently Asked Questions
Yes! Beer is an excellent substitute for club soda. The carbonation and yeast in beer contribute to a similar bubbly, airy texture and a deeper flavor profile.
Place them on a wire cooling rack rather than paper towels. This allows air to circulate around the entire ring, preventing the bottom from steaming and becoming soggy.
Vegetable oil, canola oil, or peanut oil are best. They have high smoke points, allowing you to reach the required 375°F (190°C) without the oil breaking down or smoking.
Your oil is likely too hot. If the outside browns too fast, the batter doesn’t have time to dehydrate and become crispy. Use a thermometer to keep the oil steady at 375°F.
This usually happens because the onion surface is too slick. Ensure you soak them, dry them, and use the ‘primer coat’ of dry flour mixture before dipping them into the wet batter.
The Definitive Crispy Homemade Onion Rings Recipe
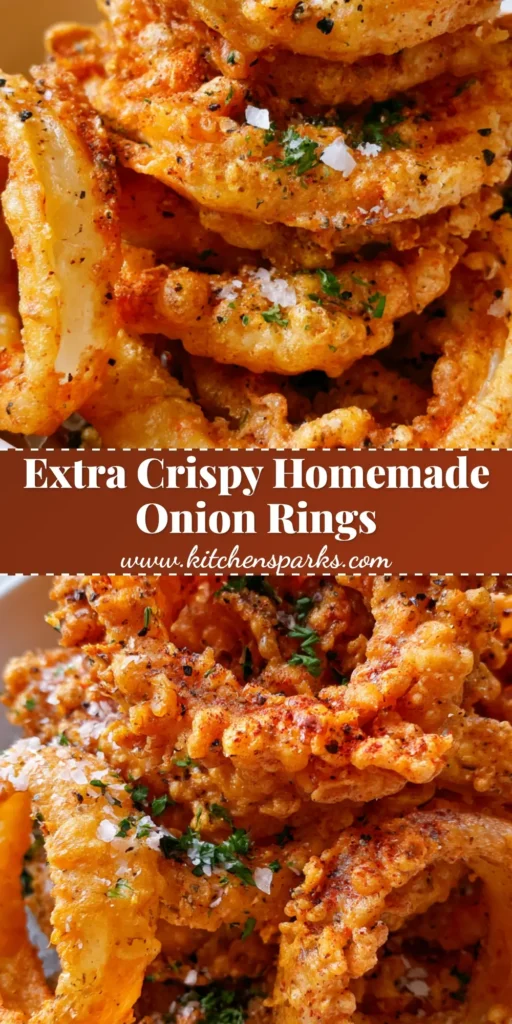
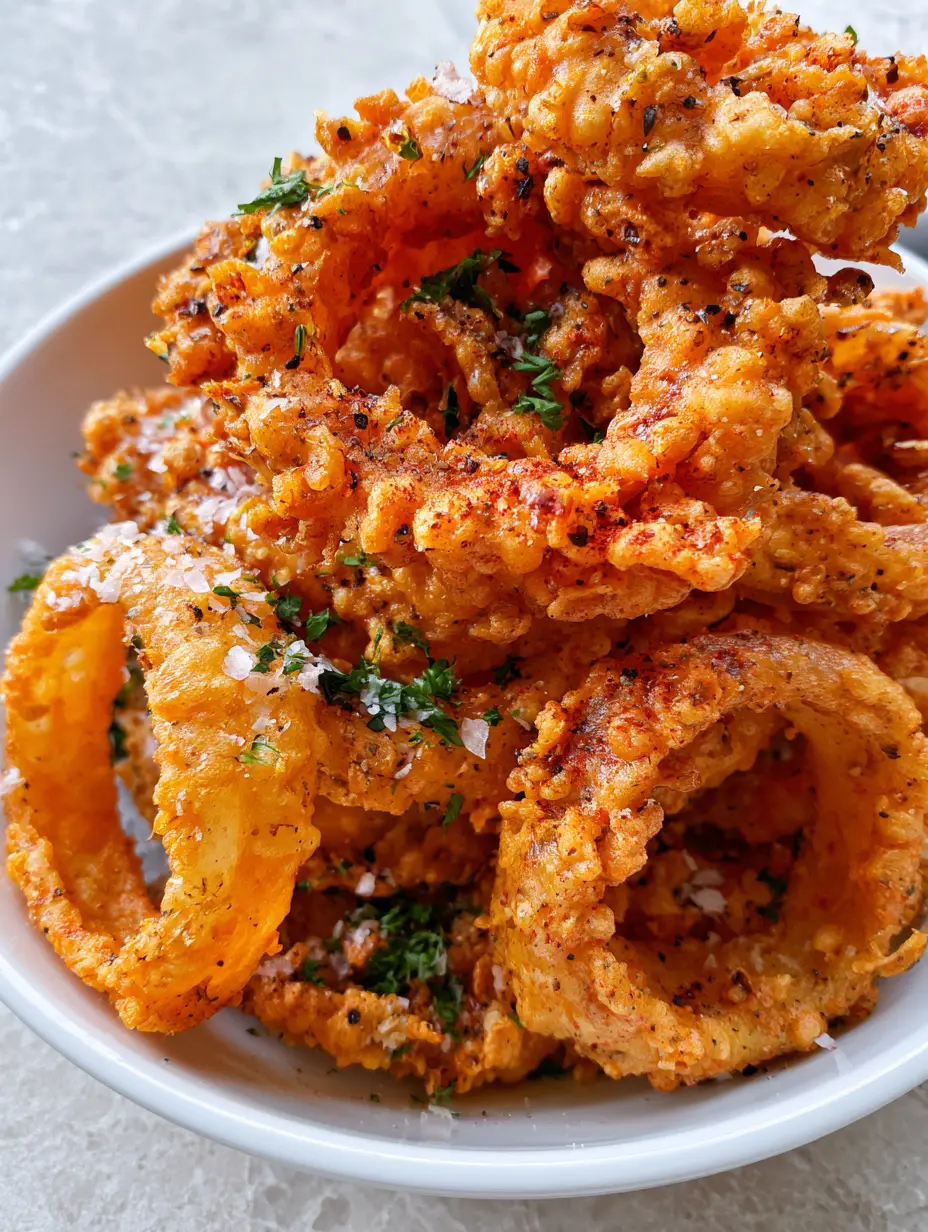
Crispy Homemade Onion Rings: The Secret to Bubbly Golden Perfection
Ingredients
Equipment
Method
- Soak the sliced onion rings in ice water for 10 minutes, then pat dry thoroughly.
- Whisk dry ingredients and toss the dry onion rings in the mixture to create a primer coat.
- Add ice-cold club soda to the remaining flour mix and whisk until just combined.
- Heat oil to 375°F (190°C). Dip rings in batter and fry for 2-3 minutes per side until bubbly and golden-brown.
- Drain on a wire rack and immediately sprinkle with flaky sea salt and chopped parsley.
Notes
Always use a thermometer to maintain 375°F to prevent greasiness.
Final Thoughts on This Crispy Classic
Making Crispy Homemade Onion Rings is a rewarding culinary project that transforms humble ingredients into a restaurant-quality appetizer. By focusing on carbonation and the double-dredge method, you ensure every bite is packed with texture and flavor.
If you enjoyed this deep-dive into frying science, please leave a comment below and let us know how your bubbles turned out! Don’t forget to sign up for our newsletter for more forensic recipe breakdowns and share your creations to Pinterest.


